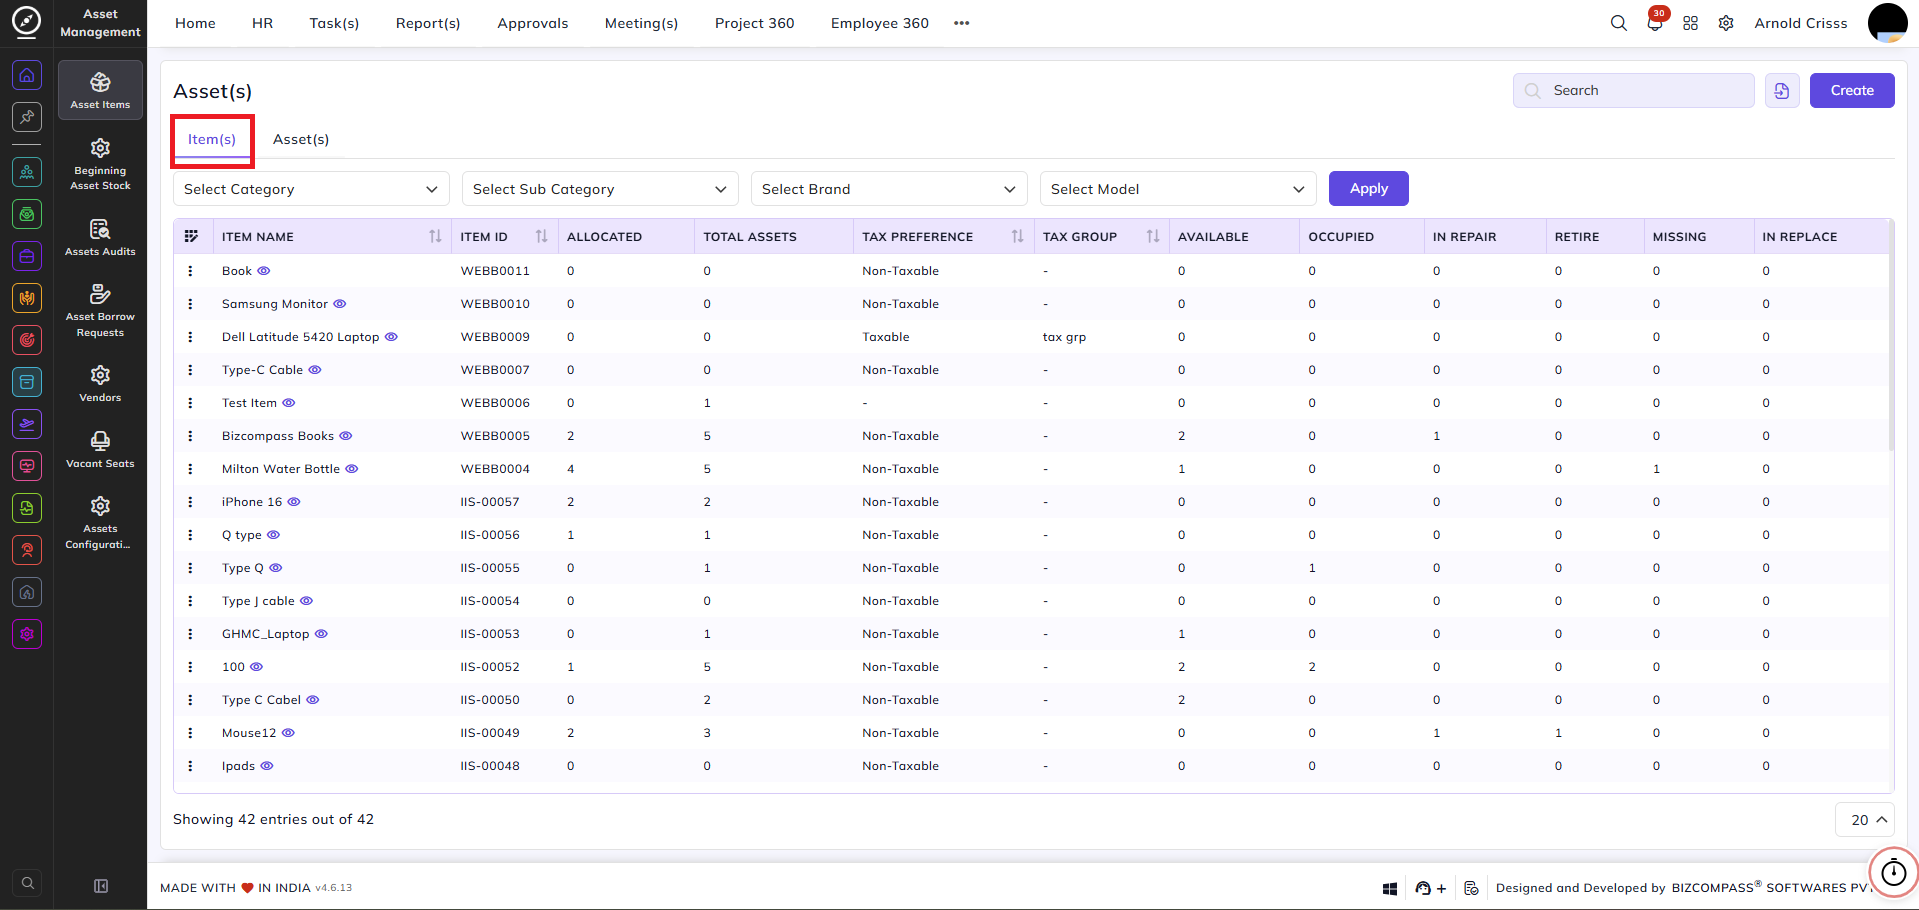
Asset Items
This page is used to create and manage Items and Assets.
An Item is a product (for example, Monitor).
An Asset is a physical unit of that item.
Every asset is an item, but not every item is an asset.
Creating an Item:
First, fill in the Item Details:
-
Select the Item Category
-
Select the Subcategory
-
You can also create categories and subcategories from this screen
-
-
Select the Item Type:
-
Fixed – AC, Sofa, Chairs
-
Sellable – Software, CRM, Licenses
-
Consumable – Bags, Bottles
-
Returnable – Monitor, Mouse, Keyboard
-
-
Enter the Item Name (for example, Monitor)
-
Upload the Item Image (optional)
-
Select the Brand and Model
-
Select the Tax Preference:
-
Taxable
-
Non-Taxable
-
Out of Scope
-
Non-GST Supply
If Taxable, select the Tax Group used by the company.
-
-
Enter the Item Description.
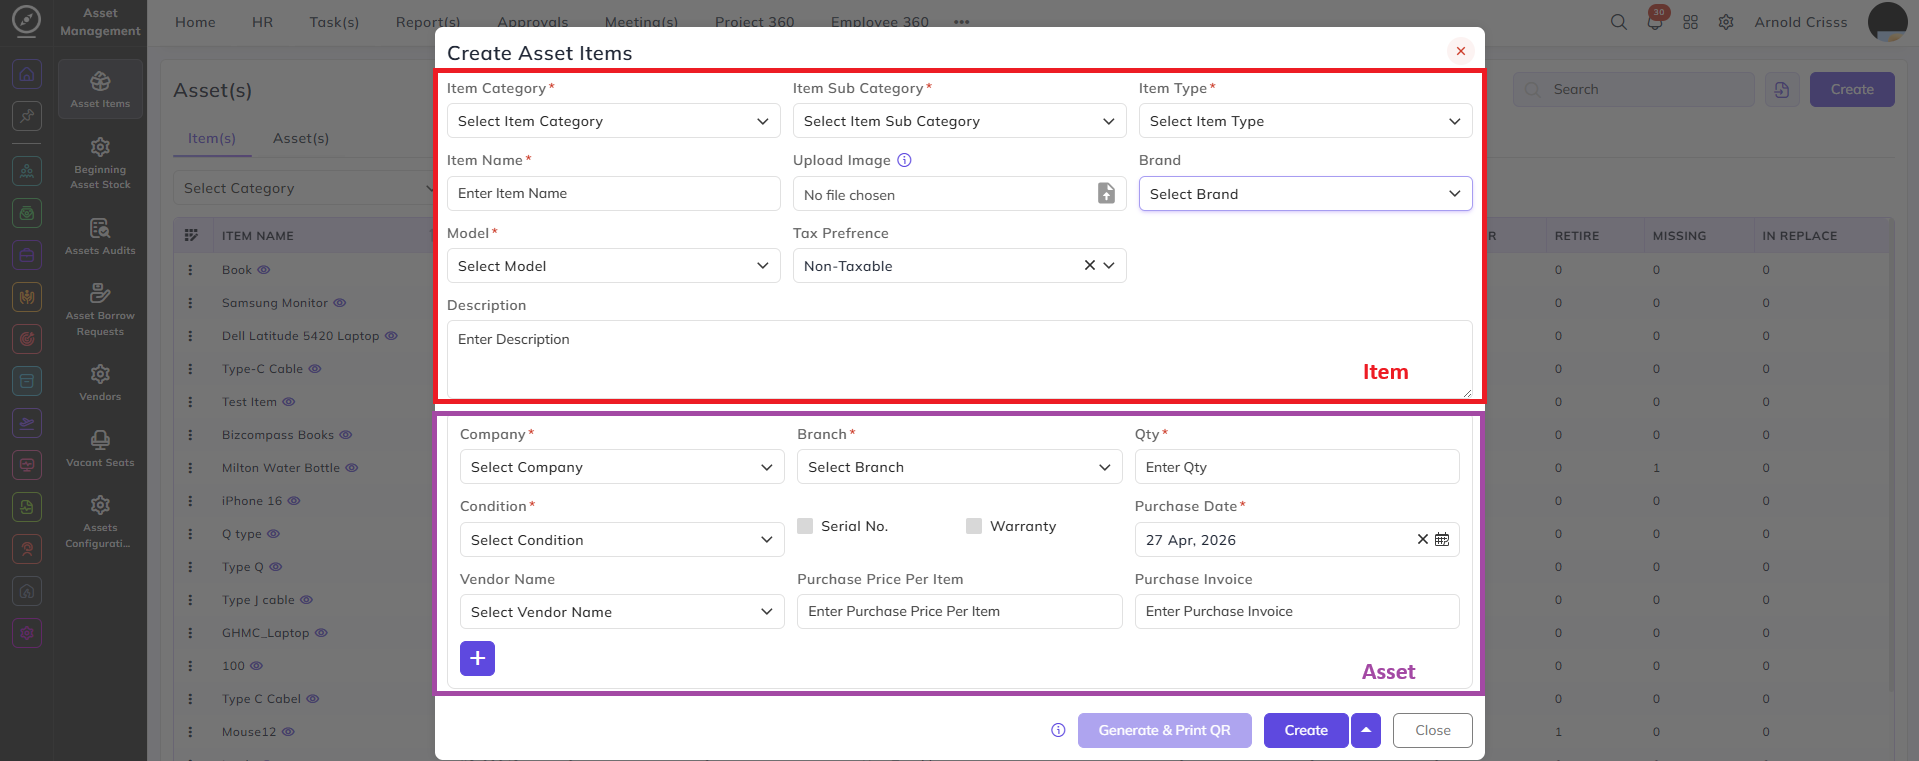
Creating an Asset for the Item:
To create assets for the item, fill the Asset Details:
-
Select the Company
-
Select the Branch
-
Enter the Quantity
-
Example: 3 Monitors
-
-
Select the Condition
-
Select the Warranty End Date
-
Select the Vendor
-
Enter the Purchase Price
-
Enter the Invoice Name
Click Add Asset.
The system creates one asset record for each quantity.
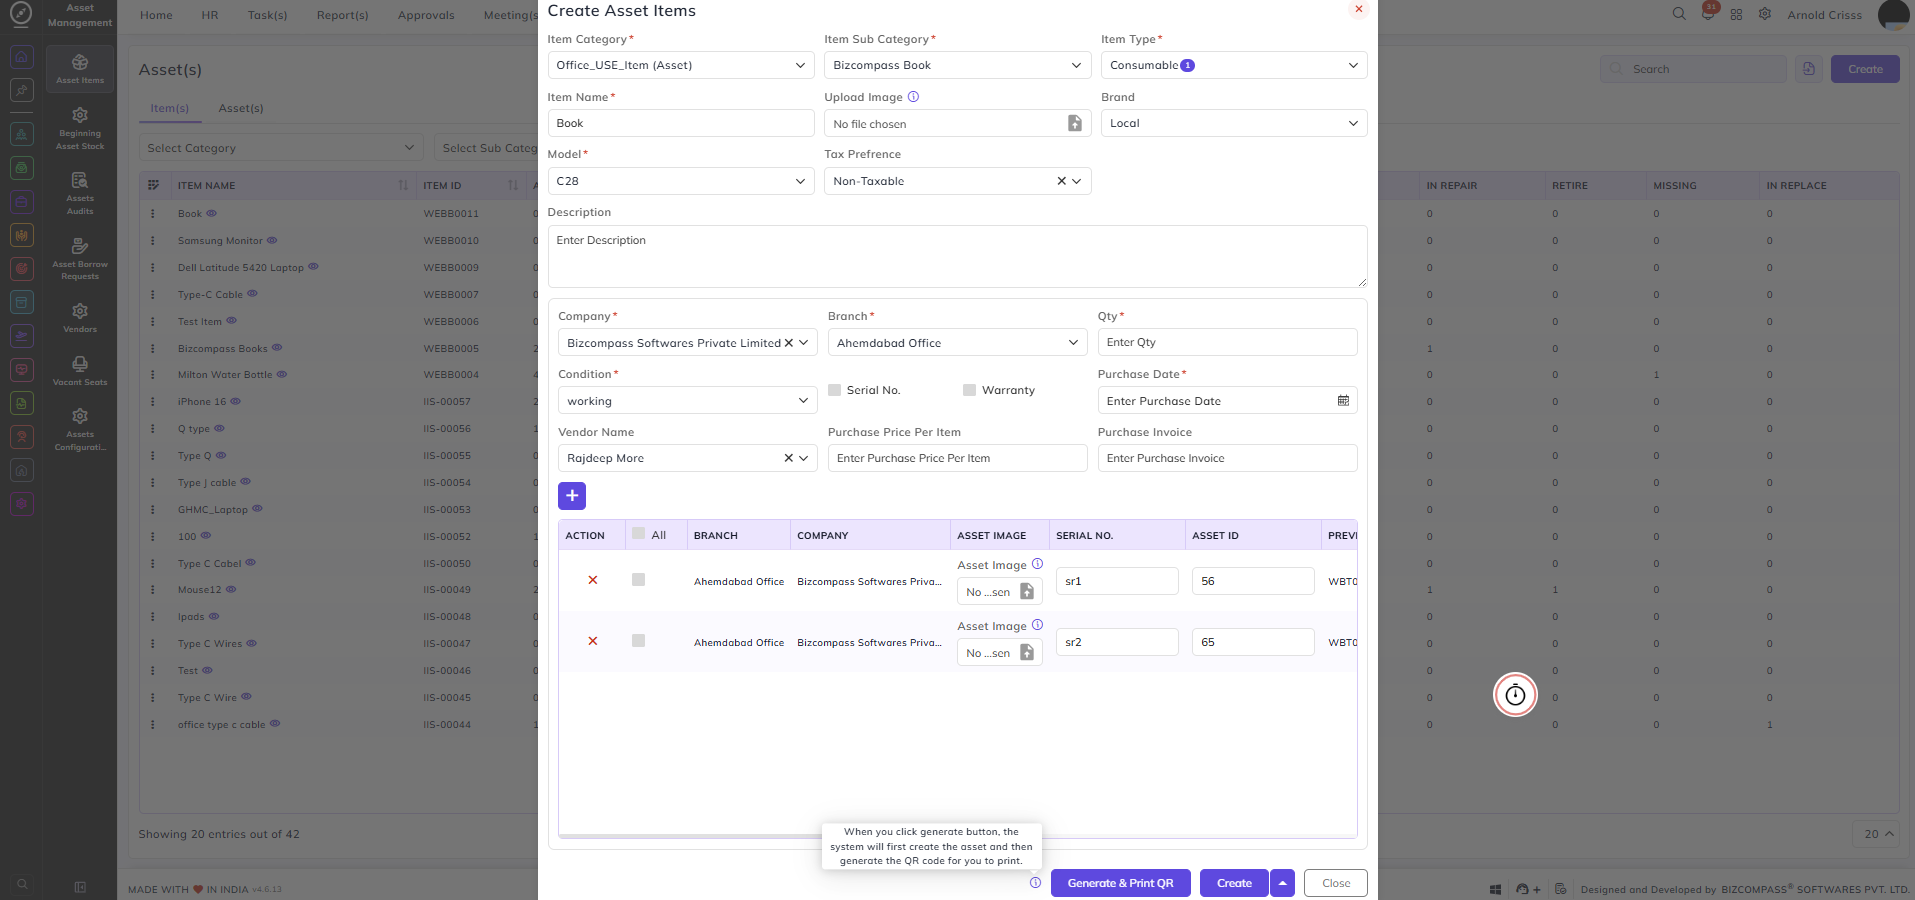
Serial Numbers and Asset IDs:
After assets are created:
-
You can enter Serial Numbers for each asset
-
The Asset ID is generated from the Series set in the subcategory
-
The Asset ID can be manually changed if required
Example:
-
Asset 3 can be assigned a different ID such as 5 from the series
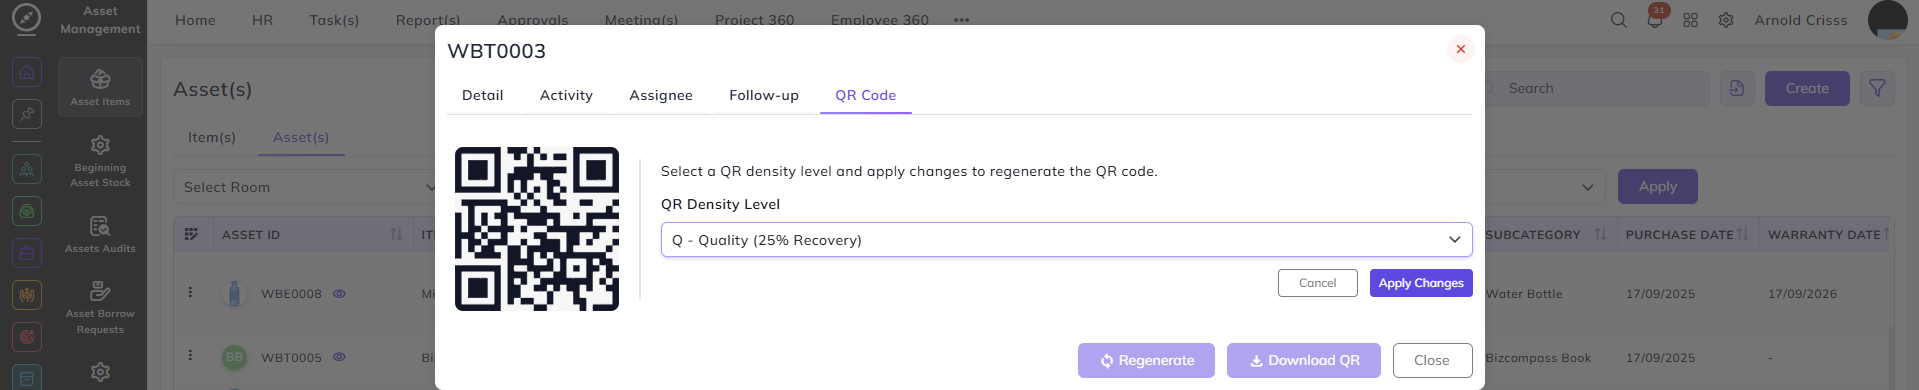
QR Code and Stickers:
For each asset, you can:
-
Generate or re-generate the QR Code
-
Download the QR Code
-
Print Stickers
Each sticker contains:
-
QR Code
-
Item Name
-
Asset ID
-
Category
-
Purchase Date
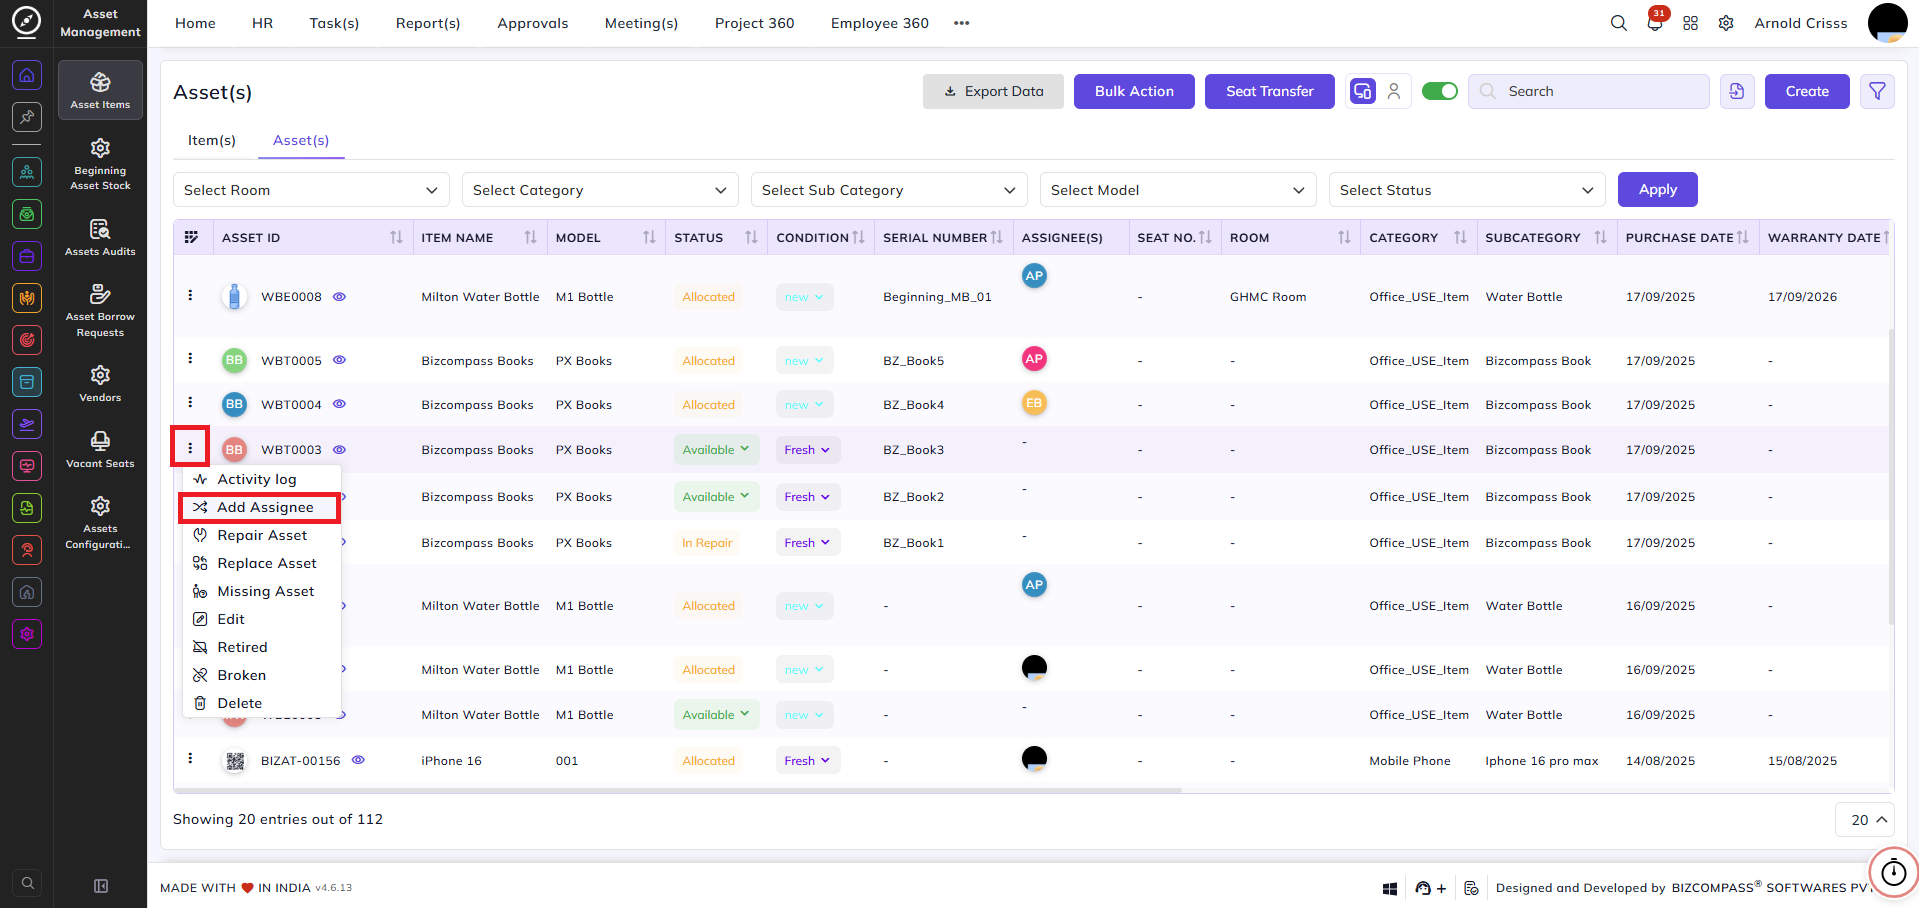
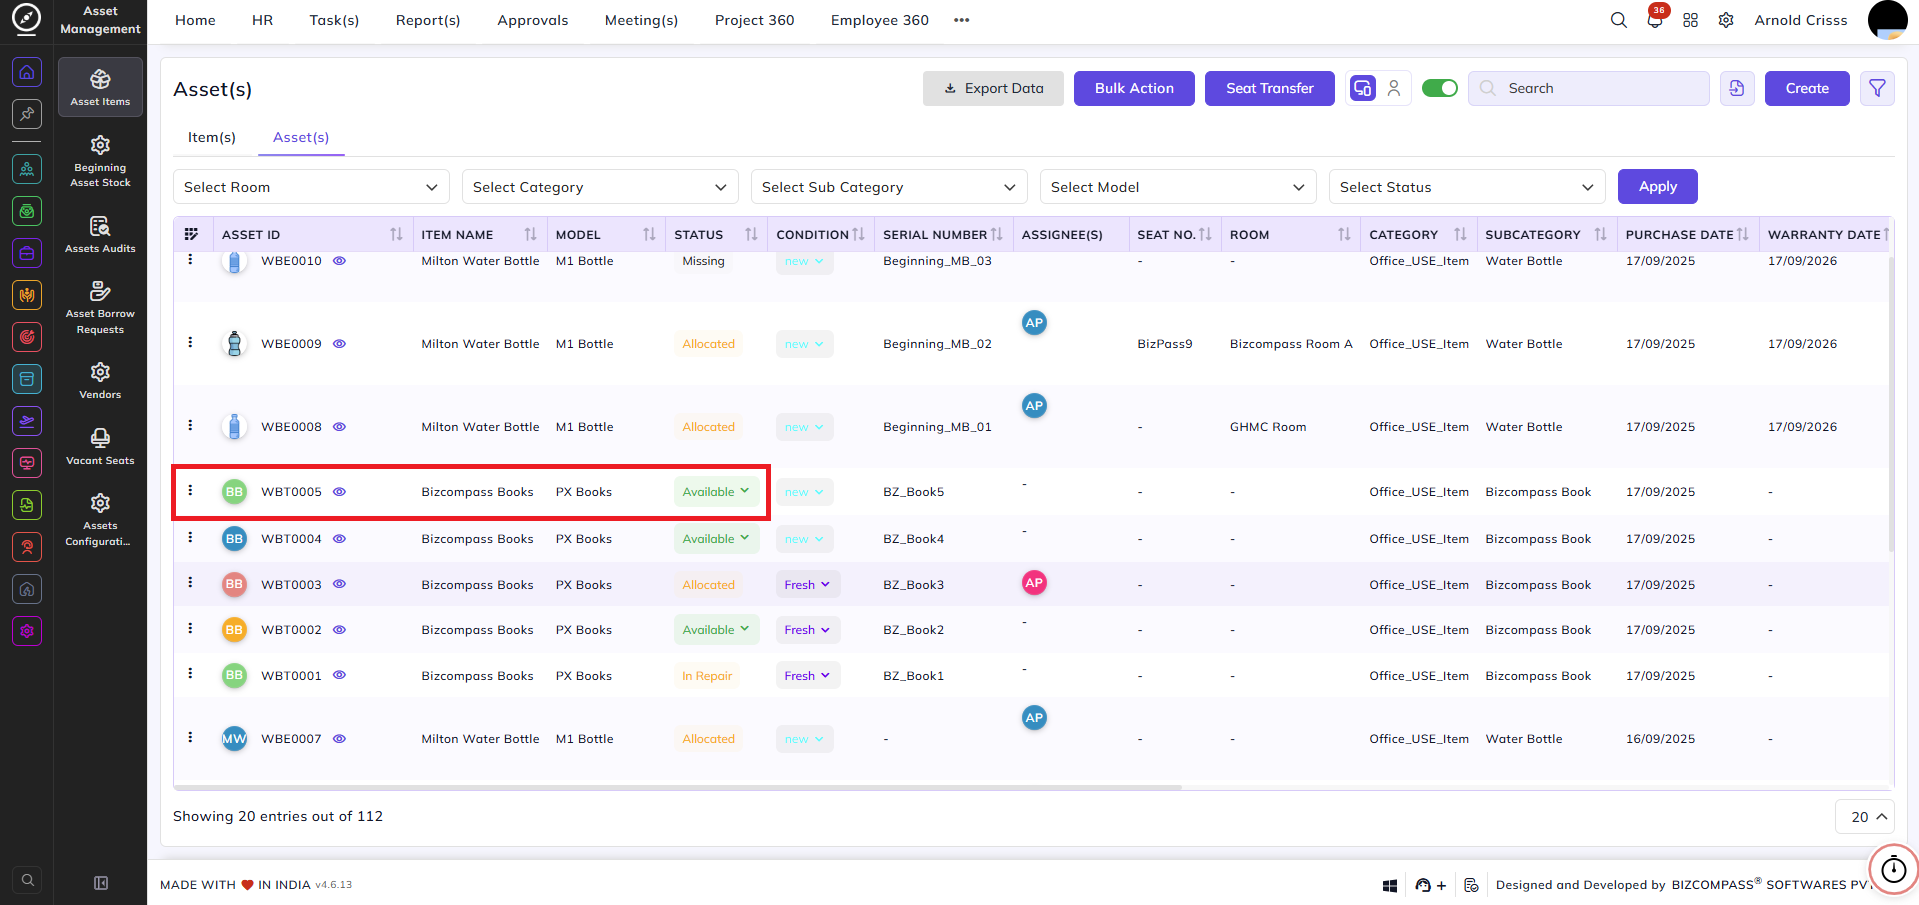
Asset Status:
Each asset has a status:
-
Available
-
Allocated
-
Occupied
-
Repair
-
Replaced
-
Missing
-
Broken
-
Retired
These statuses are managed from the Item Conditions.
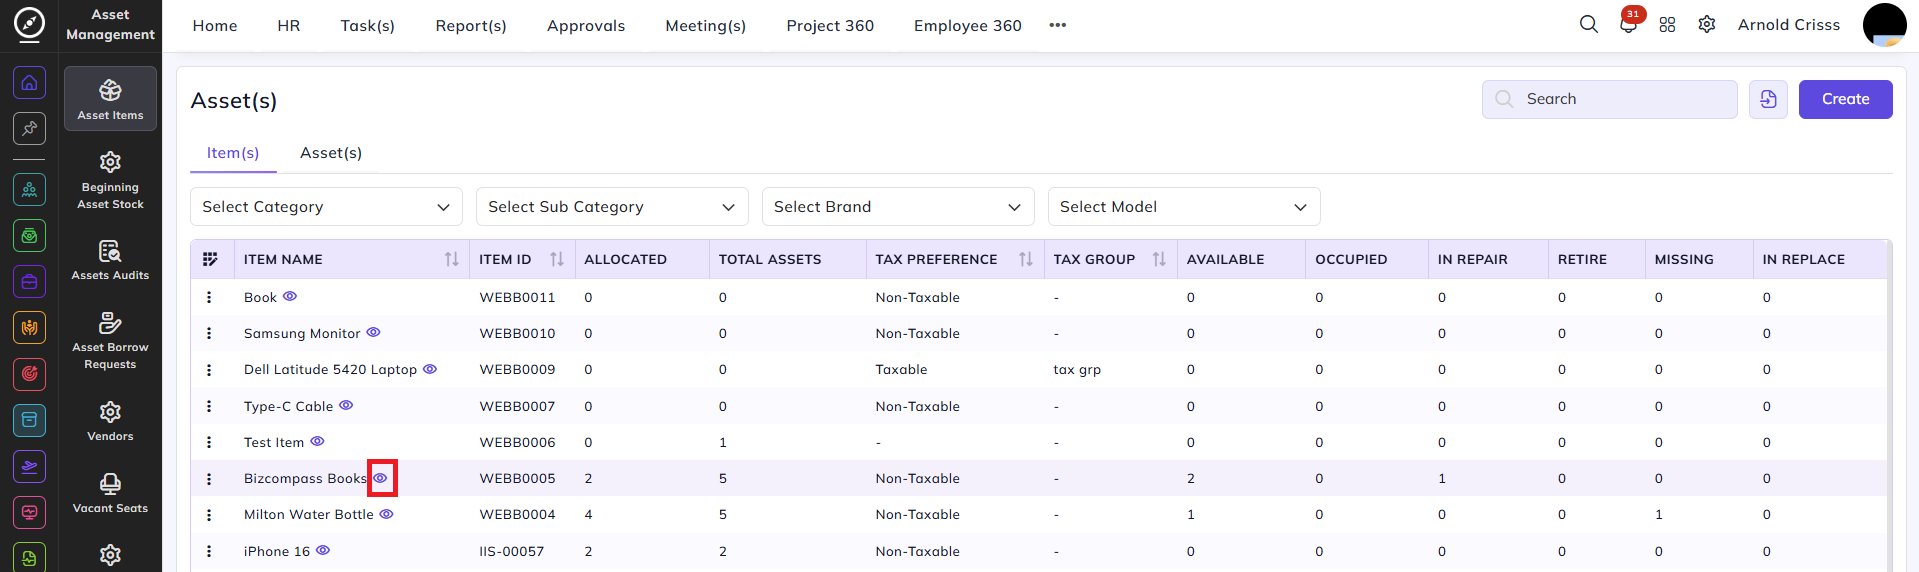
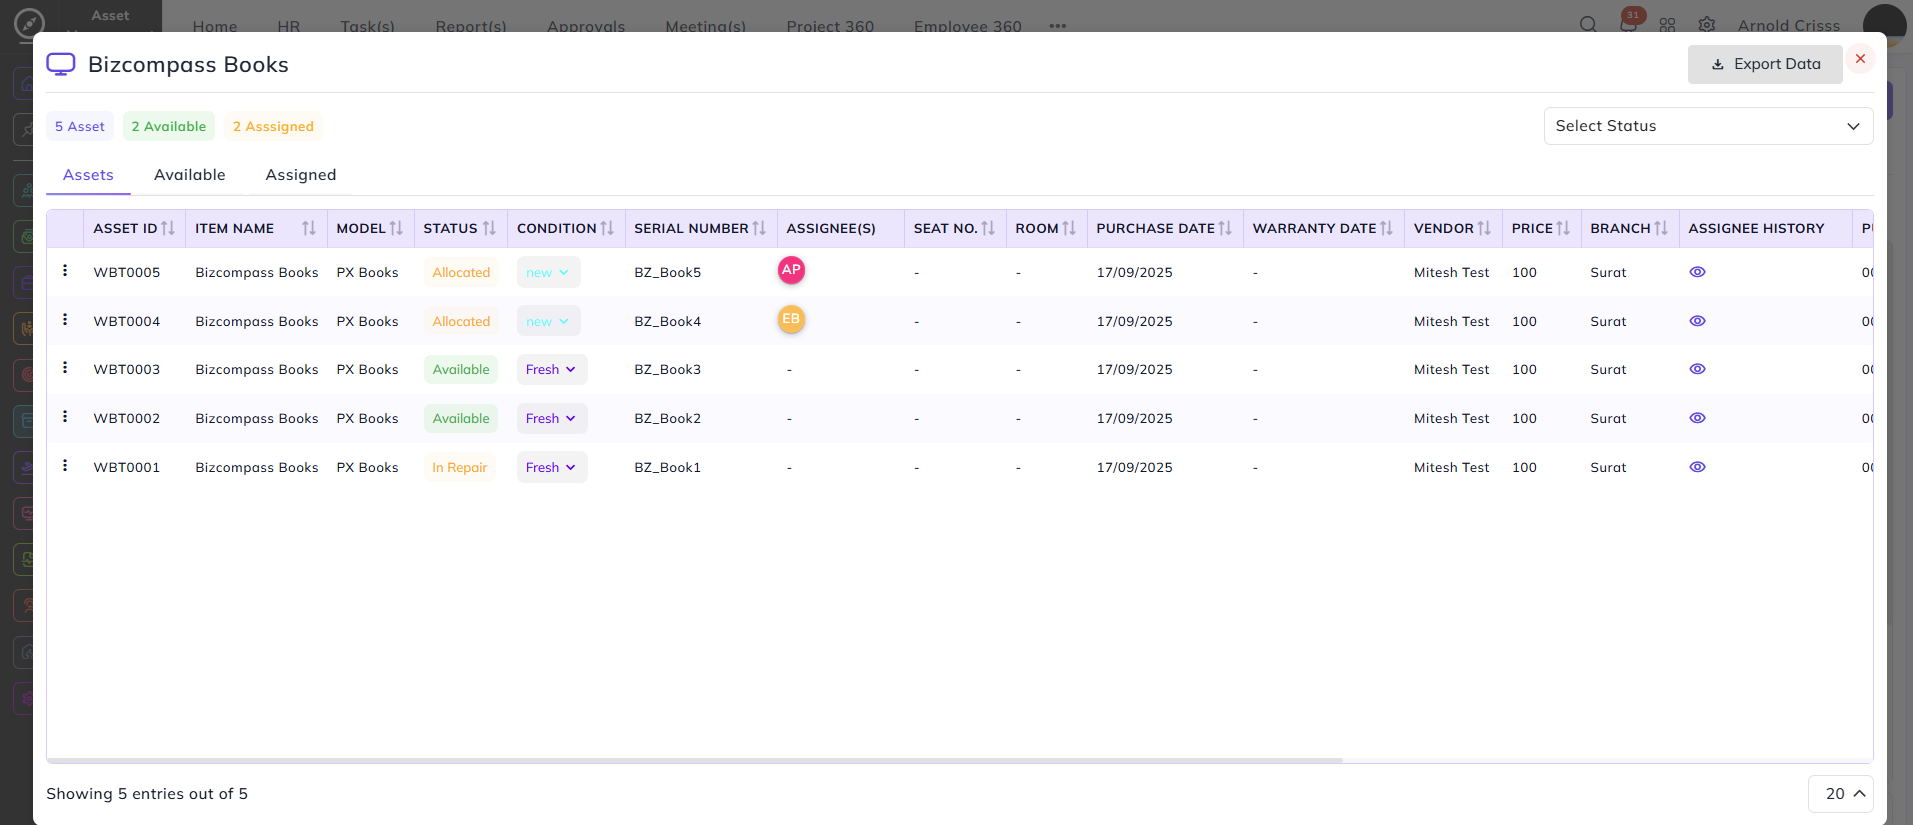
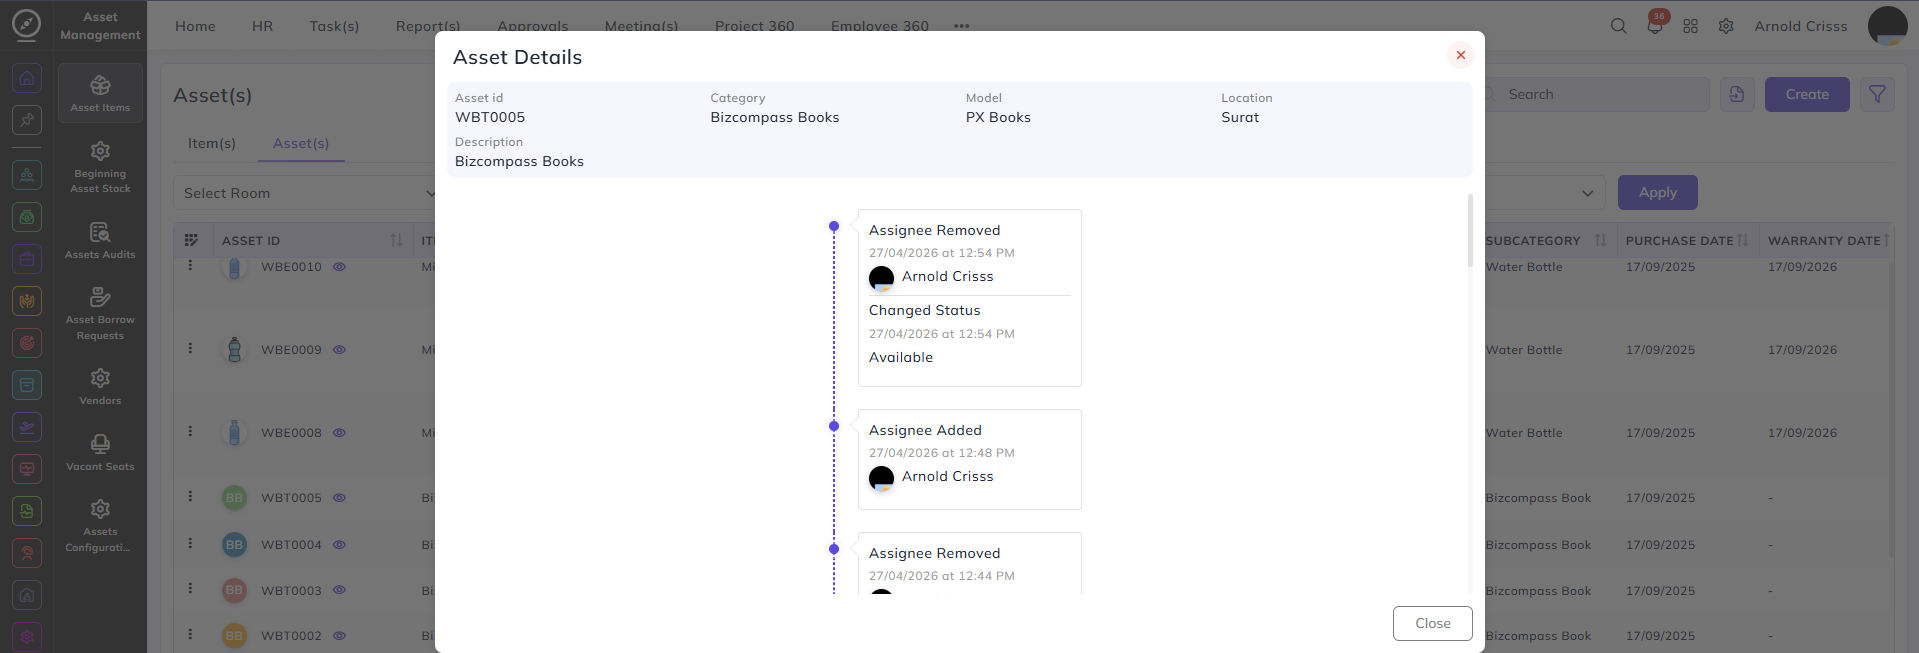
Asset Details View:
For every asset, you can view:
- Company and Branch
-
Category
-
Purchase Details
-
Warranty Information
-
Vendor
-
Series
-
Condition
-
Serial Number
-
Current Status
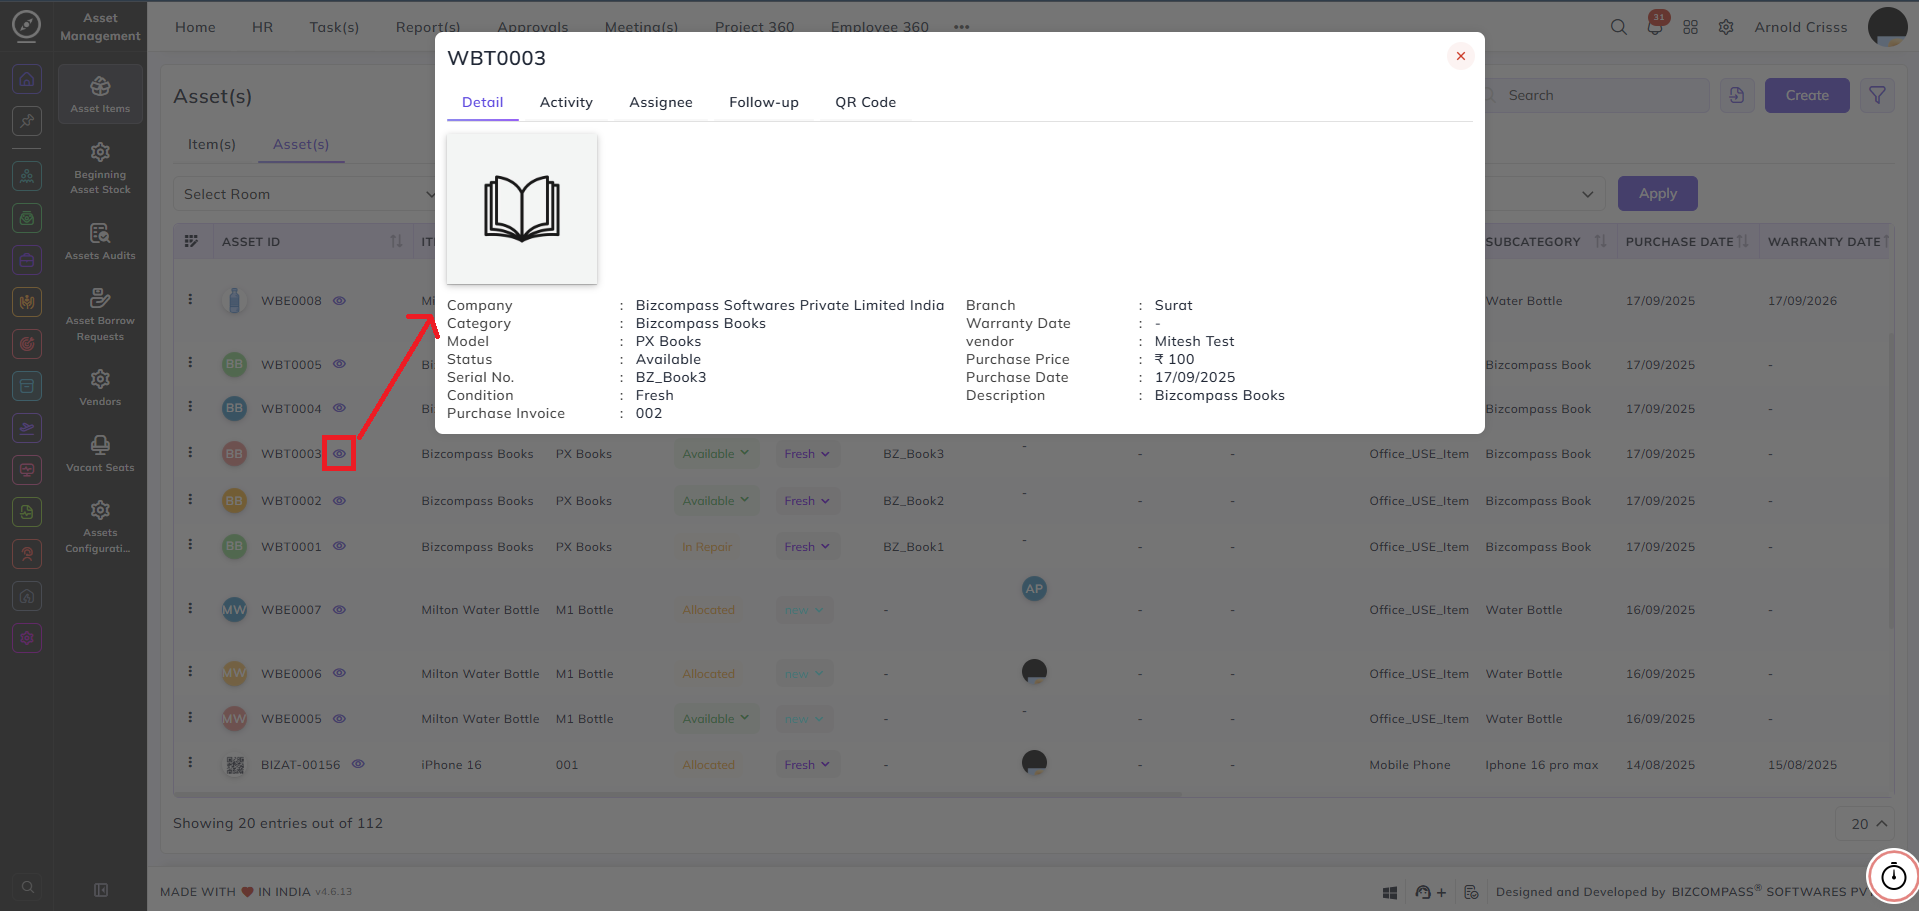
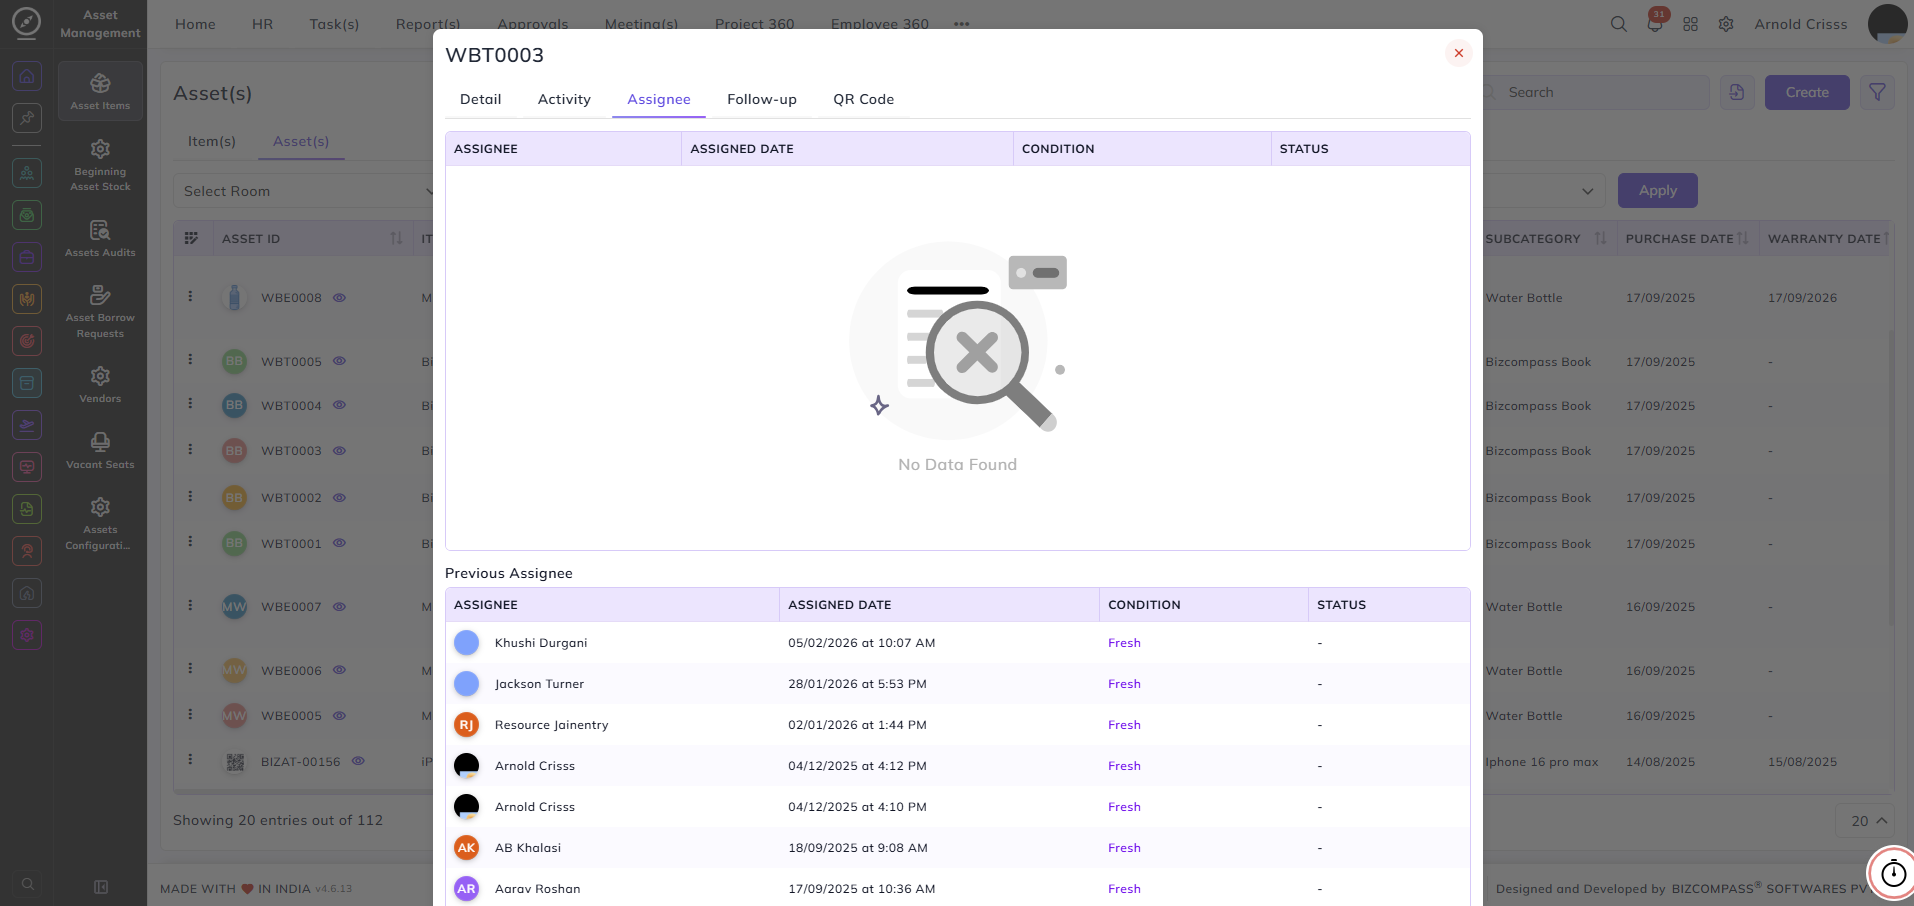
You can also view:
-
Activity Log
-
Current and Previous Assignments
-
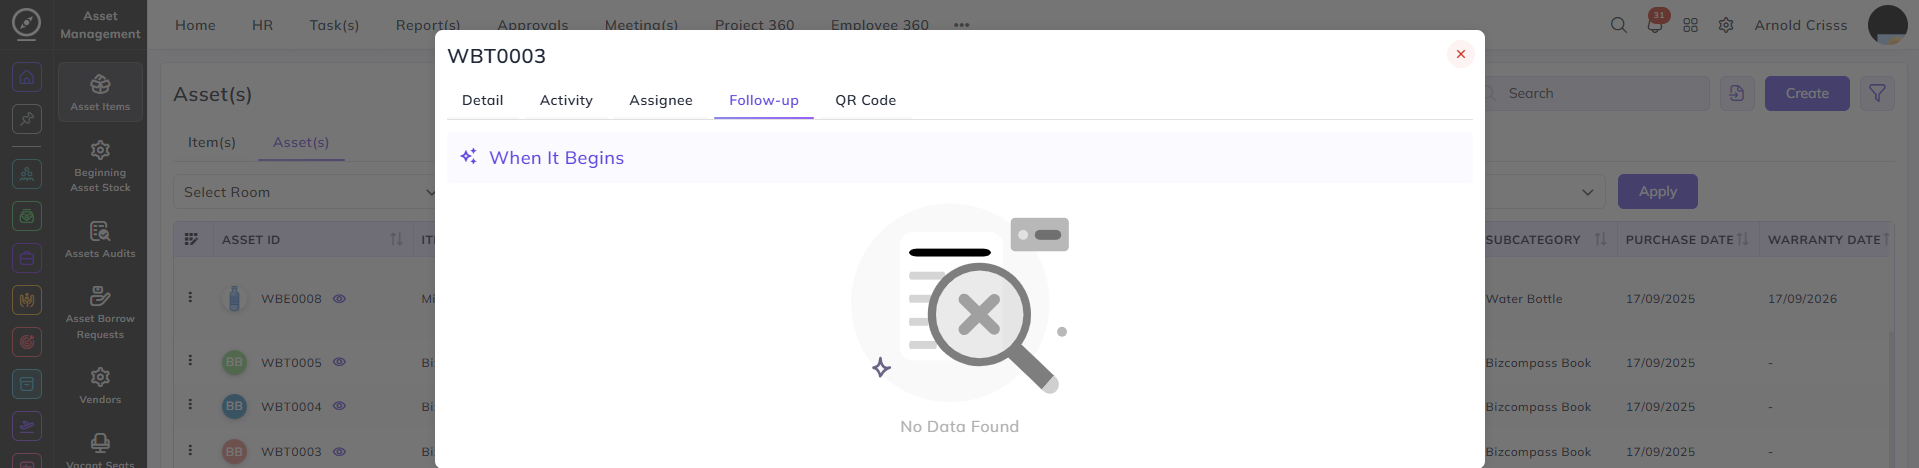
Follow-ups
-
QR Code
Assigning an Asset:
To assign an asset:
- Select the Employee or Room or Seat.
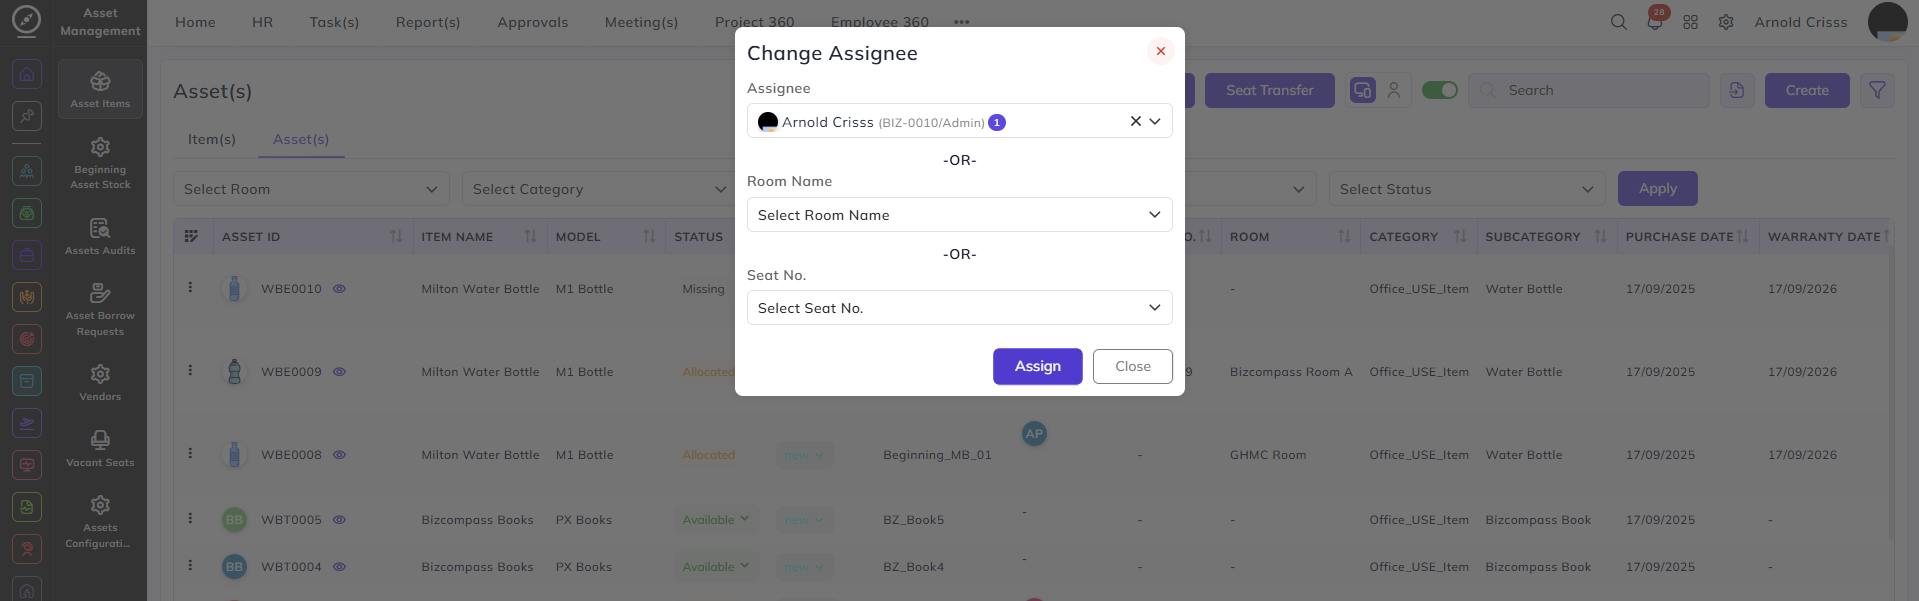
The employee receives a confirmation popup.
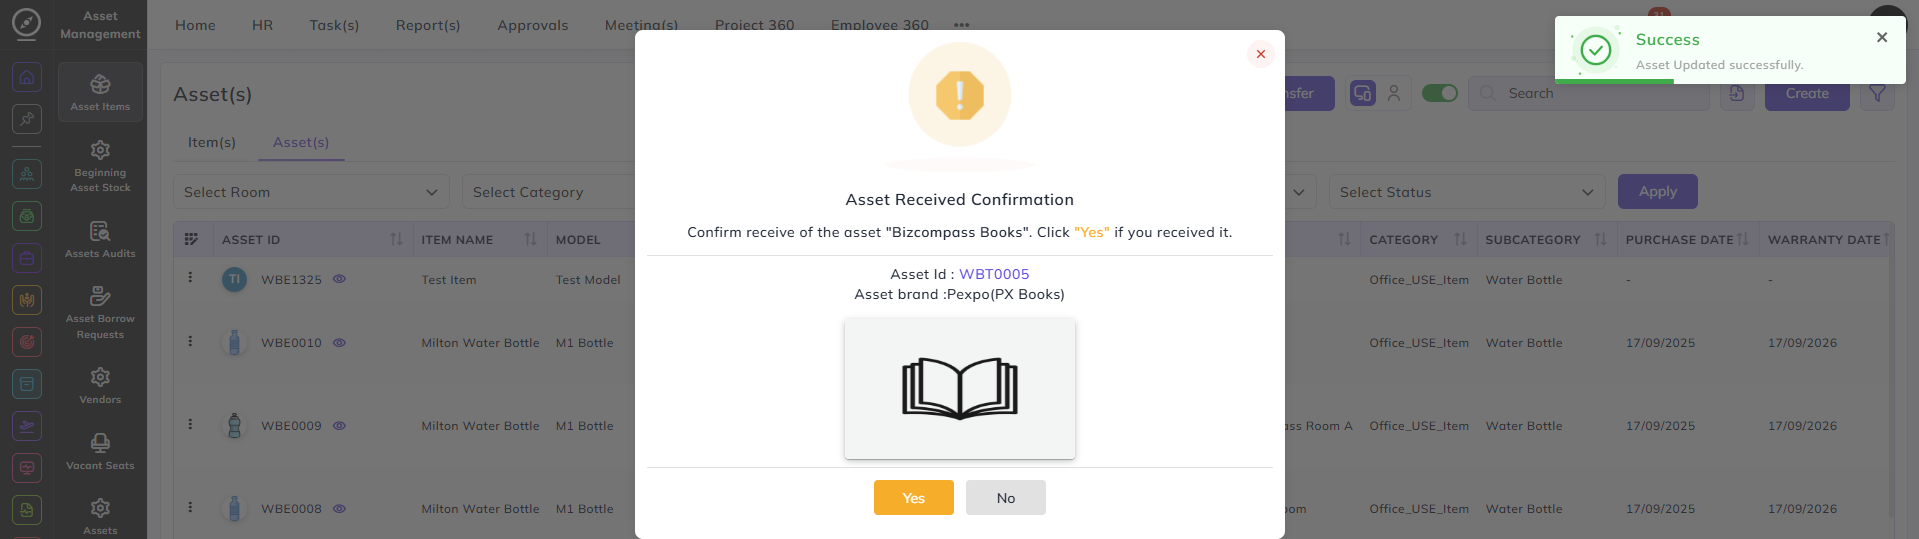
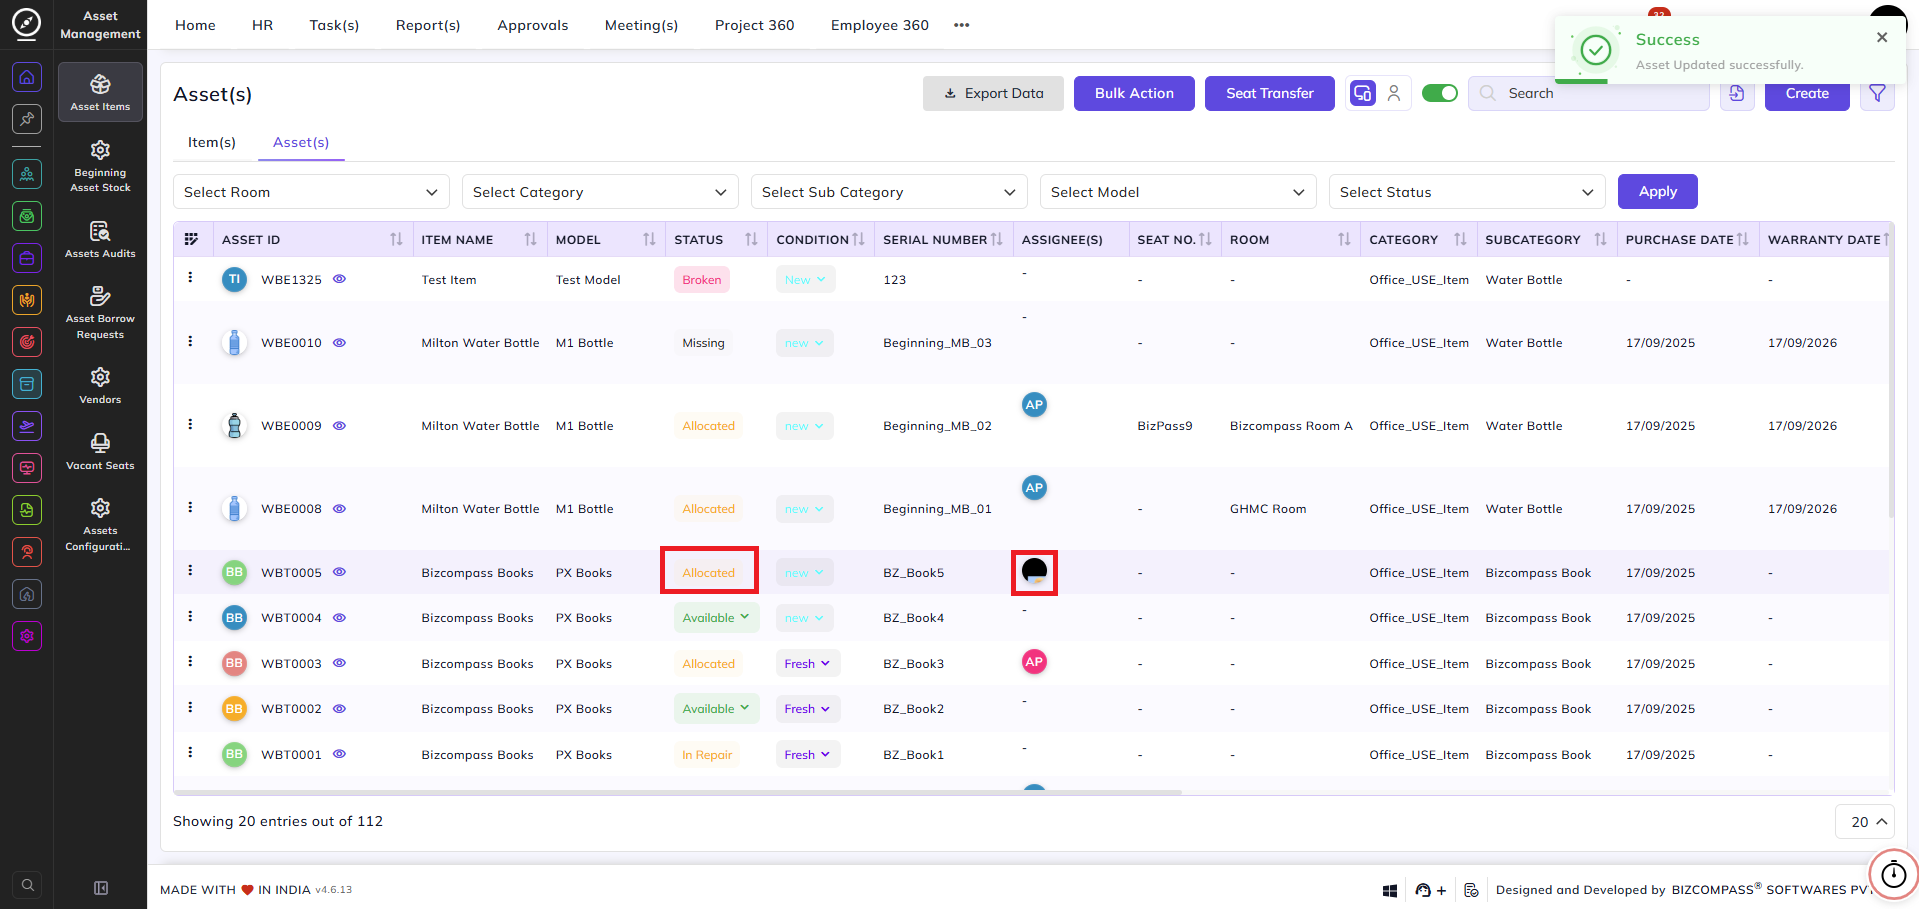
Once accepted, the asset status changes to Allocated.
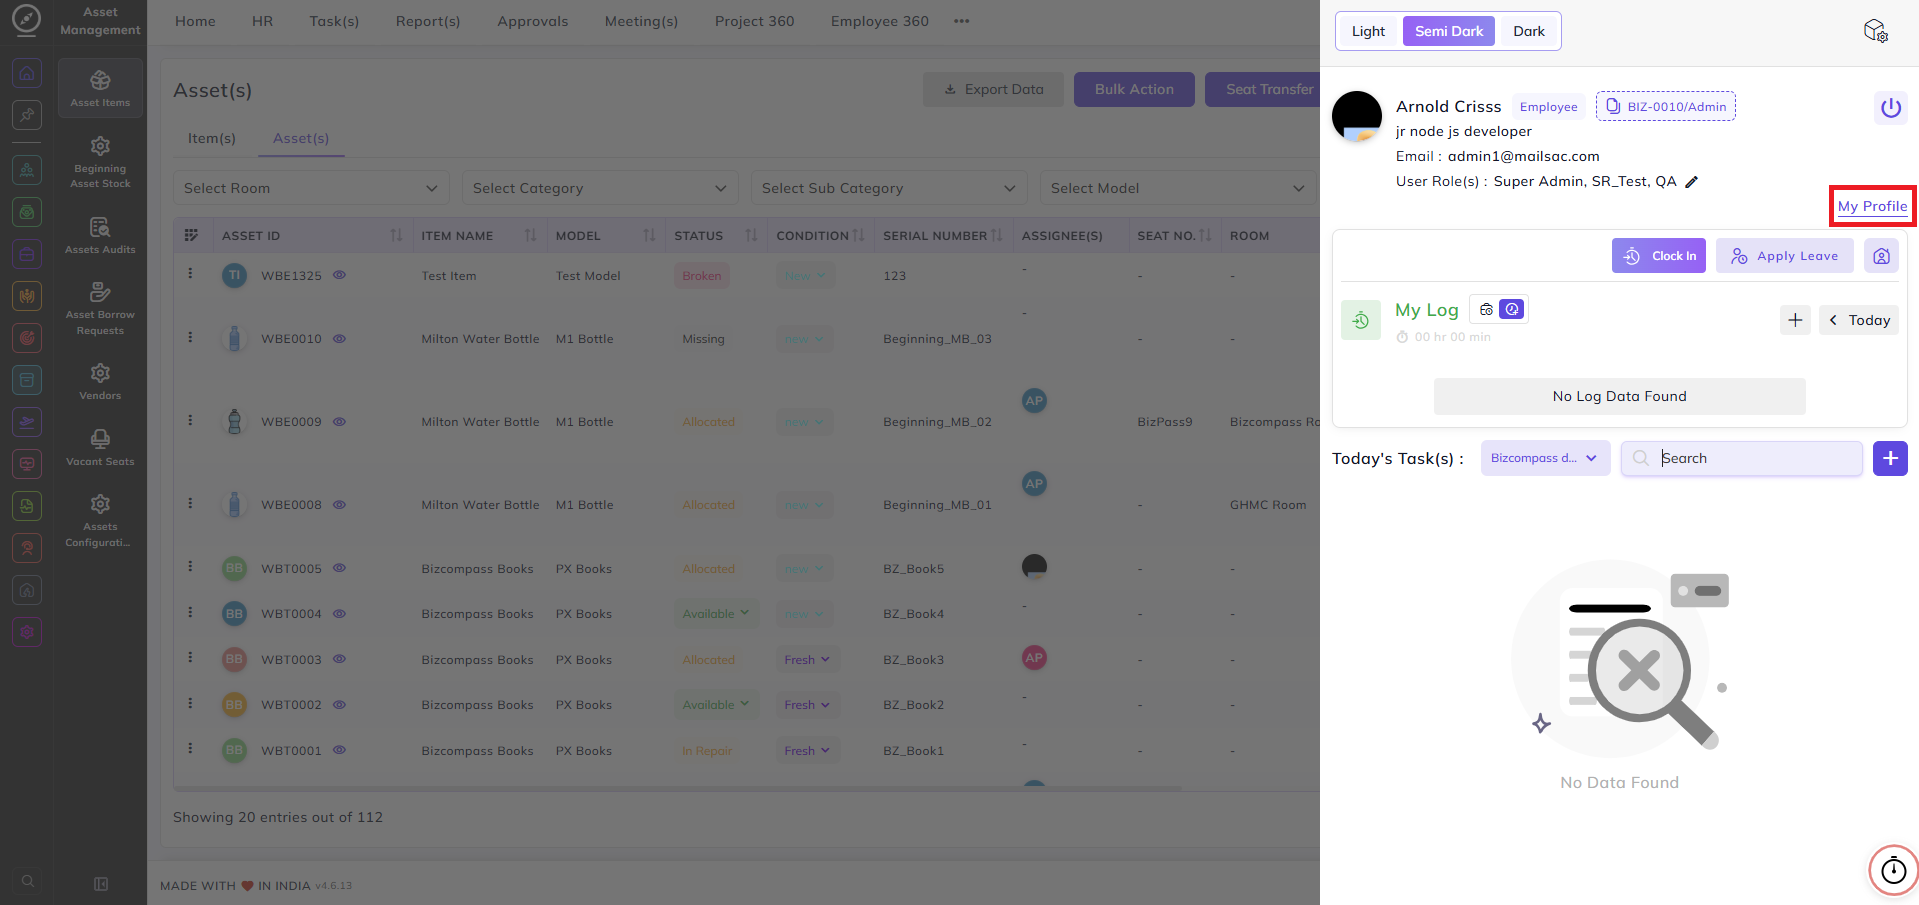
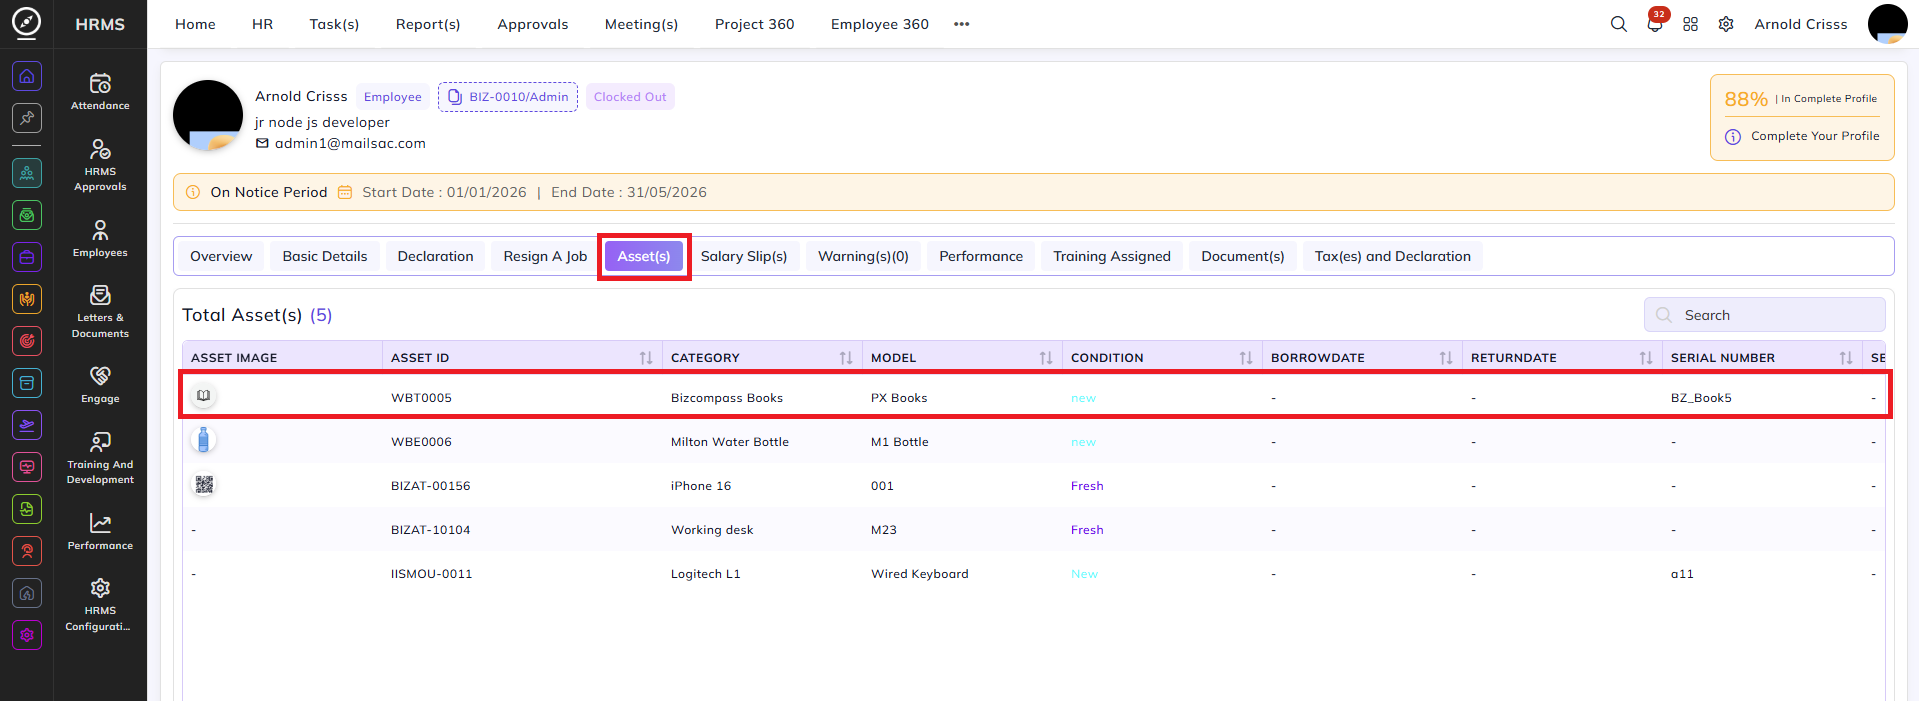
The employee can view the asset under My Profile → Assets.
Recollecting an Asset:
When an asset is recollected:
-
The employee receives a confirmation popup
-
The asset is removed from the employee
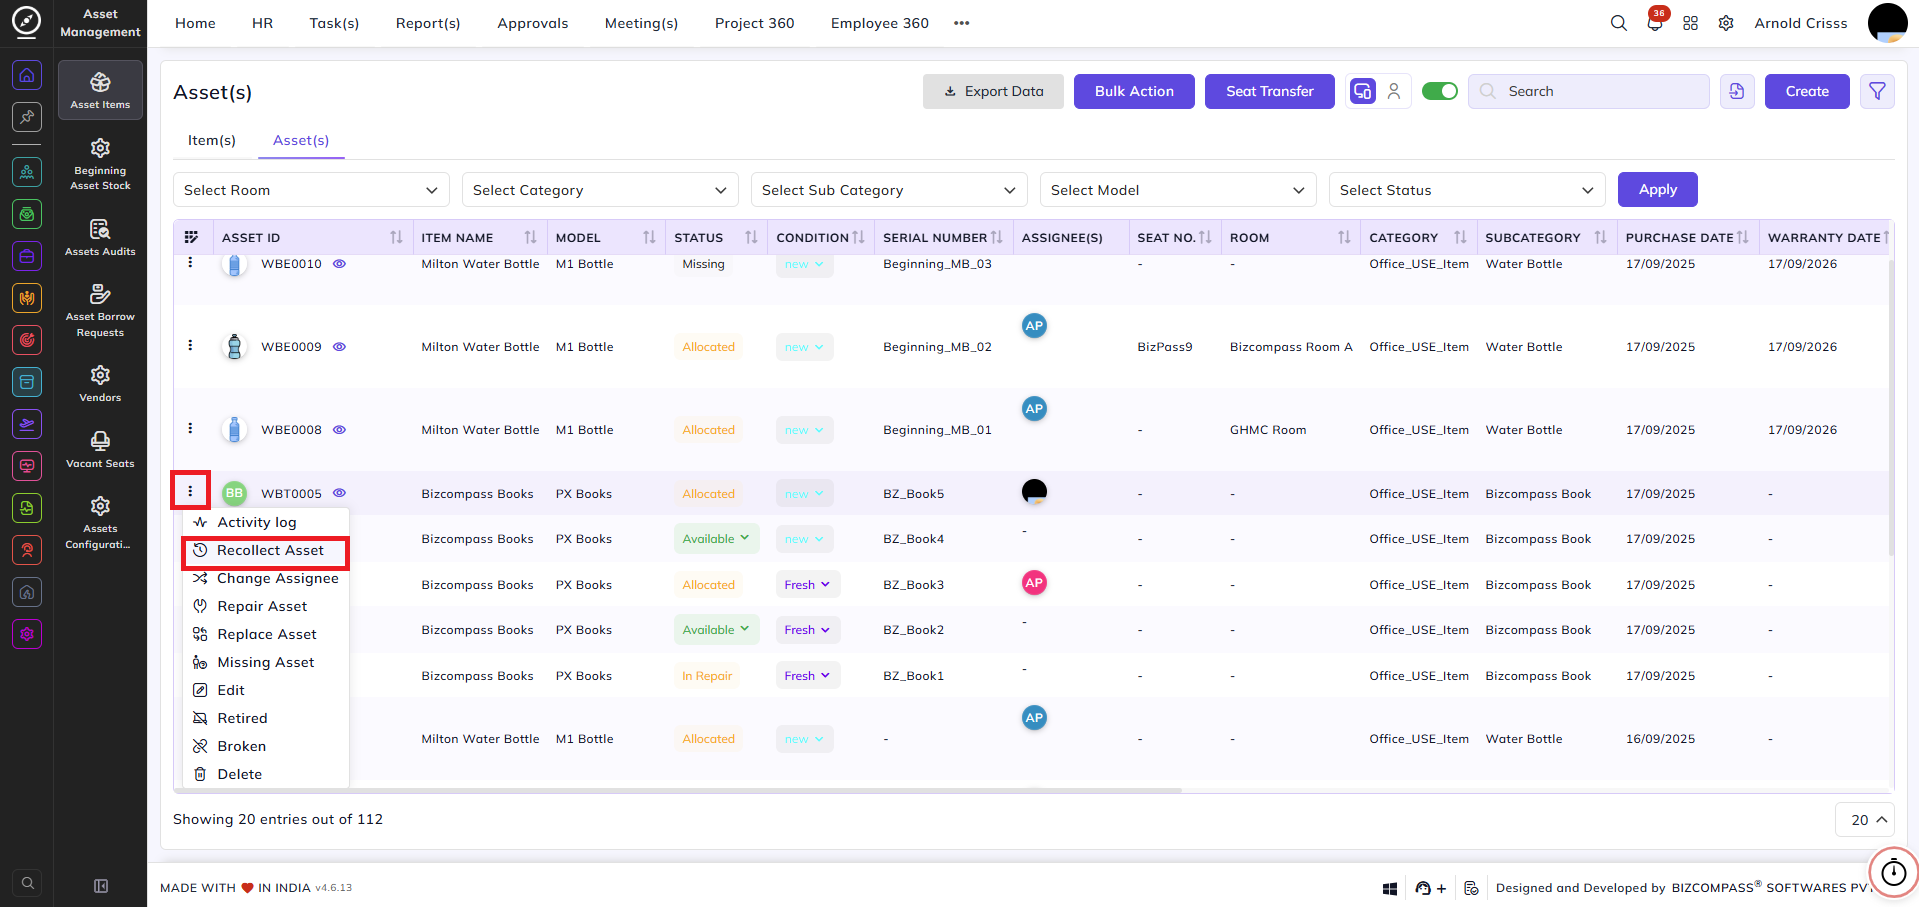
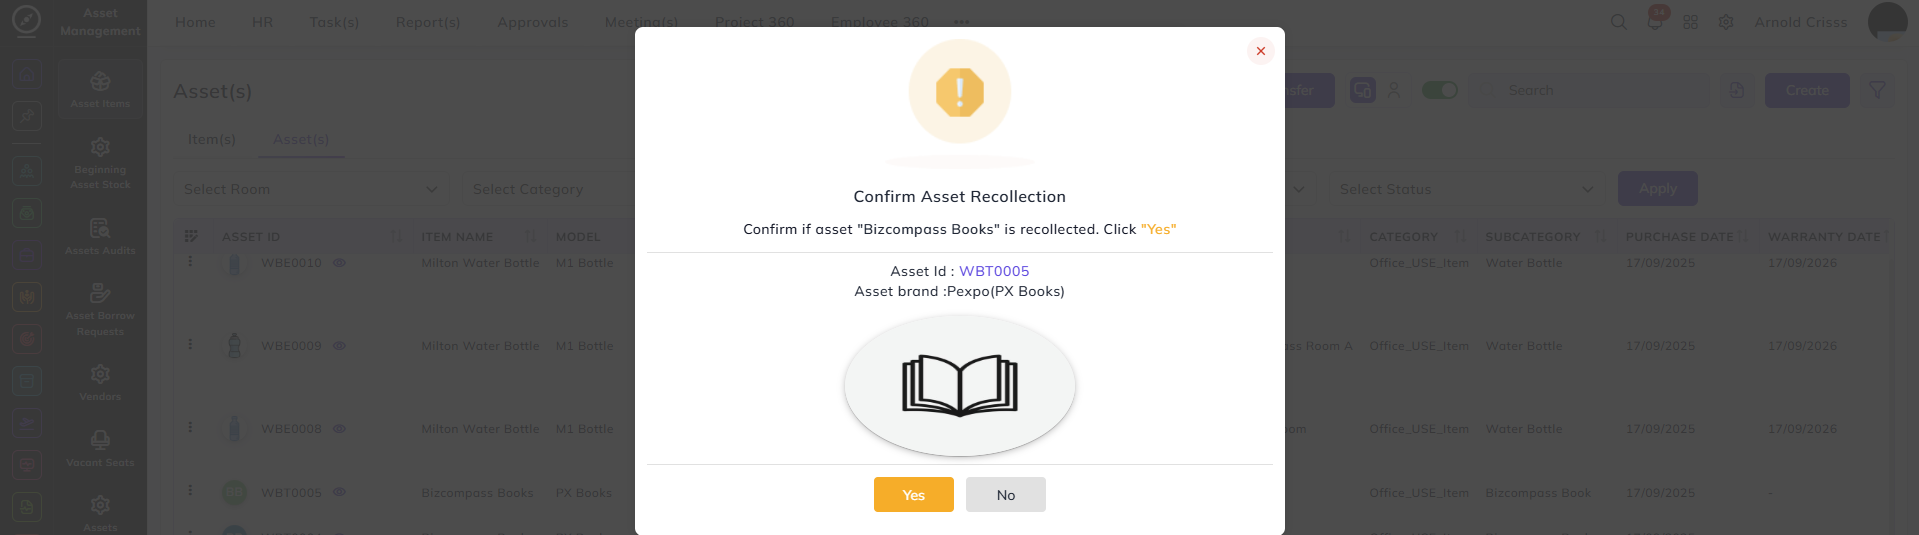
-
The status changes to Available
-
The activity log is updated
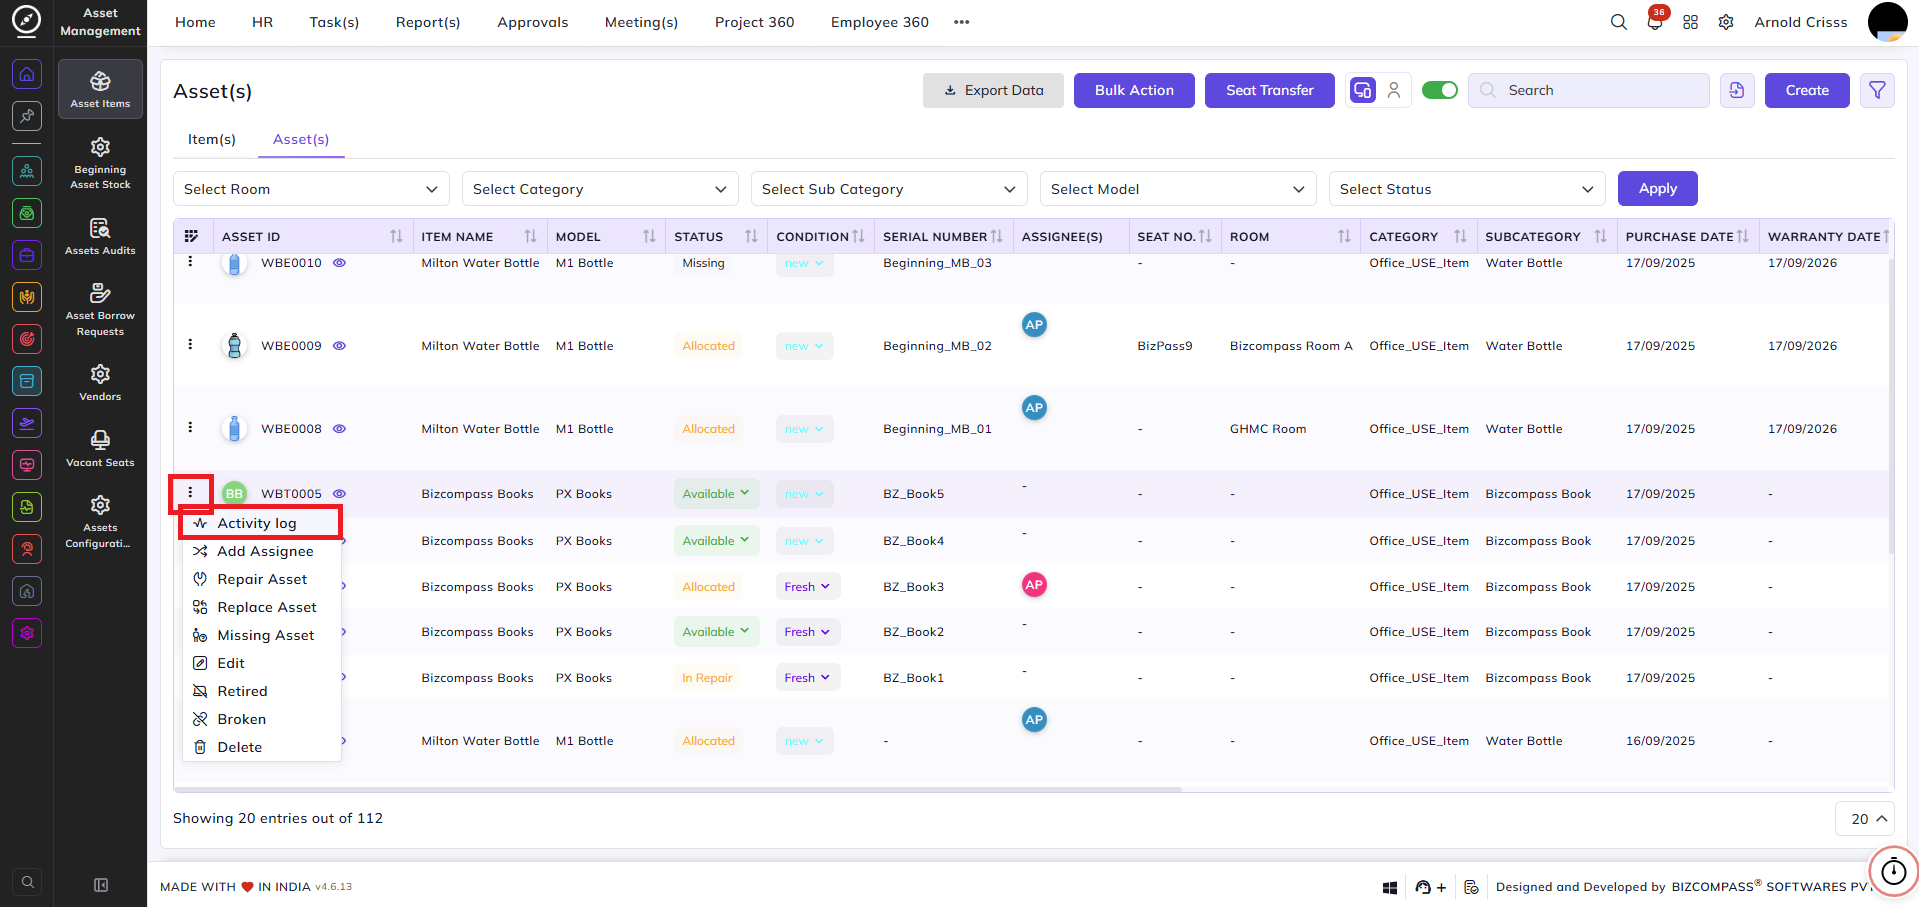
Repairing an Asset:
To send an asset for repair:
-
Select the Vendor
-
Enter the Submit Date
-
Enter the Estimated Repair Date
The asset is recollected from the employee and the status changes to Repair.
Follow-Ups:
There are two types of follow-ups:
-
Next Follow-Up
-
Received Item
For each follow-up, you can add:
-
Date
-
Title
-
Attachments
Follow-ups can be edited or updated at any time.
Seat Transfer:
Assets can be moved between seats using:
-
Merge – Combine assets into one seat
-
Swap – Exchange assets between seats
-
Replace – Replace one seat’s asset with another
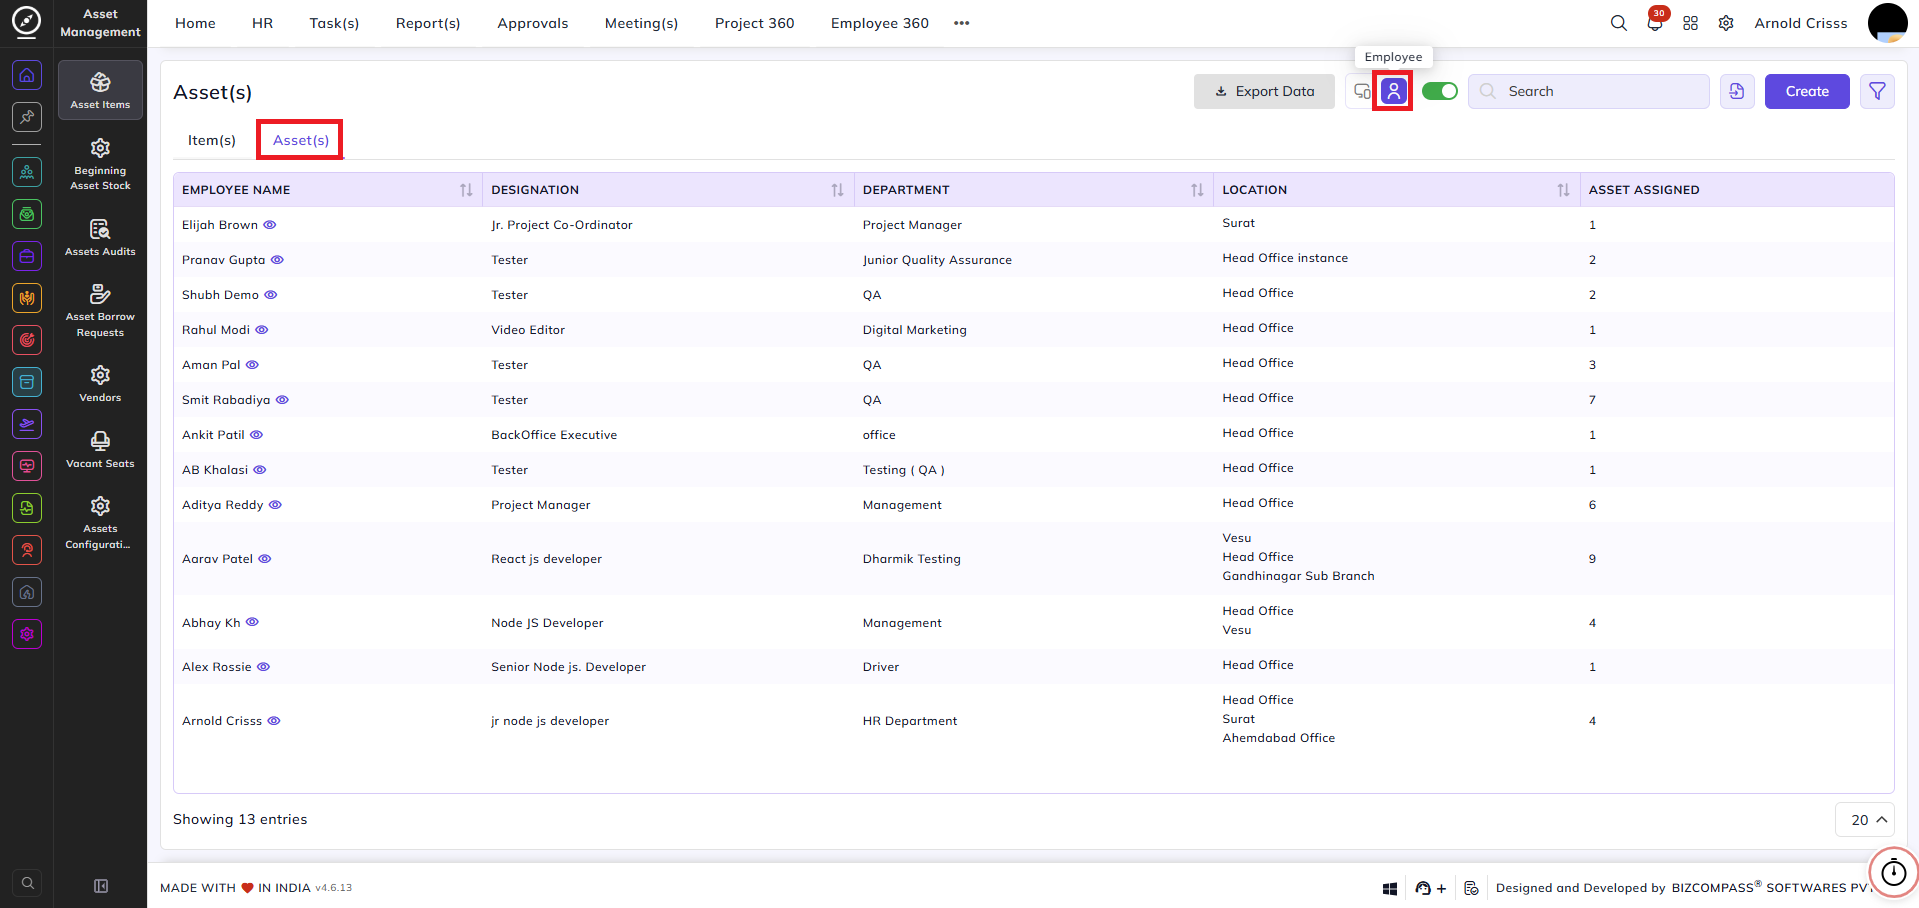
Searching Assets:
You can search assets by:
-
Asset ID
-
Employee Name
You can view:
-
Current assignments only
-
Or the full assignment history
Bulk Actions:
You can perform bulk actions such as:
-
Assigning assets
-
Recollecting assets
-
Marking assets as broken, missing, or retired
-
Generating QR codes
Bulk QR Code Printing:
You can generate QR codes for multiple assets at once.
You can configure:
-
Paper size
-
Density
-
Horizontal gap
-
Vertical gap
After configuration, you can download or print the stickers.
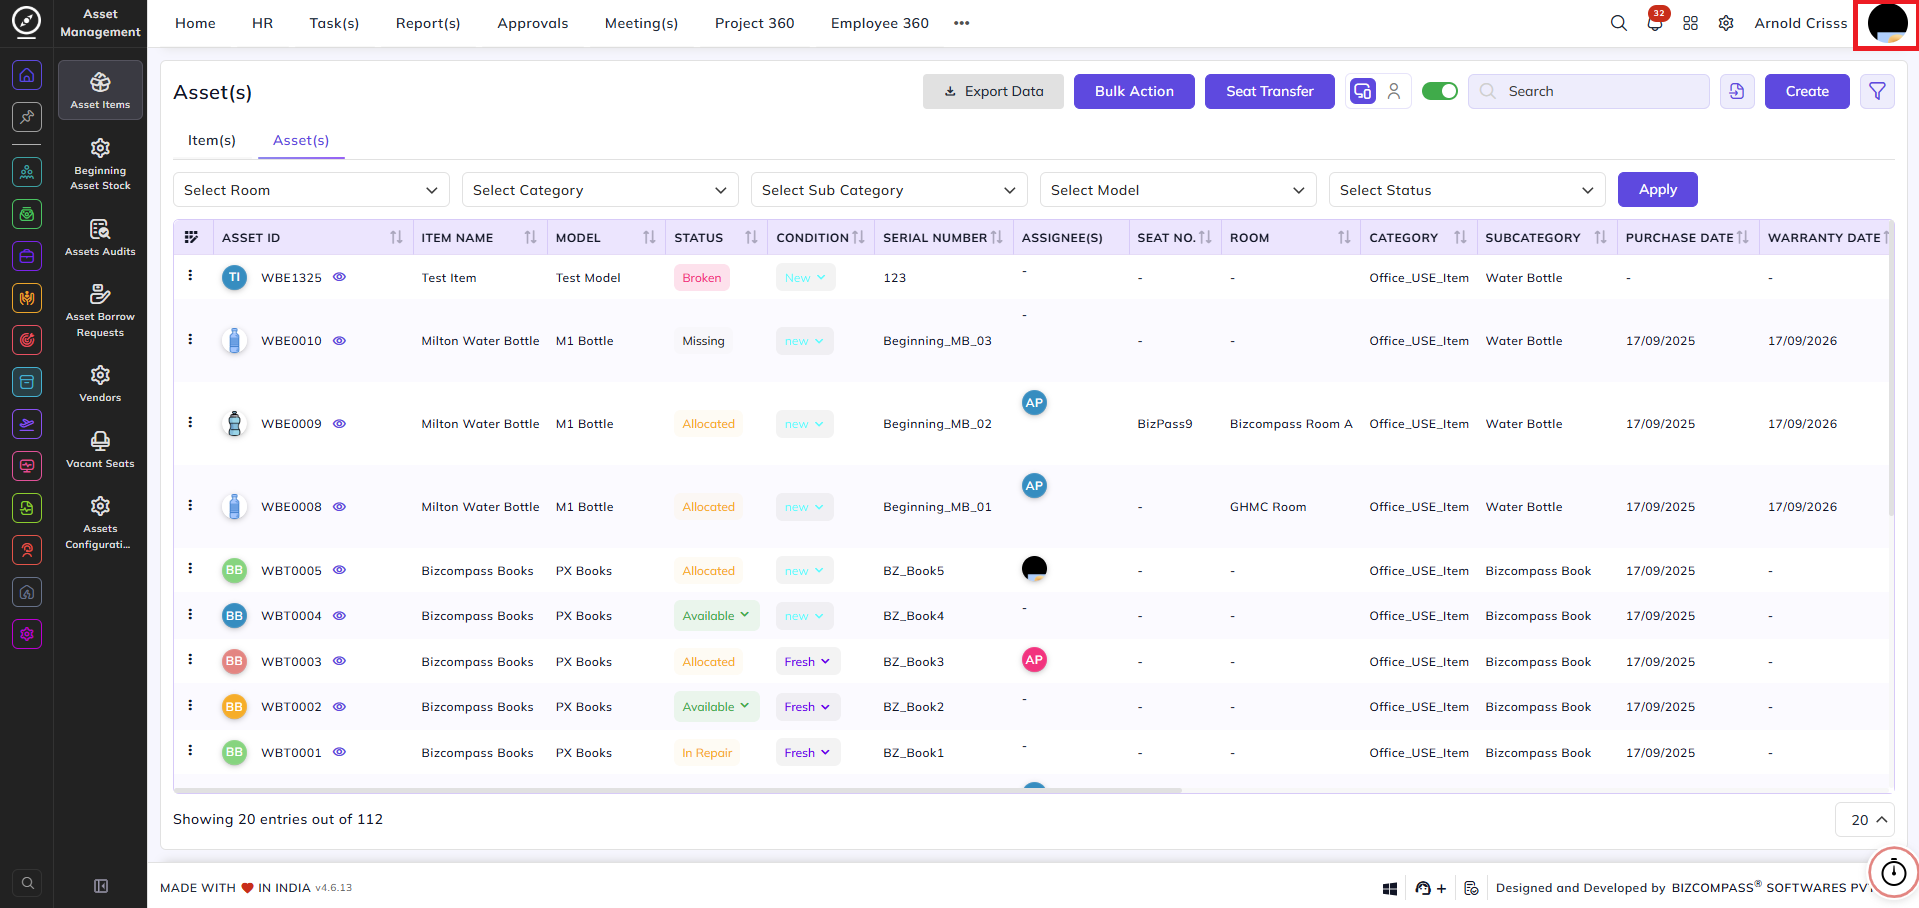
- Assets View with Asset based listing
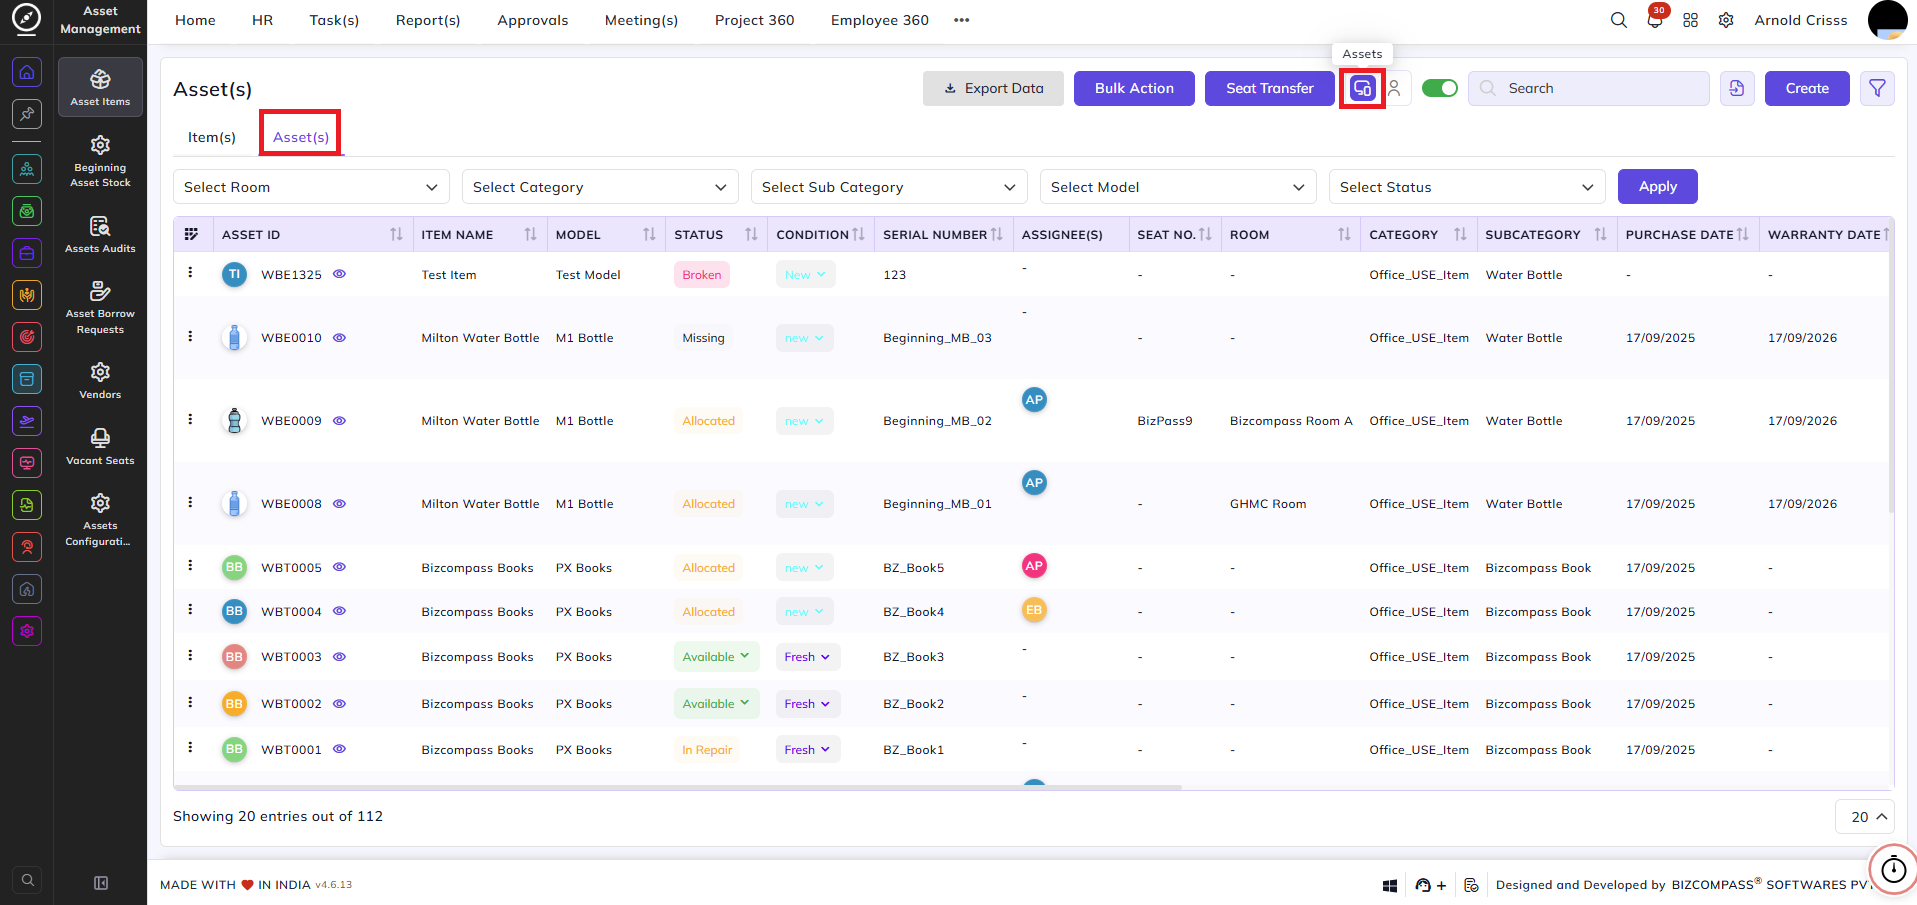
- Assets View with Employee based listing