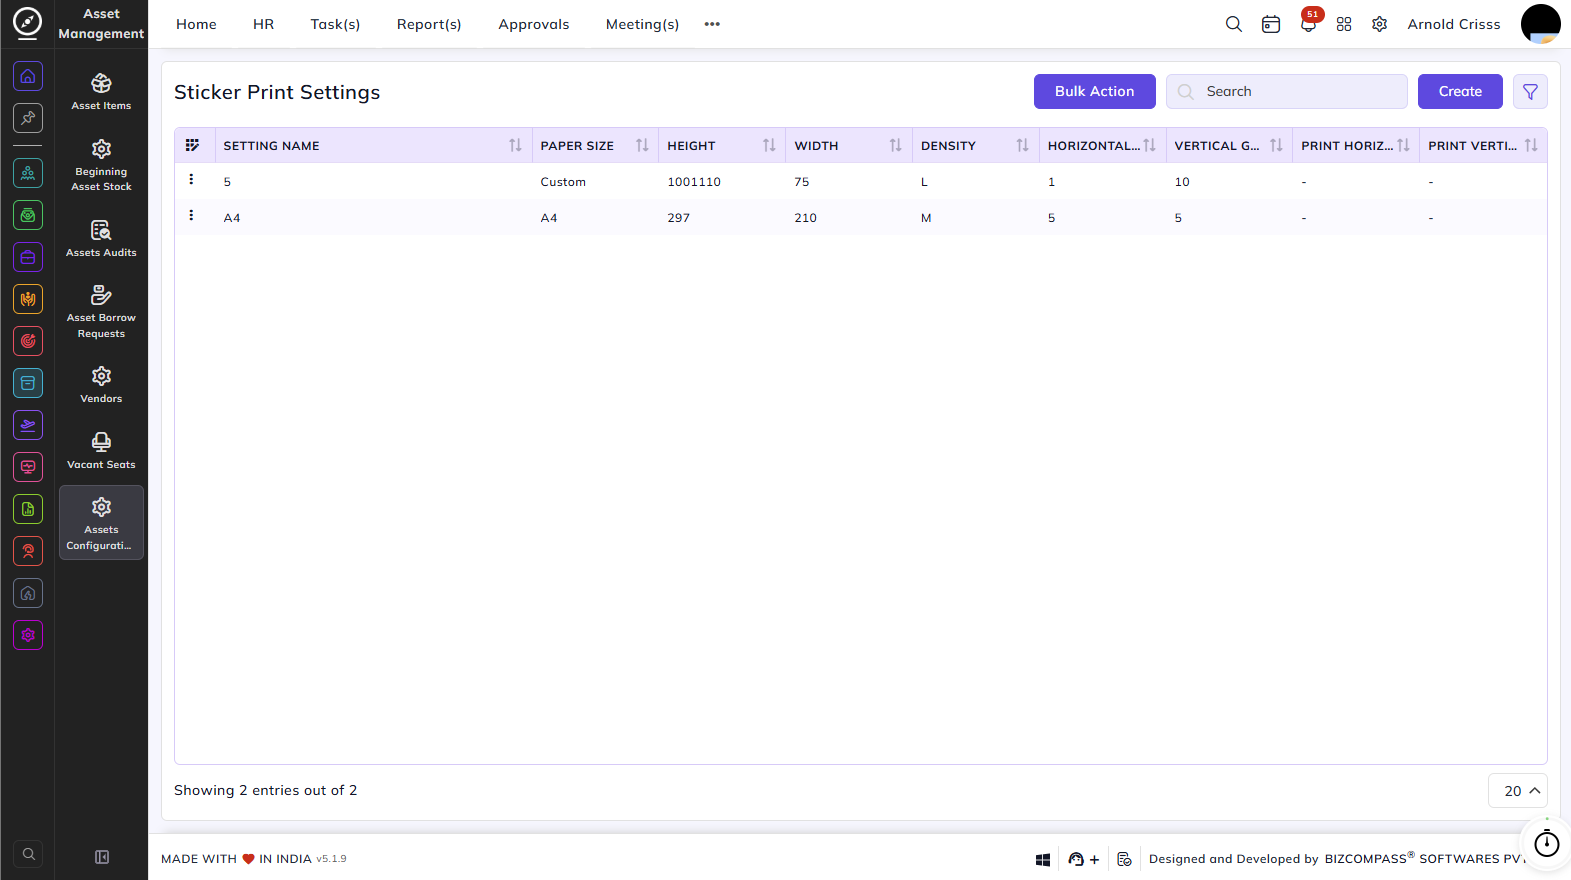
Sticker Print Settings
This page is used to configure the layout and print settings for asset QR code stickers.
The list shows each setting's Setting Name, Paper Size, Height, Width, Density, Horizontal Gap, and Vertical Gap.
Creating a Sticker Print Setting:
Click the Create button at the top right to open the Create Sticker Print Settings dialog. Fill in the following fields:
- Setting Name: Enter a name to identify this print setting.
- Paper Size: Select the paper size to be used for printing: A3 (297×420 mm), A4 (210×297 mm), A5 (148×210 mm), Legal (216×356 mm), Letter (216×279 mm), or Custom.
- Height (mm): Enter the height of the sticker in millimeters.
- Width (mm): Enter the width of the sticker in millimeters.
- Horizontal Gap (mm): Enter the horizontal spacing between stickers.
- Vertical Gap (mm): Enter the vertical spacing between stickers.
- Density: Select the QR code error correction level: L – Low (7% Recovery, High Density), M – Medium (15% Recovery), Q – Quality (25% Recovery), or H – High (30% Recovery, Most Reliable).
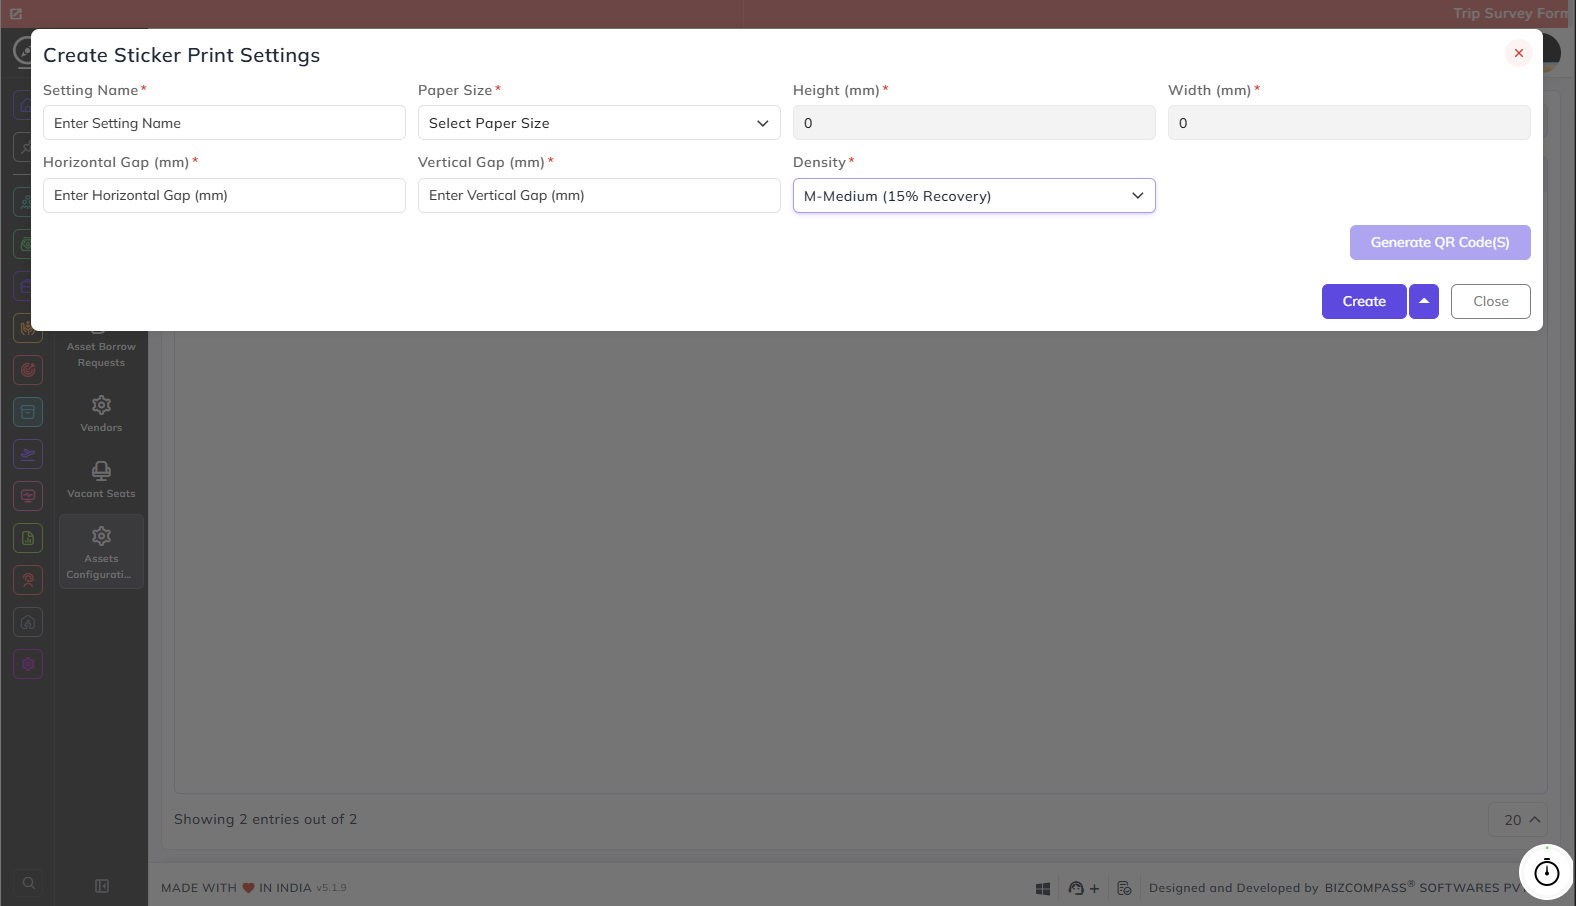
Once the fields are filled, click Generate QR Code(s) to preview the sticker layout. The Preview & Print Layout panel on the right will display all asset QR stickers with their Item Group, Asset ID, Item Category, and Purchase Date.
You can also edit the Setting Name, Paper Size, Horizontal & Vertical Gaps, and Density from here and click on Generate QR Code(s) again. The total sticker count is shown at the top of the preview. Use the Print button to print directly from the preview.
