Employee Configurations
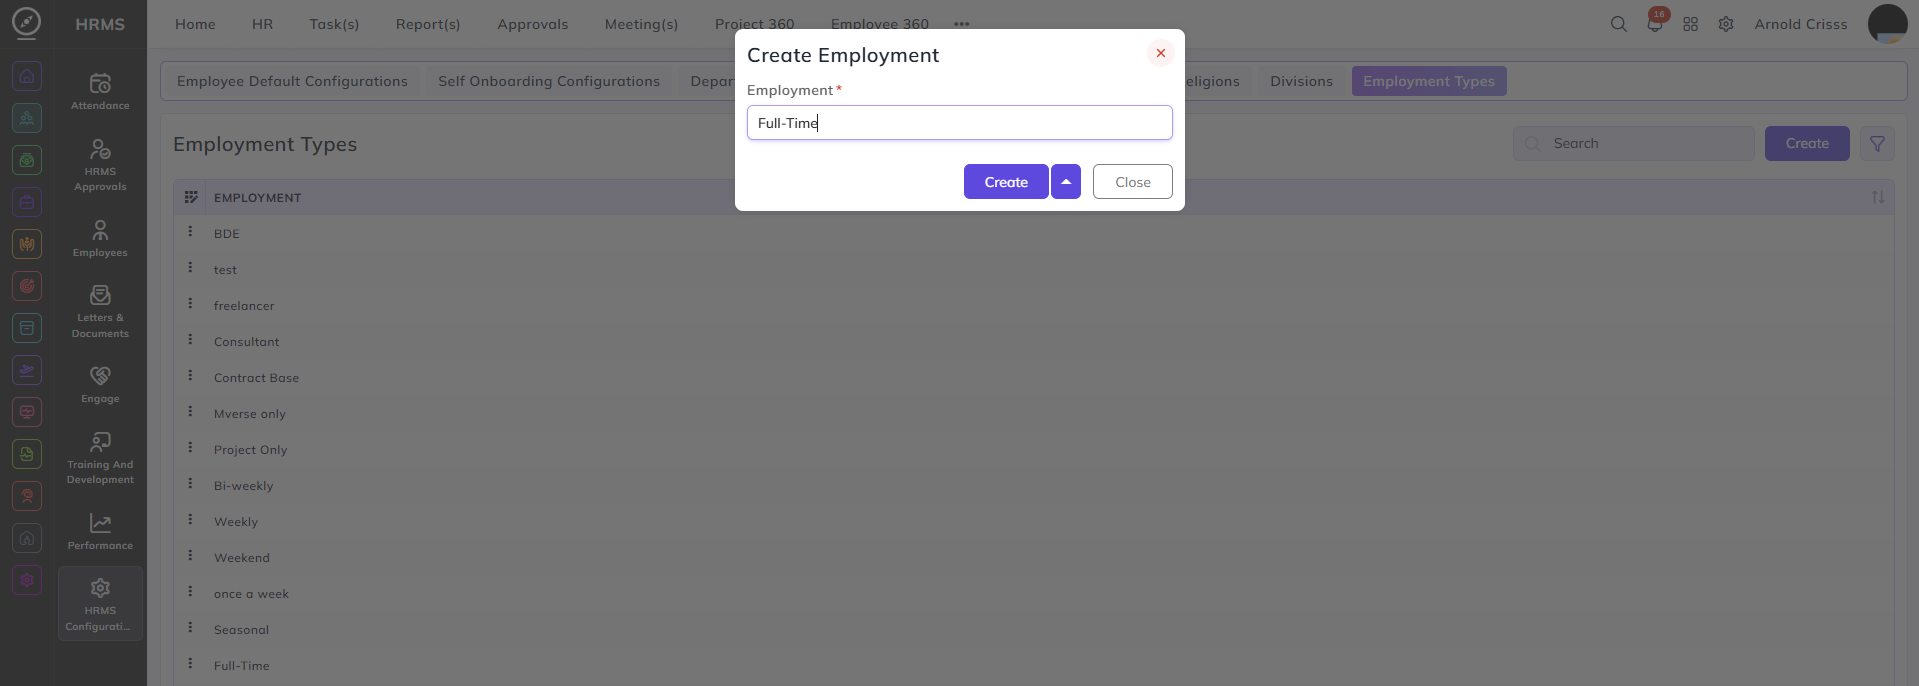
Employment Types:
From this page, you can create different employment types for employees like Part-Time, Full-Time, Contract Based, etc. which will be used for setting up employee default configurations as well as while creating an employee profile.
Pay Grades and Groups:
From the Pay Grade Groups page, you can create a pay grade group in which we can add multiple pay grades.

The Bulk Action button allows you to delete multiple pay grade groups at once, streamlining the management process.
From the Pay Grades page, you can create different pay grades for employees. You can also choose if we want to make this pay grade active or not. And you can optionally add it in a Pay Grade Group.

The Bulk Action button allows you to delete multiple pay grades at once, streamlining the management process.
Note: The use of pay grade will be in the Performance Module.
Departments:
From this page, you can create Departments for our company. You can optionally select Head of Department and choose if this department will be shown in the recruitment module.
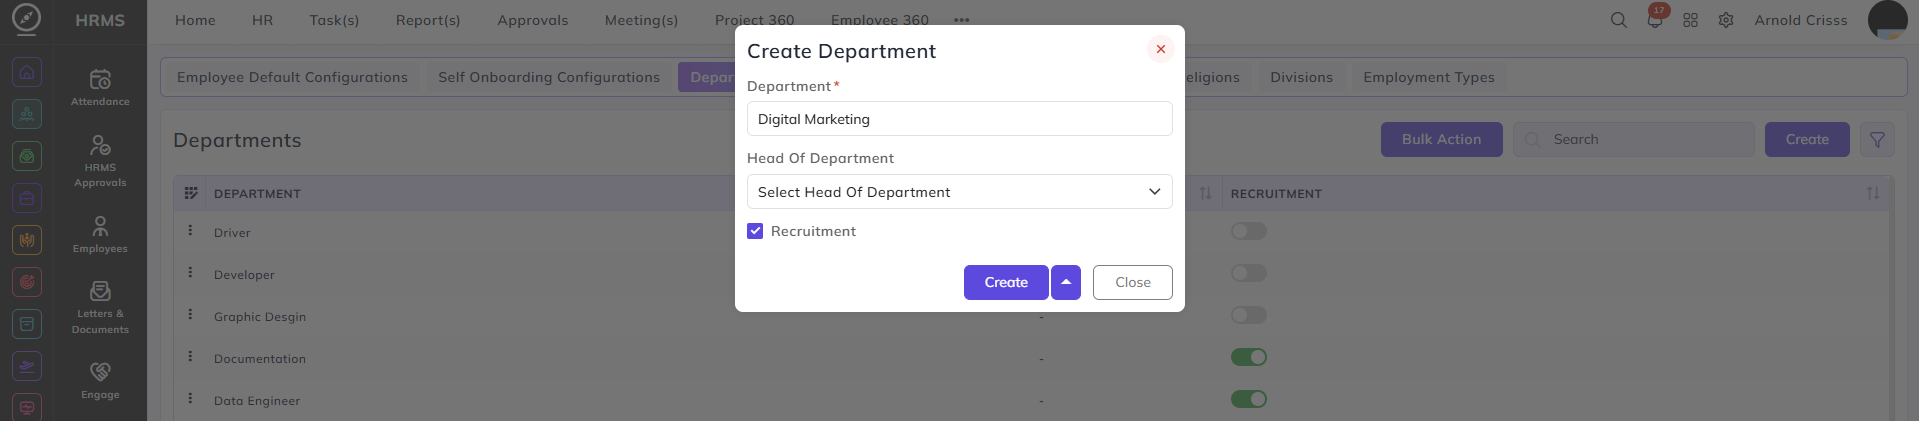
The Bulk Action button allows you to delete multiple departments at once, streamlining the management process.
Sub-Department:
From this page, you can create Sub-Departments for Departments created previously. You can choose to make it Active or not.

The Bulk Action button allows you to delete multiple sub-departments at once, streamlining the management process.
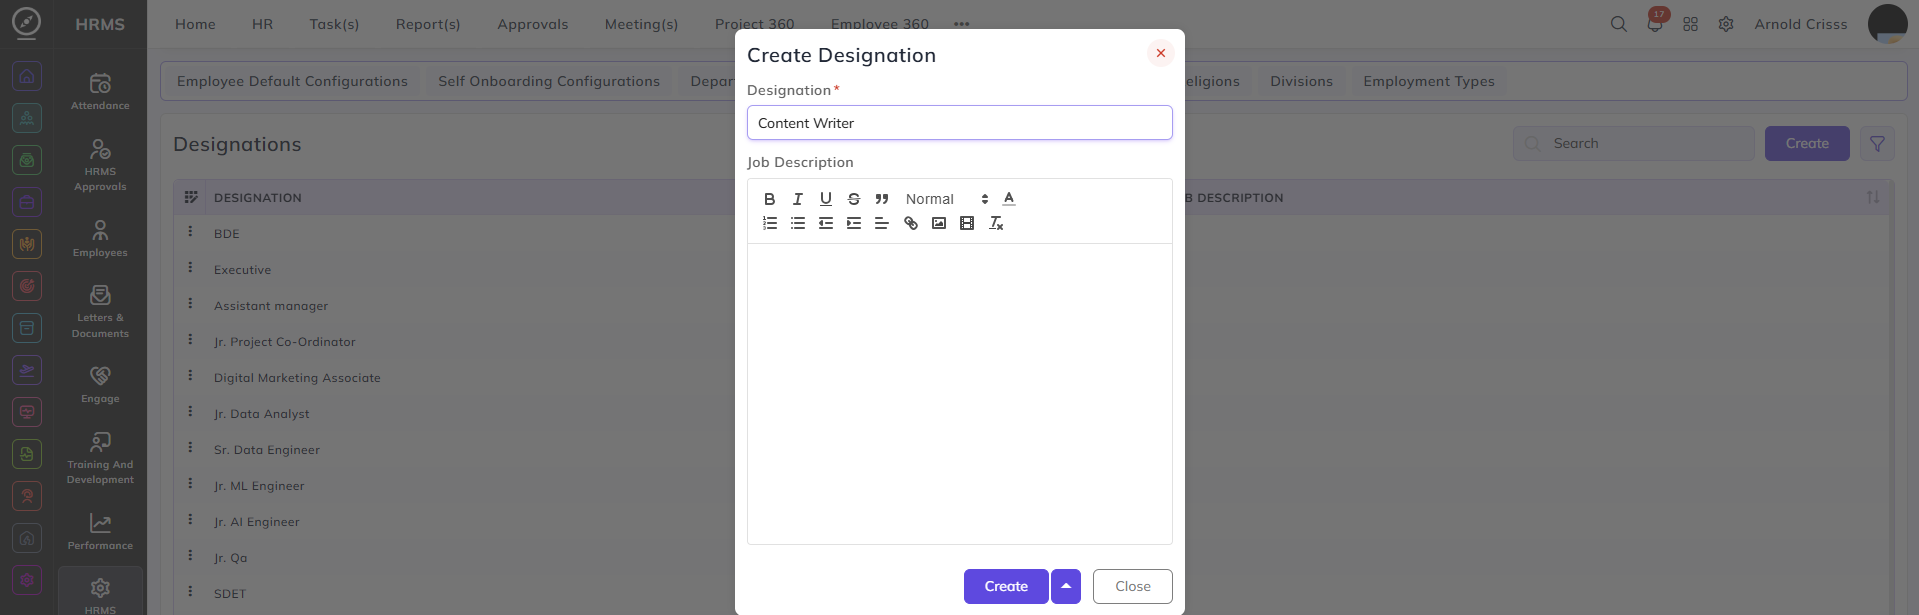
Designations:
From this page, you can create Designations and optionally add Job Descriptions for them.
Relations:
From this page, you can create Relations which are associated with Emergency Contact Numbers while creating an employee profile.

The Bulk Action button allows you to delete multiple relations at once, streamlining the management process.
Religions:
From this page, you can create different Religions which are used while creating an employee profile.
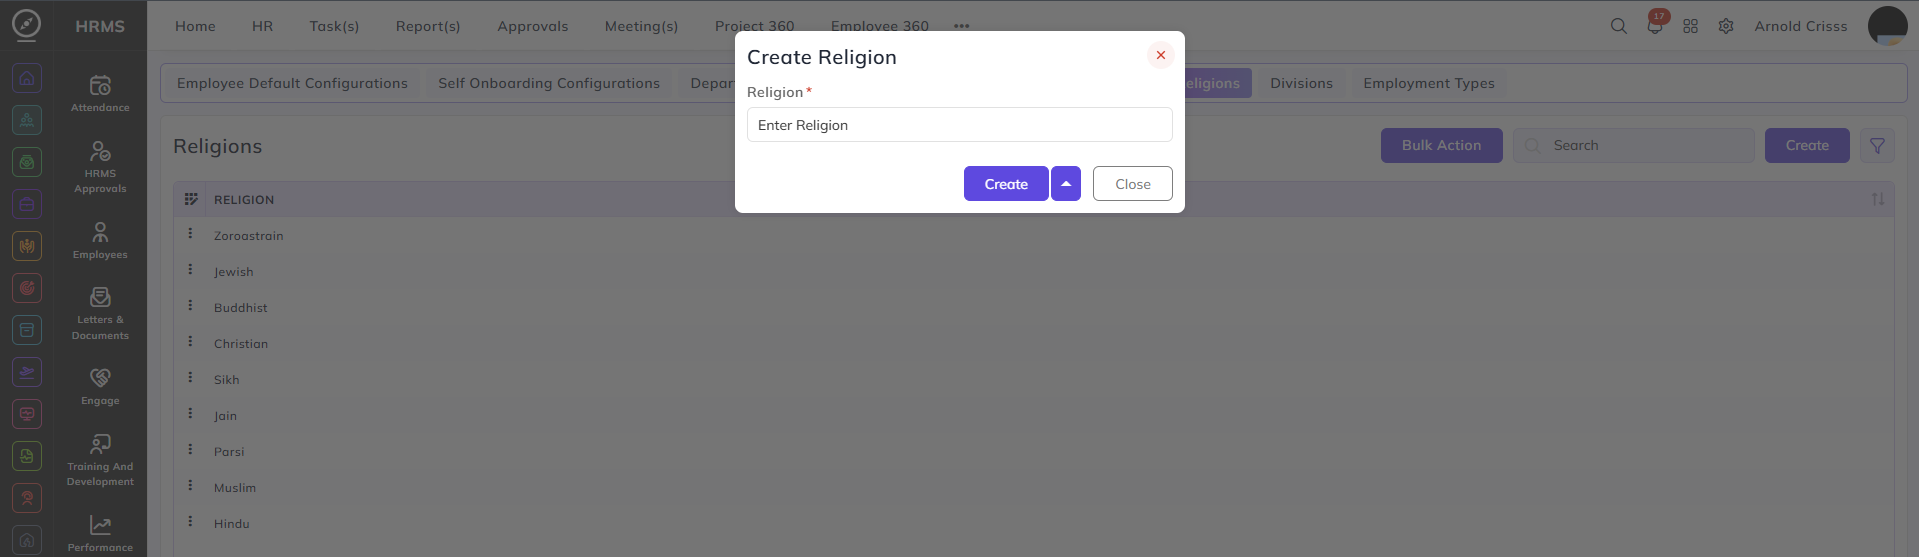
The Bulk Action button allows you to delete multiple religions at once, streamlining the management process.
Divisions:
From this page, you can create different Divisions for your company which are used while creating an employee profile. And you can optionally select the Head of Division.

The Bulk Action button allows you to delete multiple divisions at once, streamlining the management process.
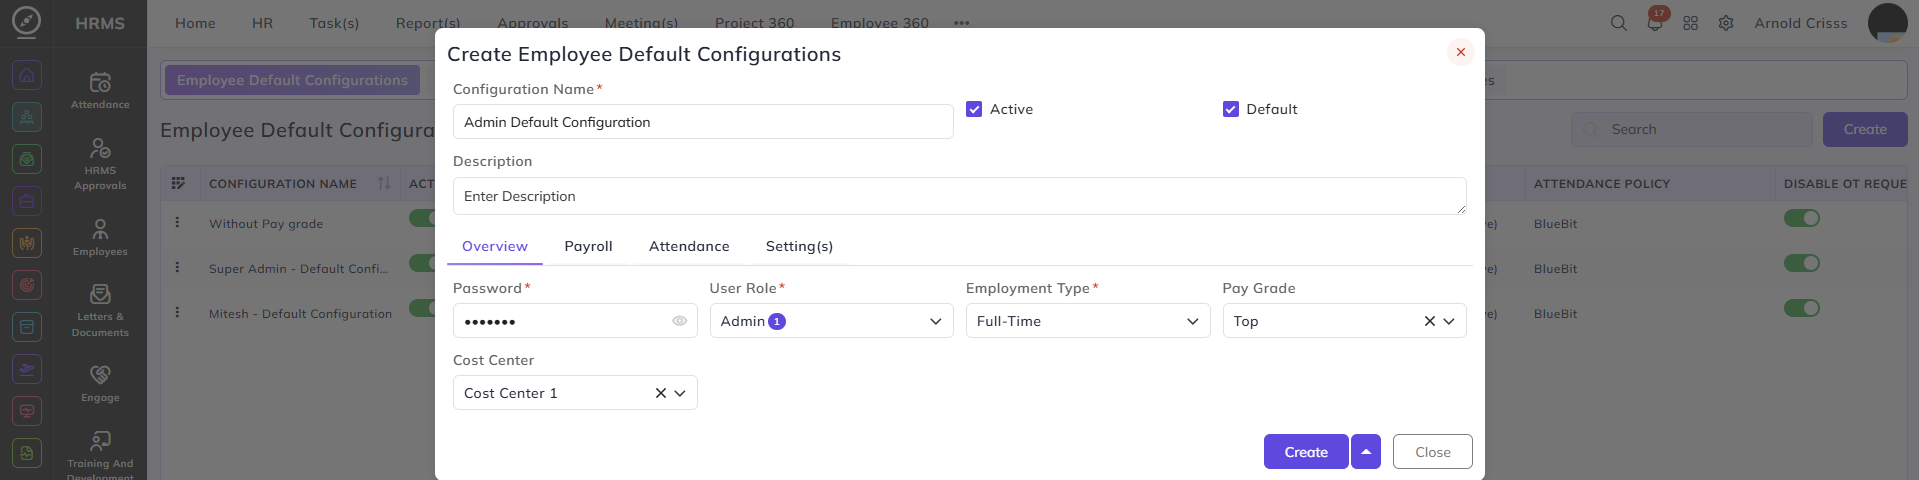
Employee Default Configurations:
From this page, you can create Employee Default Configurations which can be optionally added while creating a new employee.
- You can choose to make this configuration Default or Active.
- You can add multiple fields in the configuration like Overview, Payroll, Attendance, and Setting(s).
Overview:
- Enter the Password to be assigned to the employee.
- Select the User Role and Employment Type for the employee.
- Optionally select the Pay Grade and the Cost Center.
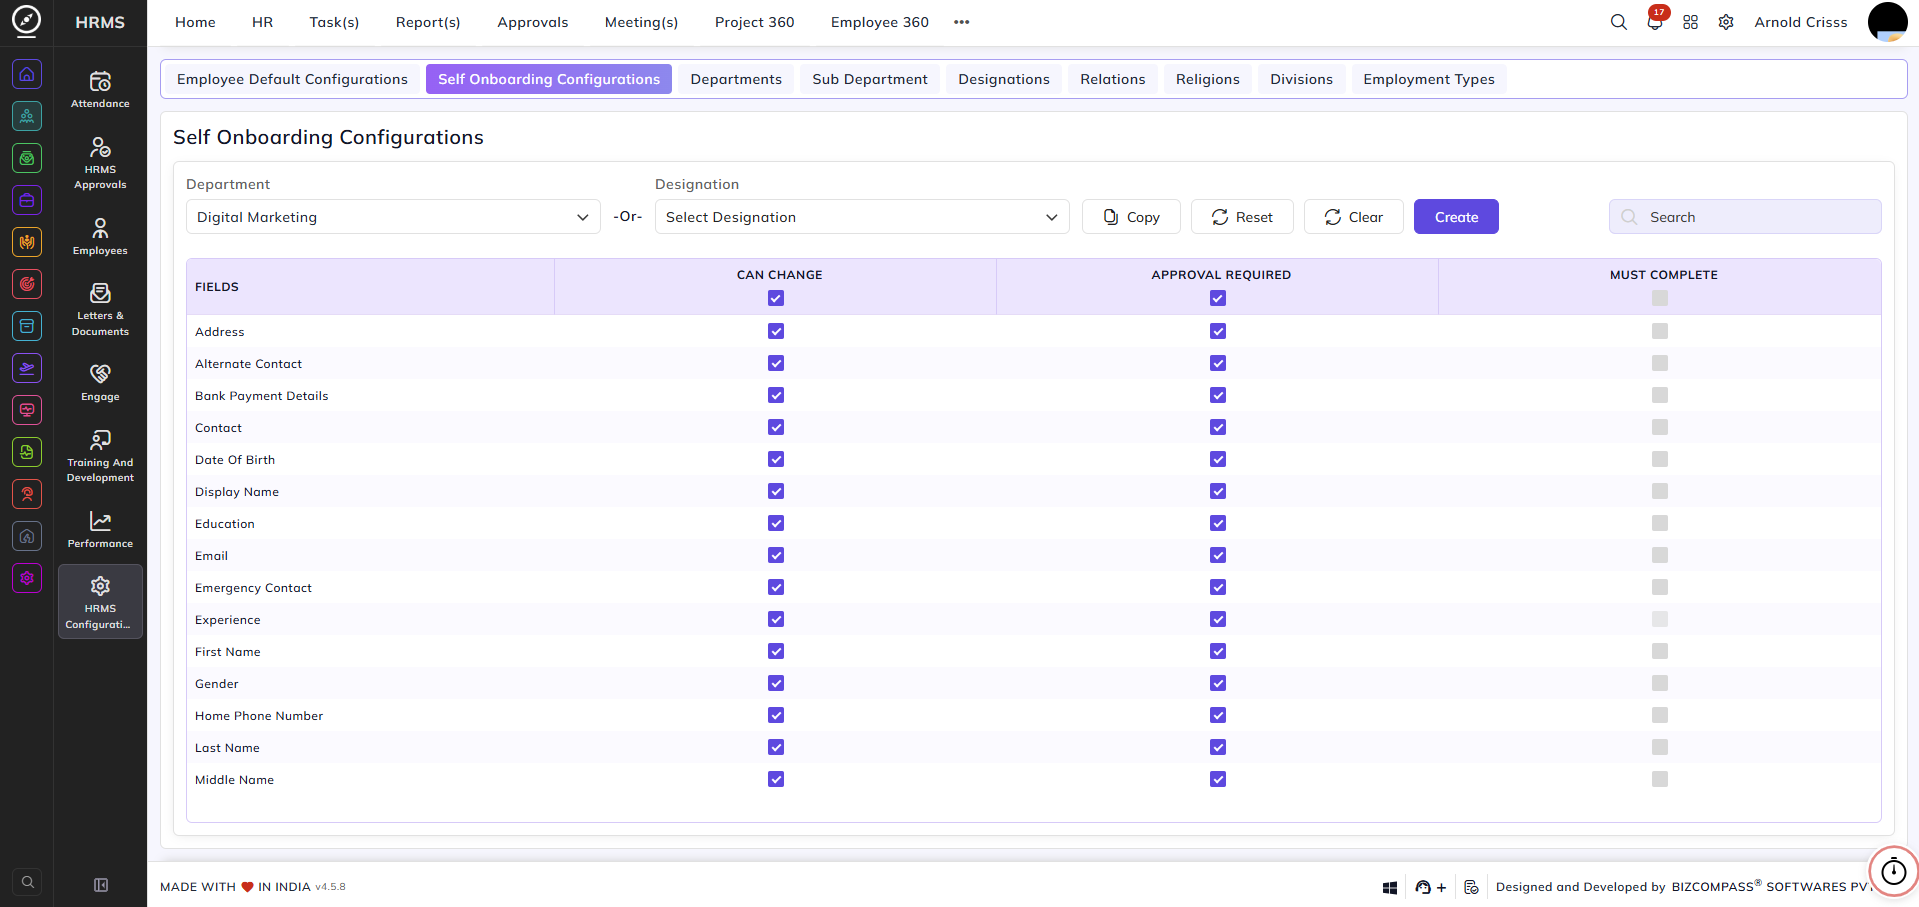
Self Onboarding Configurations:
From this page, you can set up Self Onboarding Configurations for employees.
- You can select the Department or Designation whose employees can do self onboarding.
- For different fields like Address, Email, etc., you can enable or disable the options of:
1) Can Change: Employees can change the selected field on their own.
2) Approval Required: Employees can change the selected field with the approval of their respective approved person. The
approved person can see the employee's request in the Employee Updates Approvals section of the Approvals tab.
3) Must Complete: Employees have to mandatorily complete filling the selected fields on their own.