Application View Modal
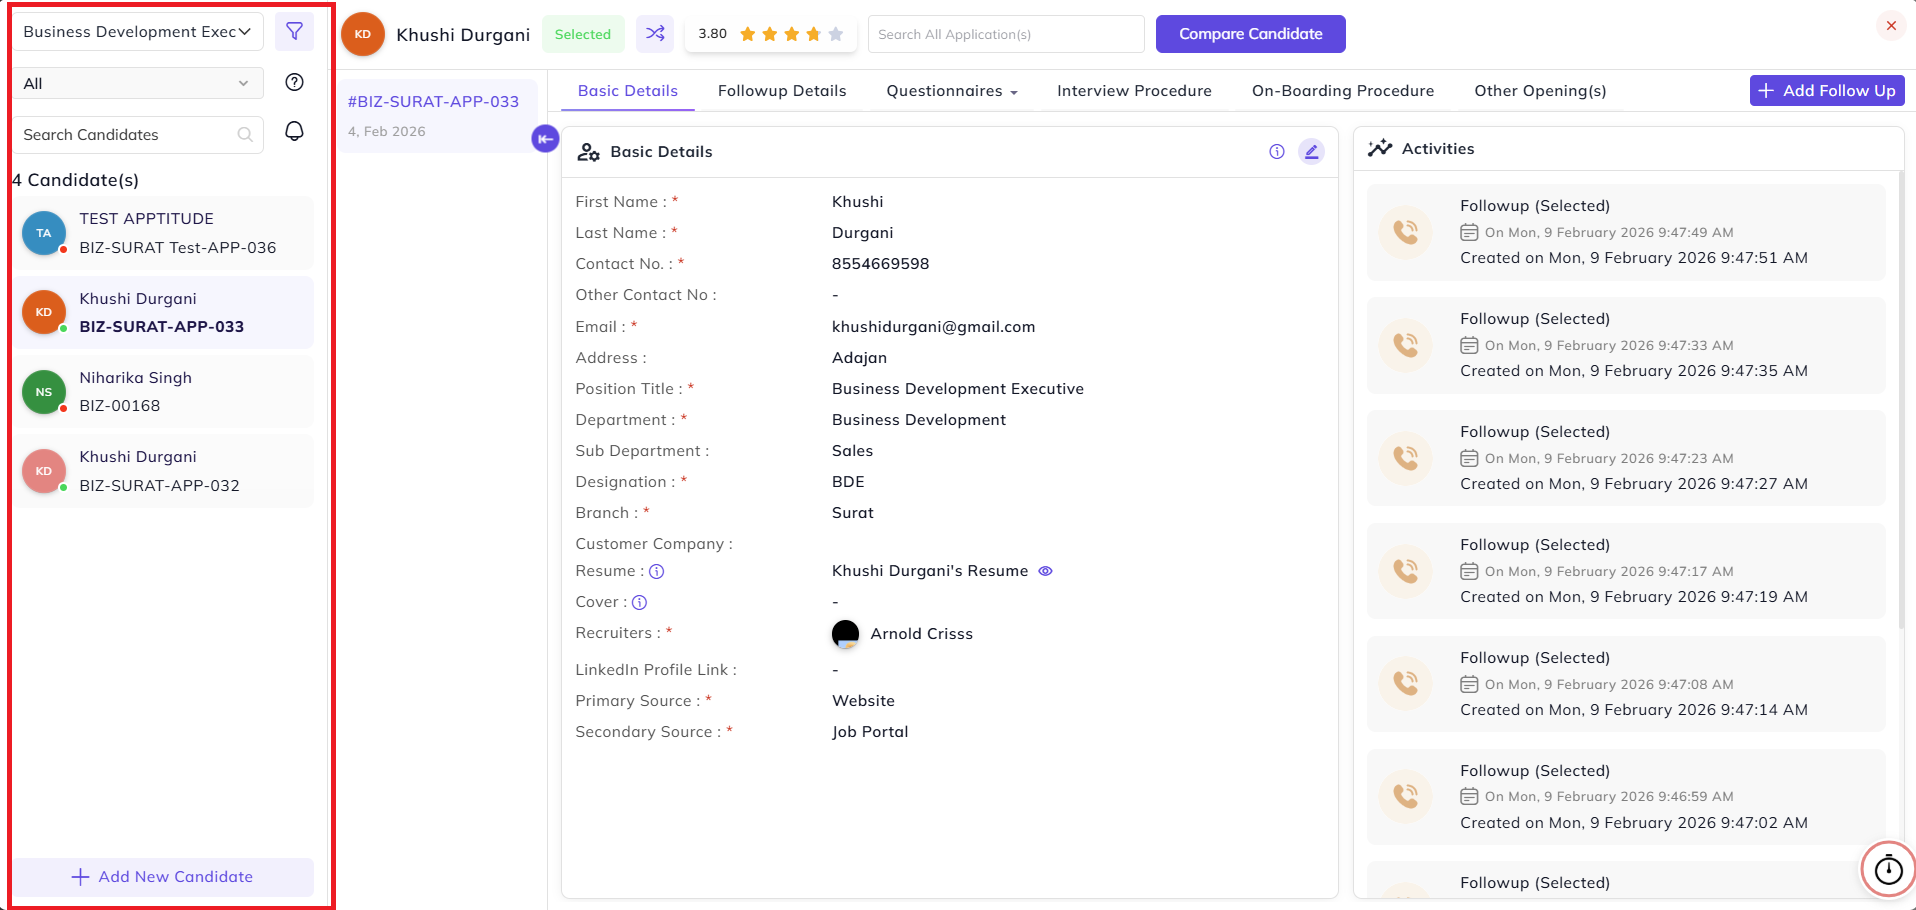
Left Panel:
At the left side, there is a panel for the selection of opening, resource request, search field, and candidate/application selection, and filters to filter out the candidates.
Note: Only recruitment notifications will be visible inside this application detail view.
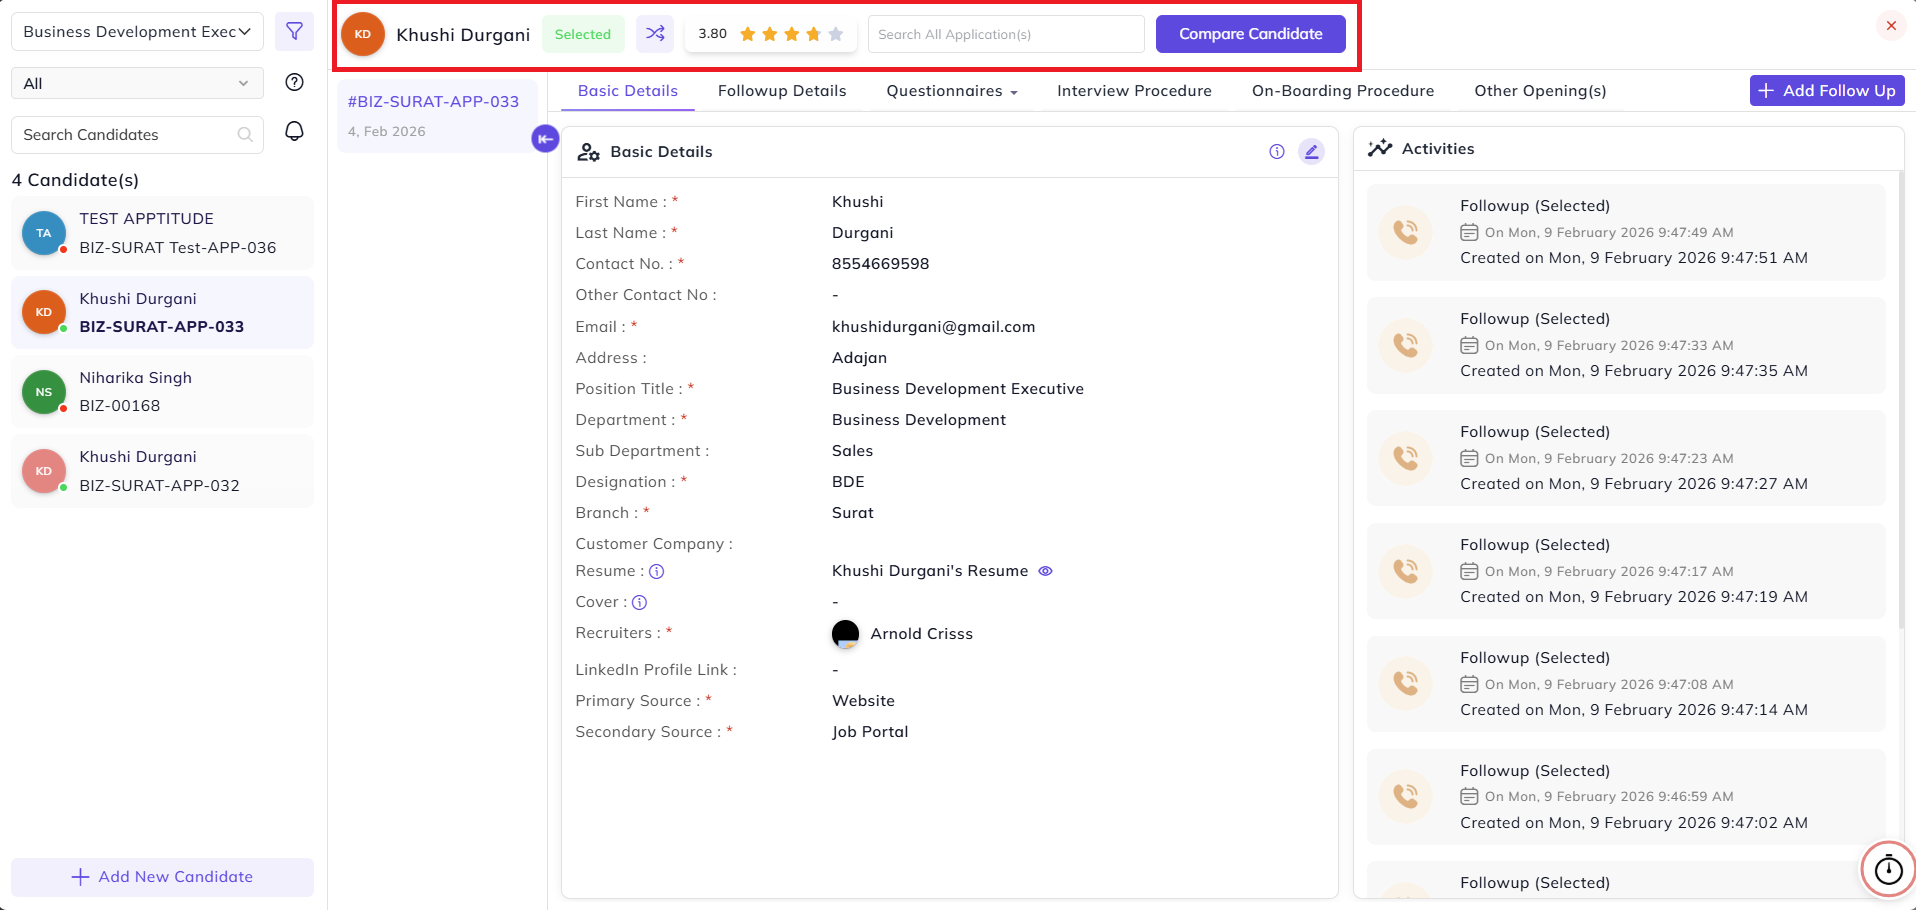
Top Bar:
On selection of an application/candidate, the Candidate Name will be visible in the top bar, next to the last follow-up/candidate status.
If the recruiter wants to transfer a candidate in their absence, they can transfer it in two scenarios:
Follow-up Transfer Person (The person for whom you want to transfer the follow-ups).
Example:
If Person A is absent for some time, then select Person A in the Follow-up Transfer Person.
Fetch Data:
On fetching data, all the applications for the Follow-up Transfer Person will be visible.
Duration:
Define for how much duration the data or applications need to be fetched where the Follow-up Transfer Person is the recruiter.
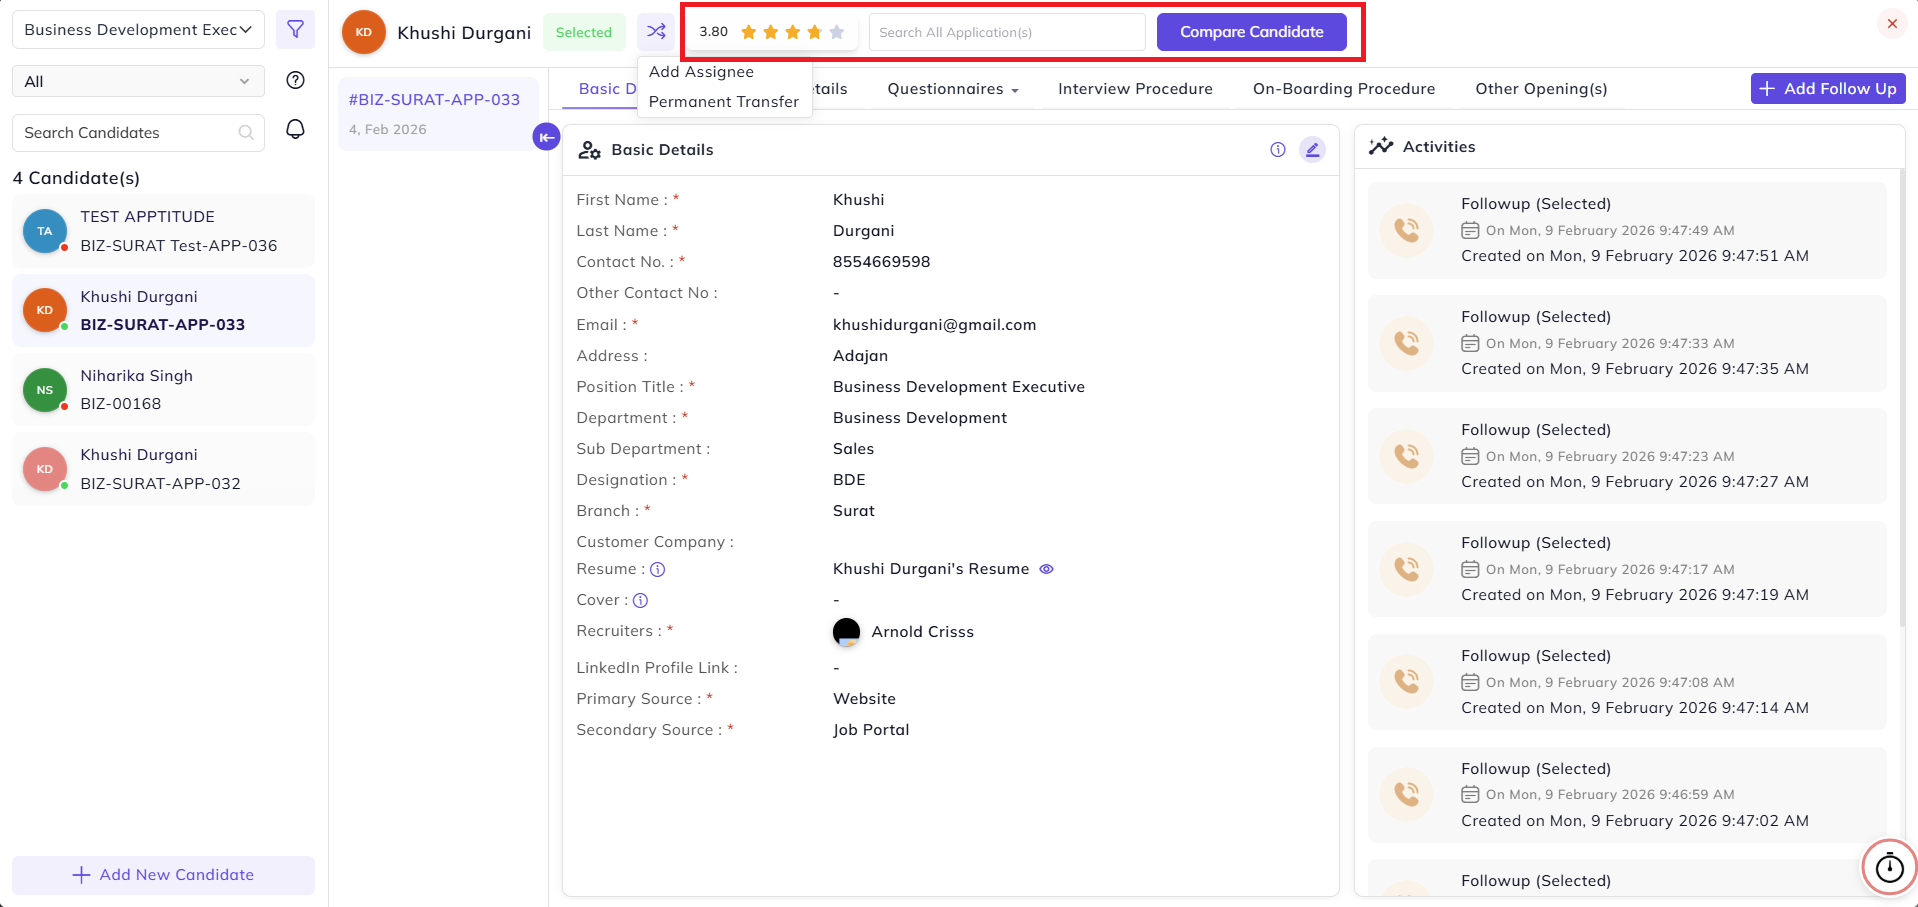
Add Assignee
Assignee:
If you want to add an assignee during transfer, then select Add Assignee:
-
Select the Recruiter (Follow-up Transfer Person)
-
Fetch the data
-
Select candidates whose follow-ups need to be transferred
-
Click on Transfer Follow-up button
-
Select Assignee
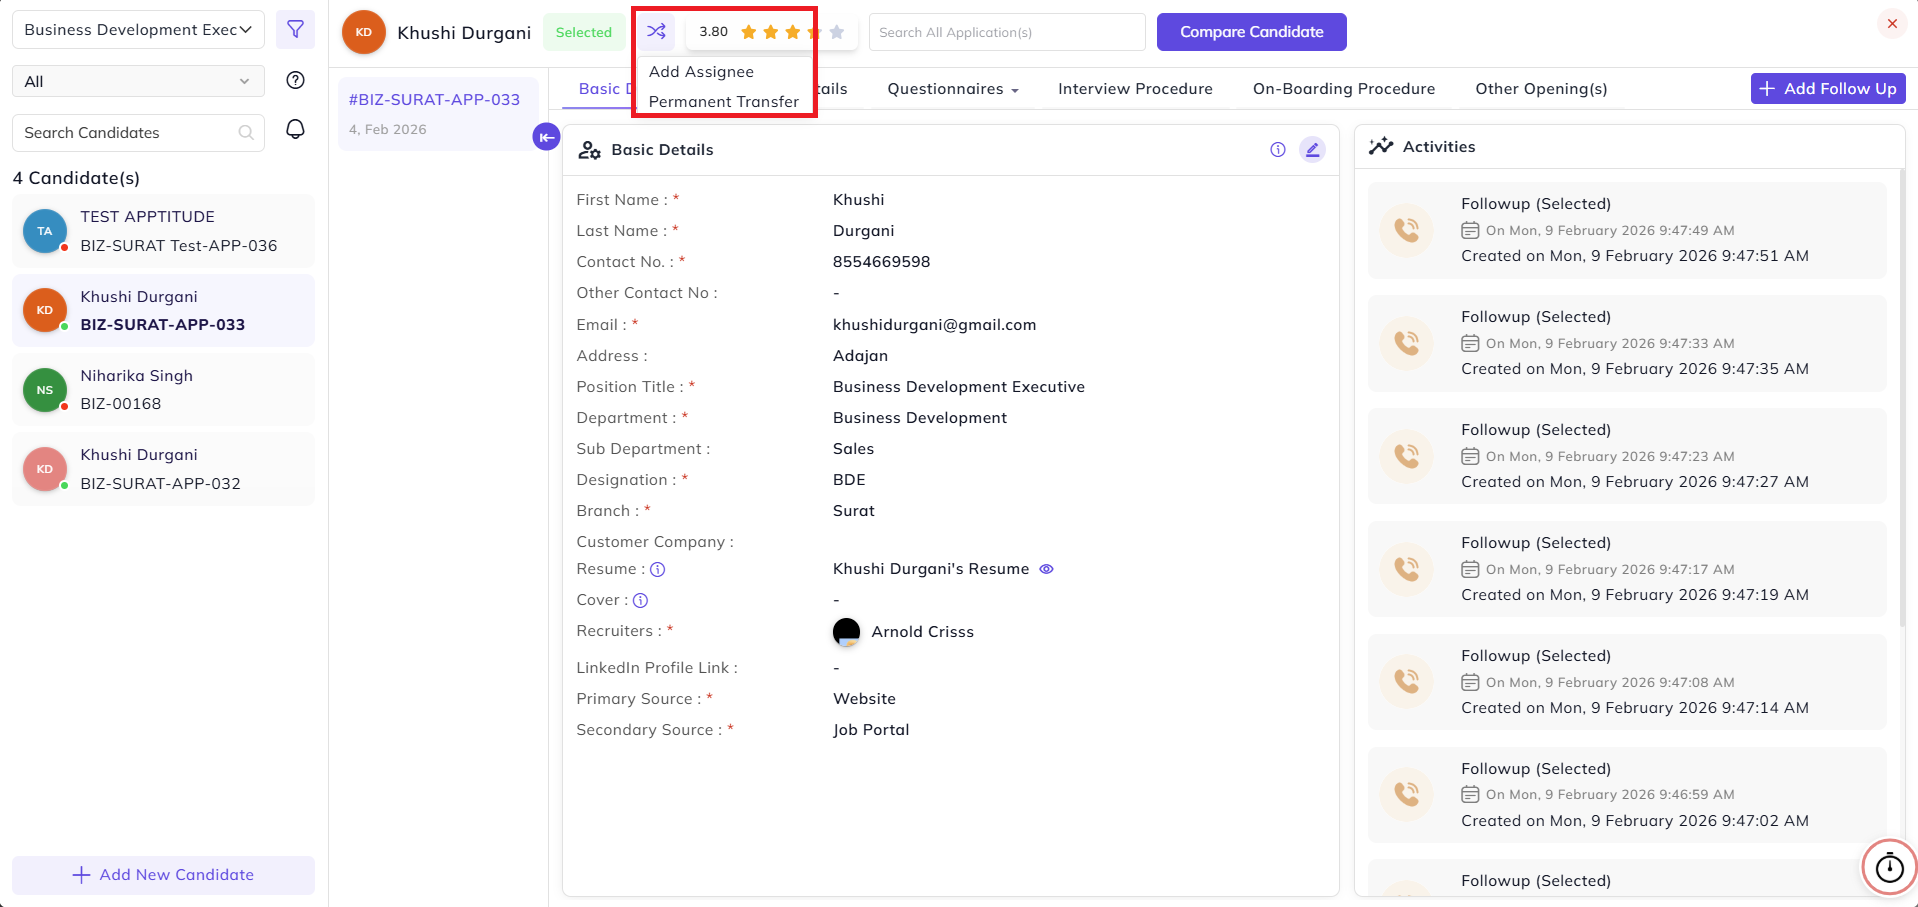

Permanent Transfer
Transfer:
If you want to transfer the follow-up permanently:
-
Select the Recruiter (Follow-up Transfer Person)
-
Fetch the data
-
Select candidates whose follow-ups need to be transferred
-
Click on Transfer Follow-up button
-
Select Assignee
If the Follow-up Transfer Person needs to remain as assignee, then select Keep Assignee.

Next to the follow-up transfer button, the overall rating will be visible based on interview stage rating.
Next to it, there is a candidate search option if you want to search a candidate/application outside of this opening.
Next to the search field, there is a Compare Candidate button.
On Compare Candidate, we can select the candidates we want to compare.
We can also select candidates from other openings by selecting the position.
Below the Top Bar:
The main candidate data and process are handled in this view.
On the left side, the Application ID is visible.
The use of Application ID is to track data based on the candidate’s past history.
Suppose a candidate was previously rejected or the requirement was not matched. If we re-approach the candidate, a new entry with a new Application ID will be visible above the old ID.
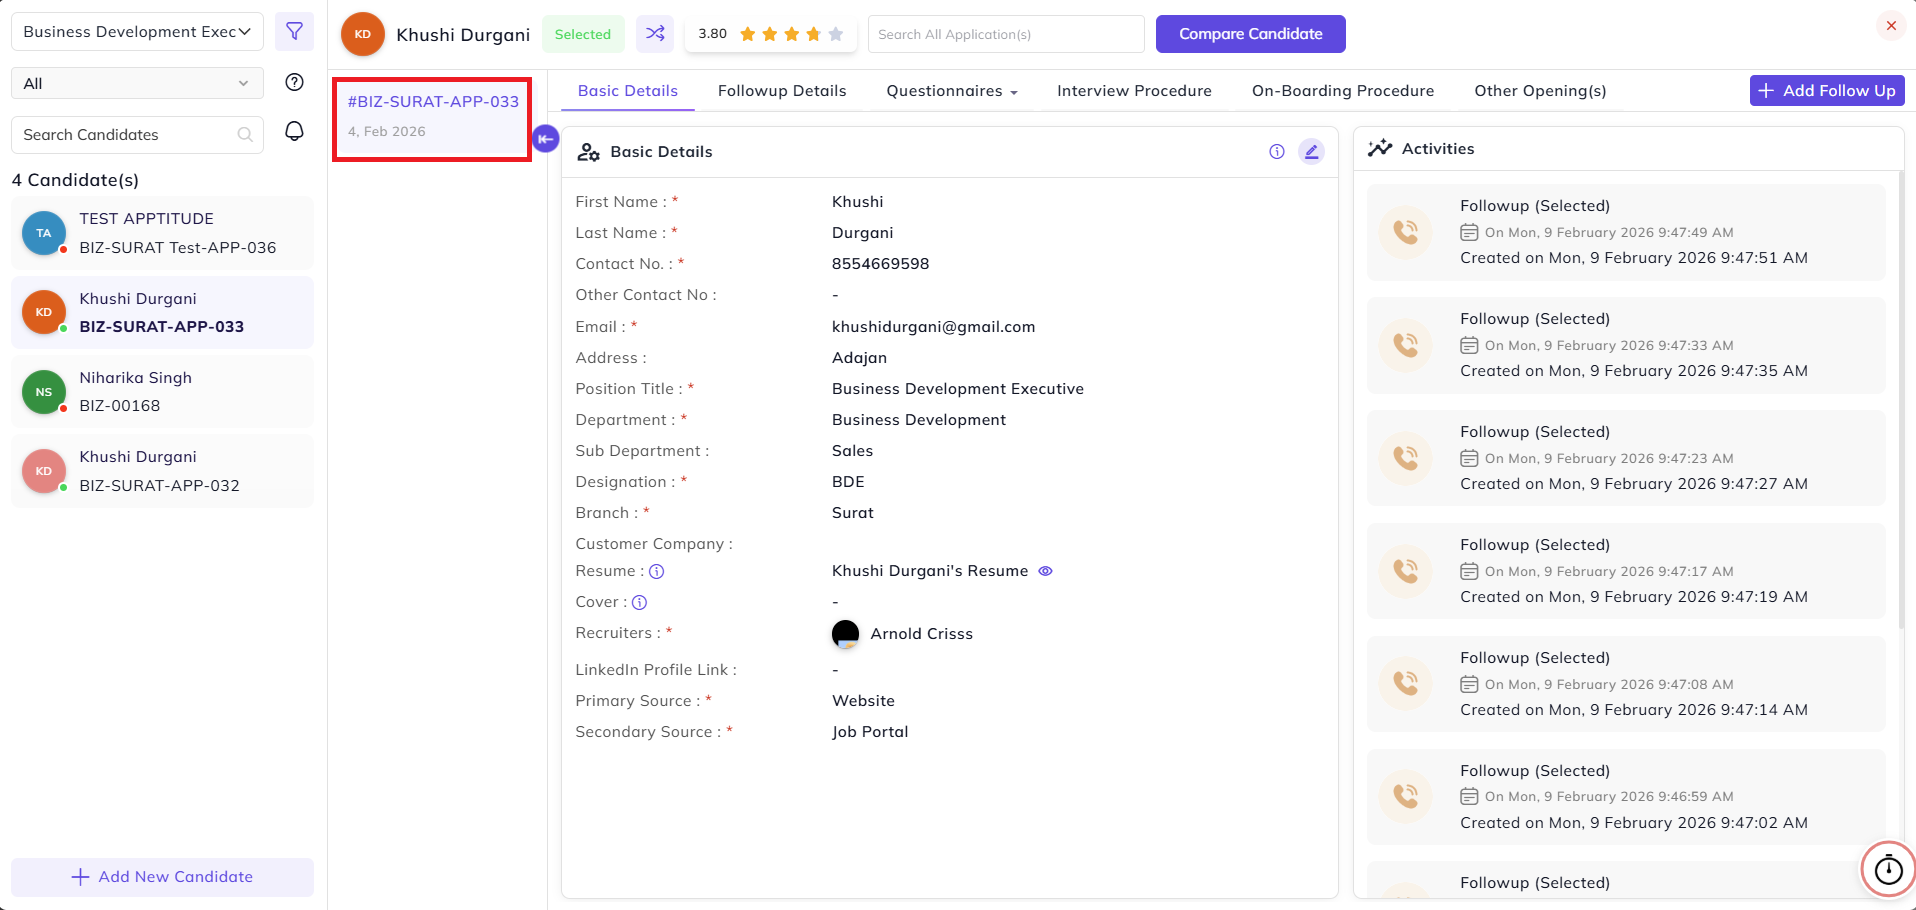
Candidate View Sections
Section:
In the candidate view, we can see the following sections:
Basic Detail – Candidate details, recruiter, and candidate sourcesource.
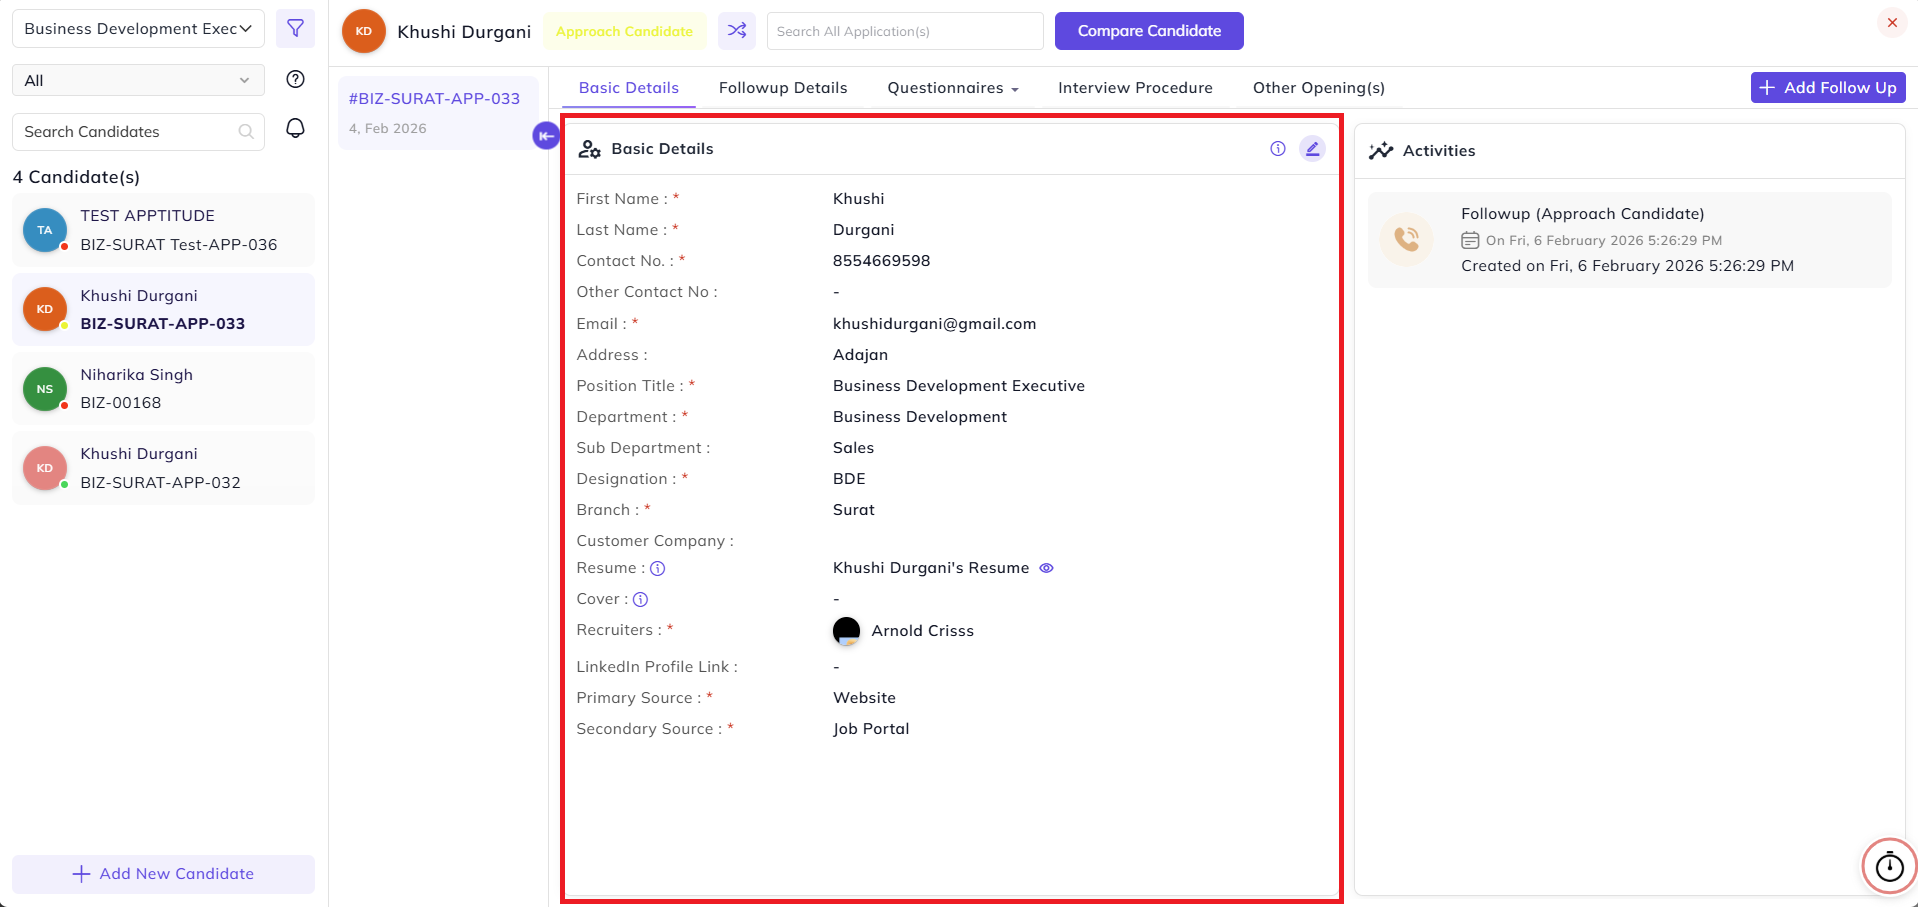
Follow-up Detail – All added follow-ups will be visible here, and from here we can edit and delete follow-upsups.
If an application is added, then the “Approach Candidate” follow-up will be added automatically by the systemsystem.
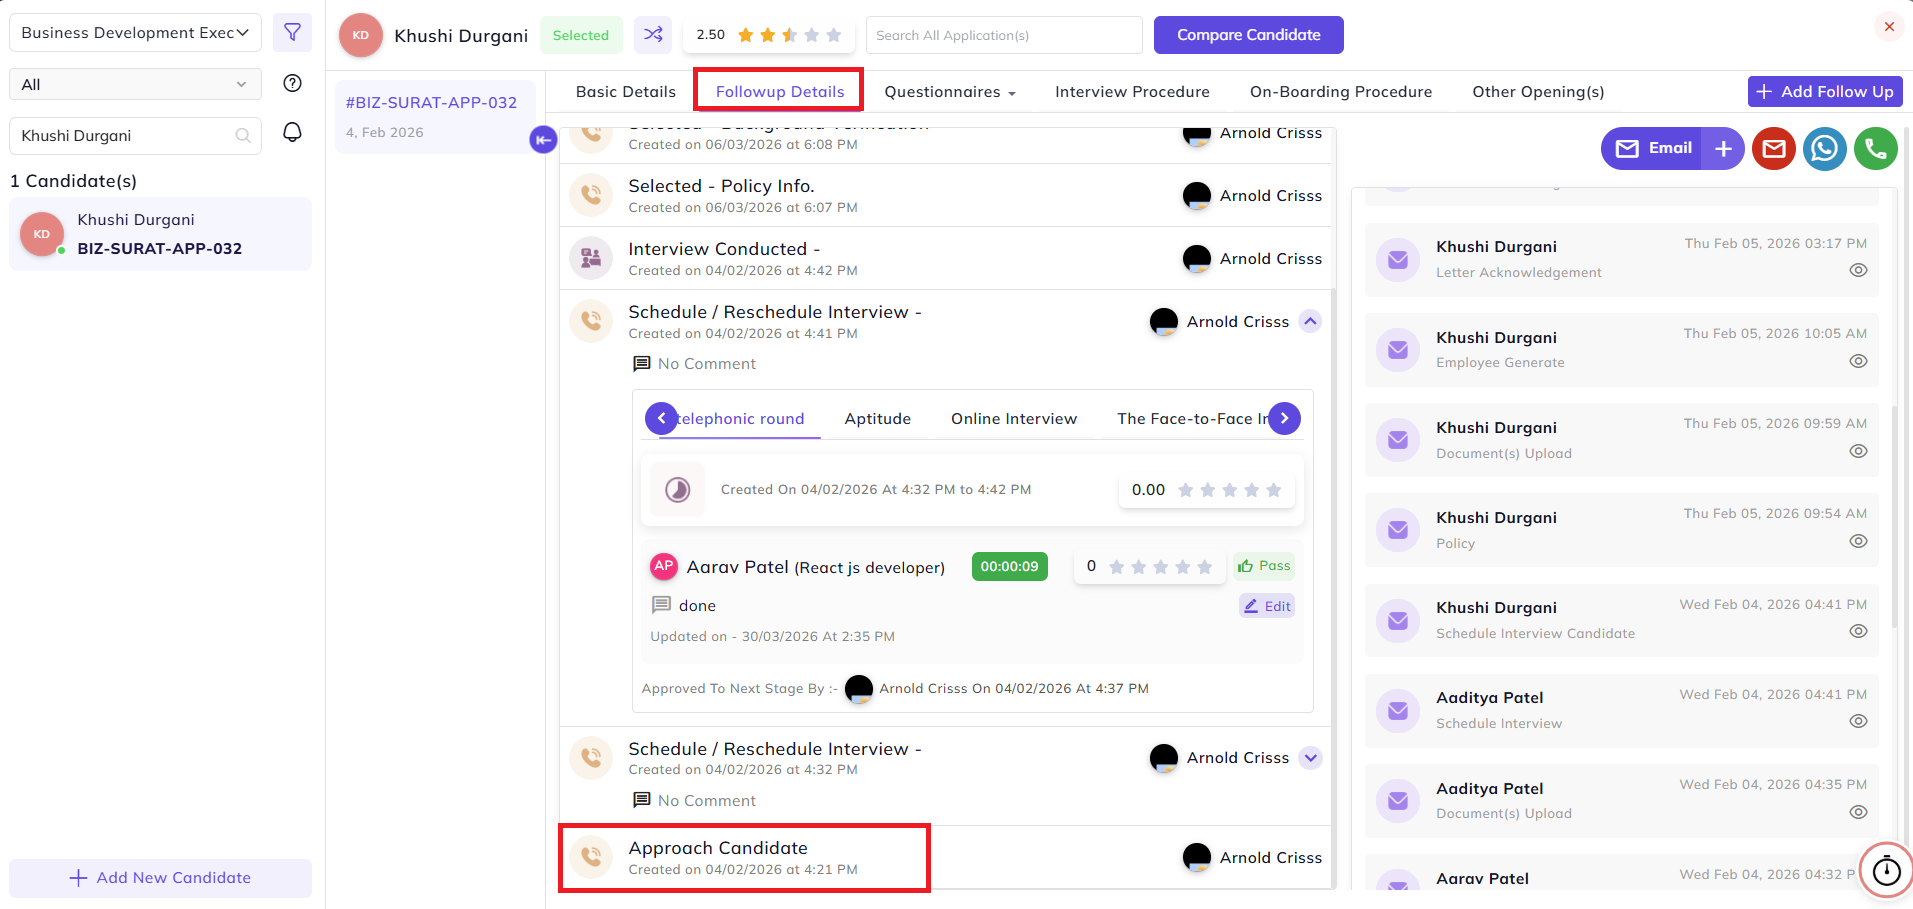
You can also Send Mail for follow up details from this section.

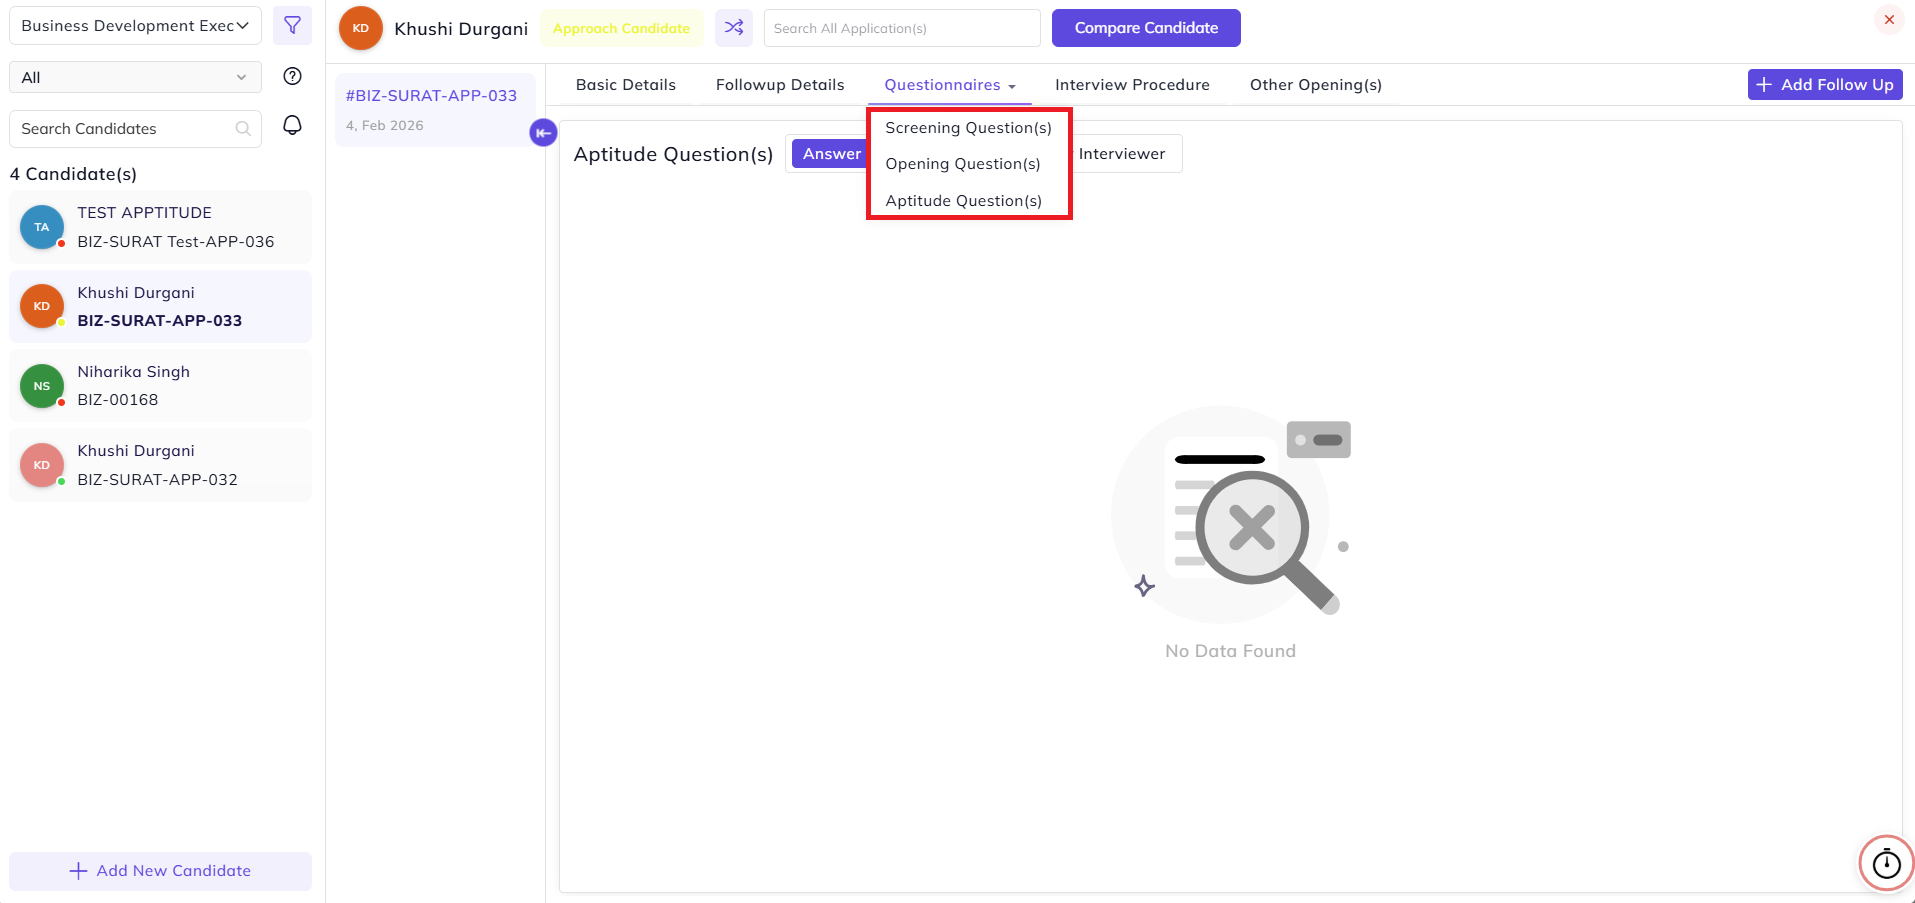
Questionaries
Questionnaire:
Selection for question and answers based on question type:
-
Screening Question
-
Opening Question
-
Aptitude Question (In this, both aptitude test and interviewer/interview questions will be visible)
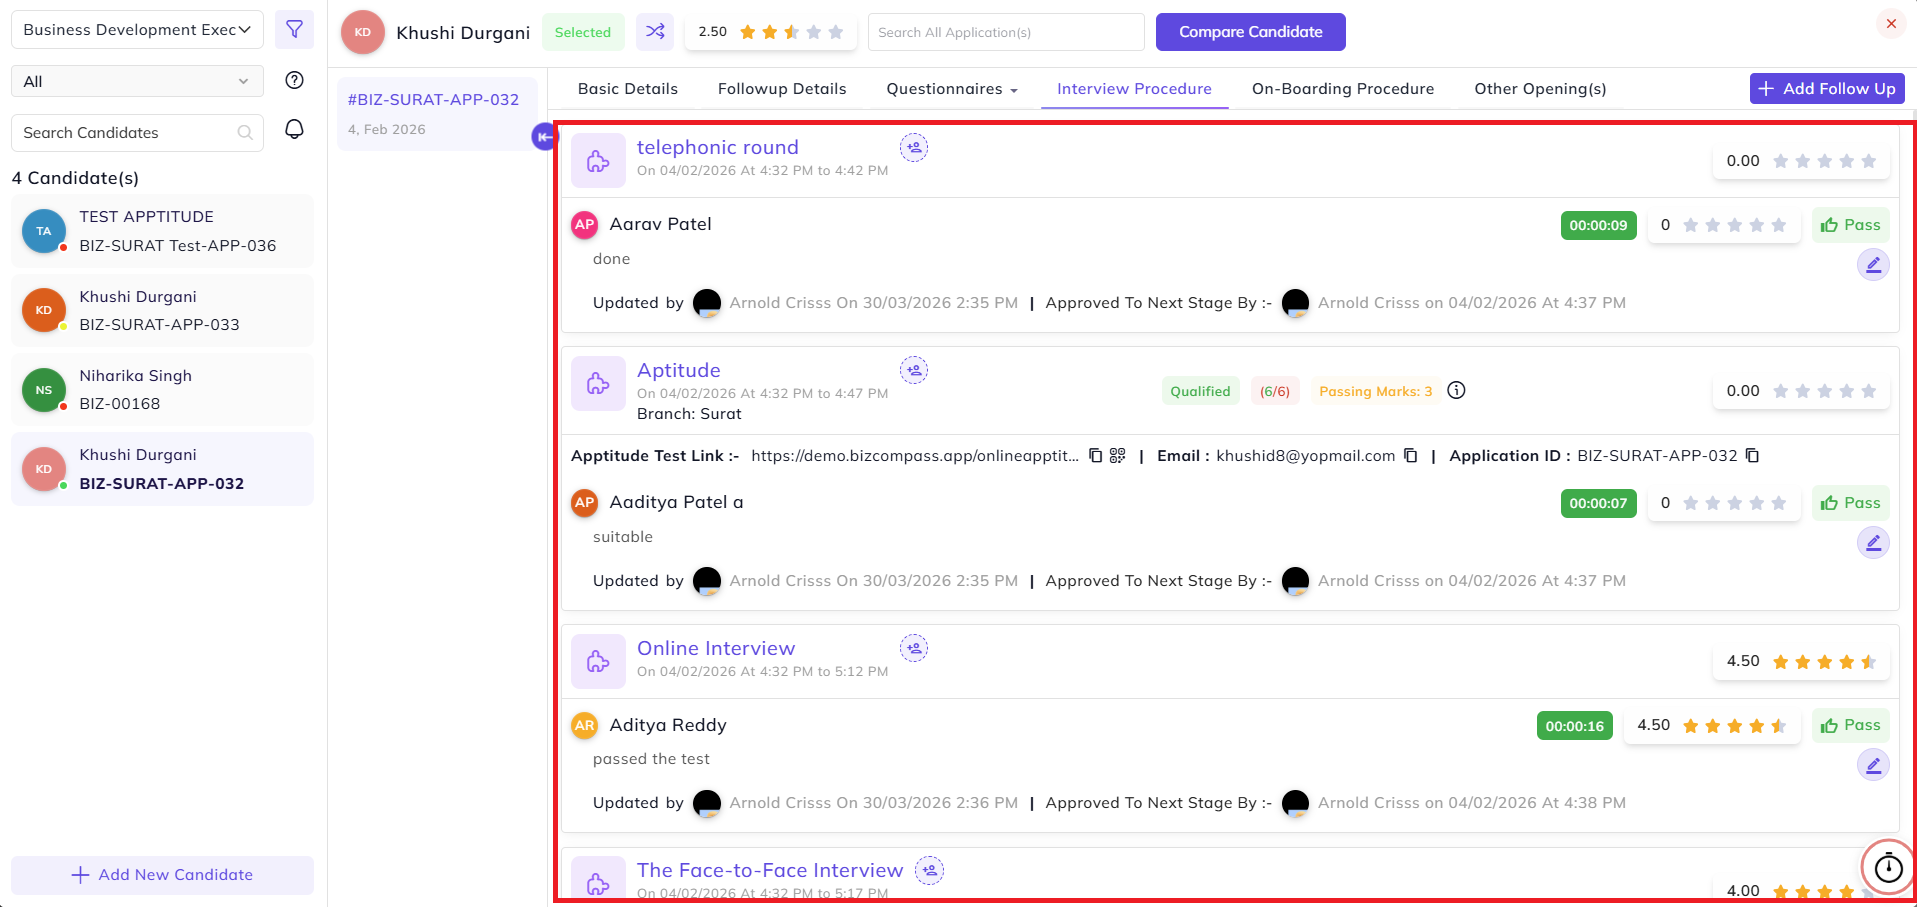
Interview Procedure
Procedure:
The complete interview process with stages will be visiblevisible.
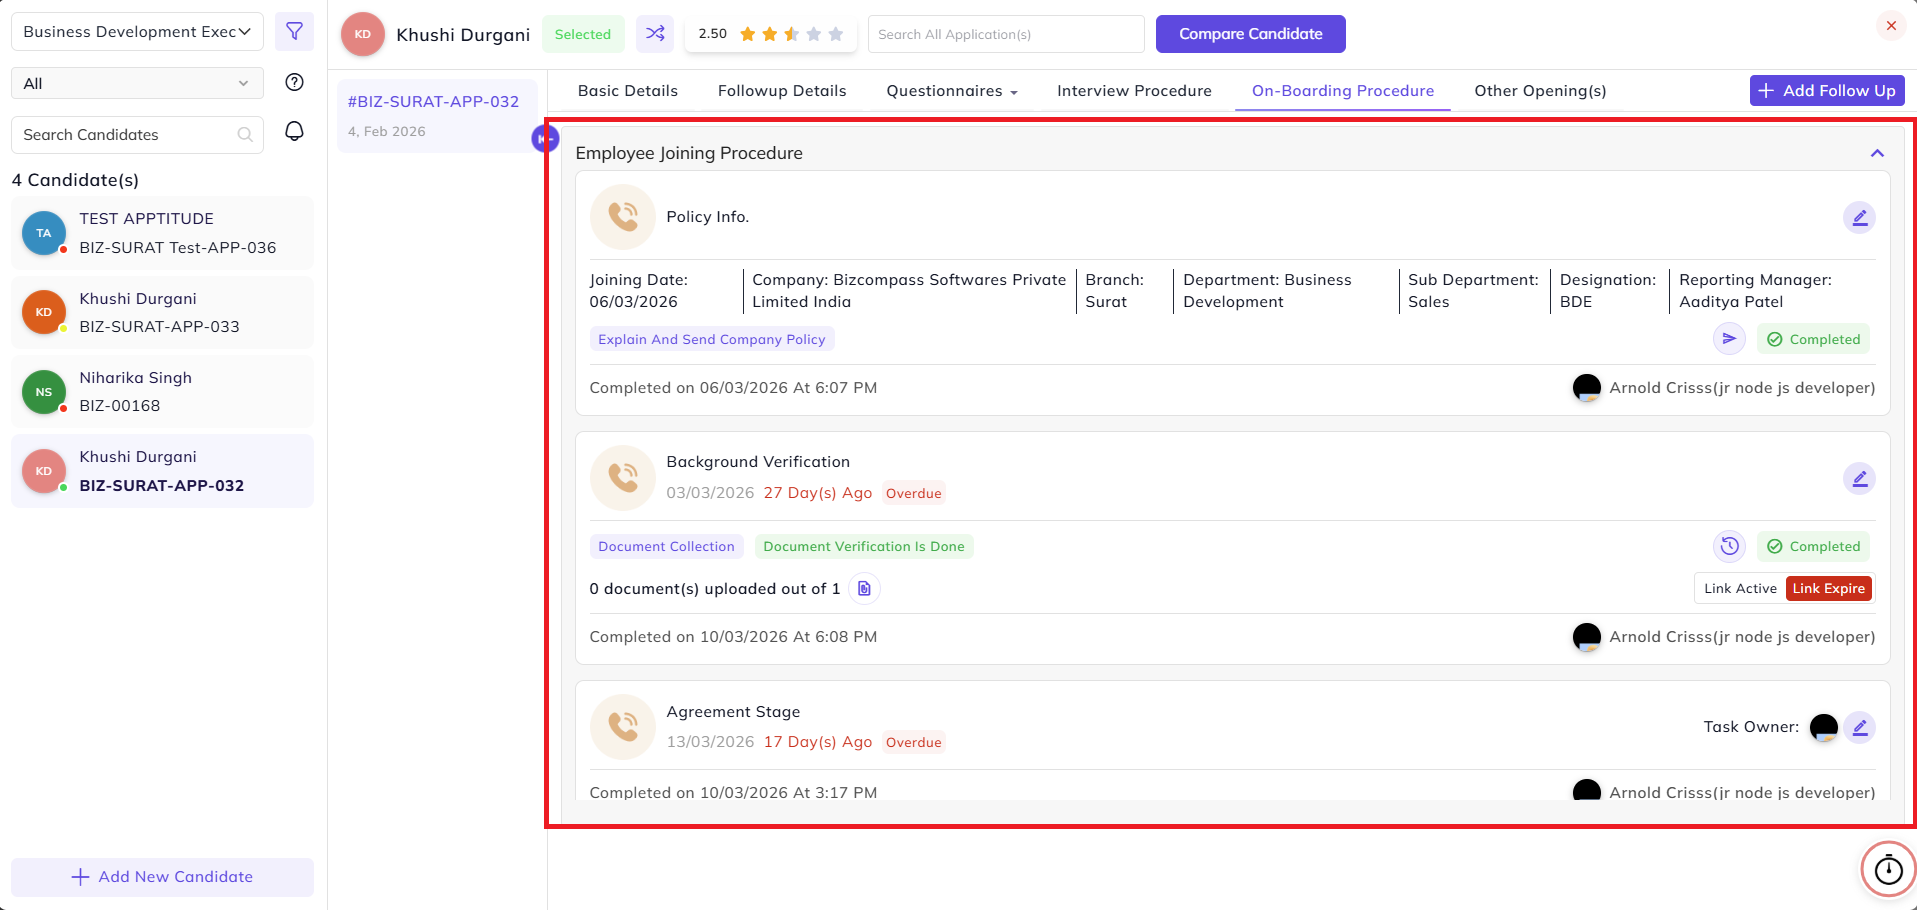
On-Boarding Procedure
Procedure:
After completing the interview procedure and adding follow-up as Selected, this tab will be visible, from where the recruiter can continue the onboarding processprocess.
Background Verification
Verification:
If the background verification form is submitted, then only the data will be visible in this tabtab.
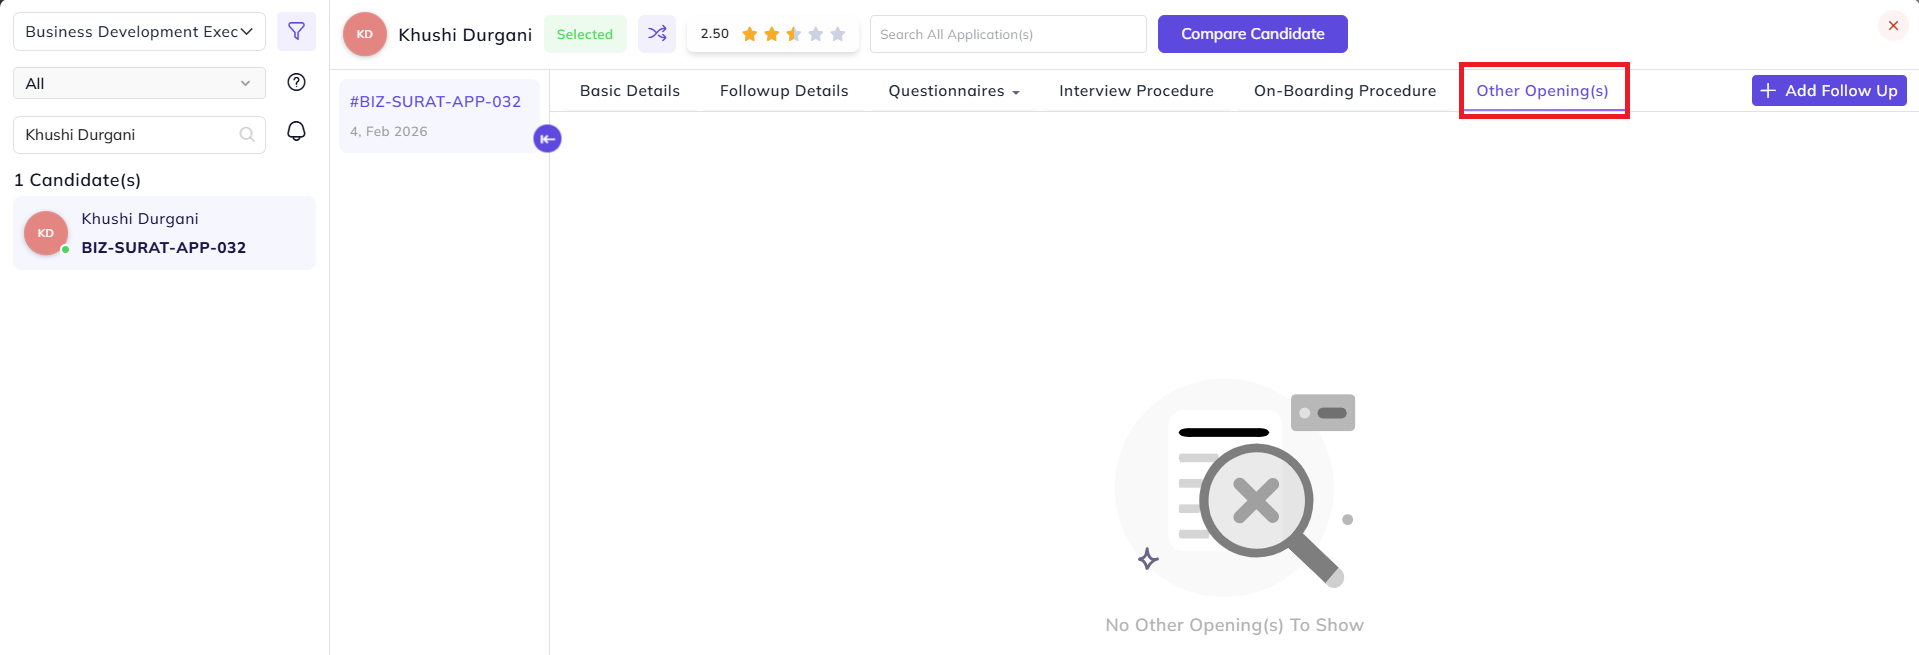
Other Opening(s)
:
If the candidate has applied for multiple positions, then other openings/positions will be visible here with redirection to that applicationapplication.
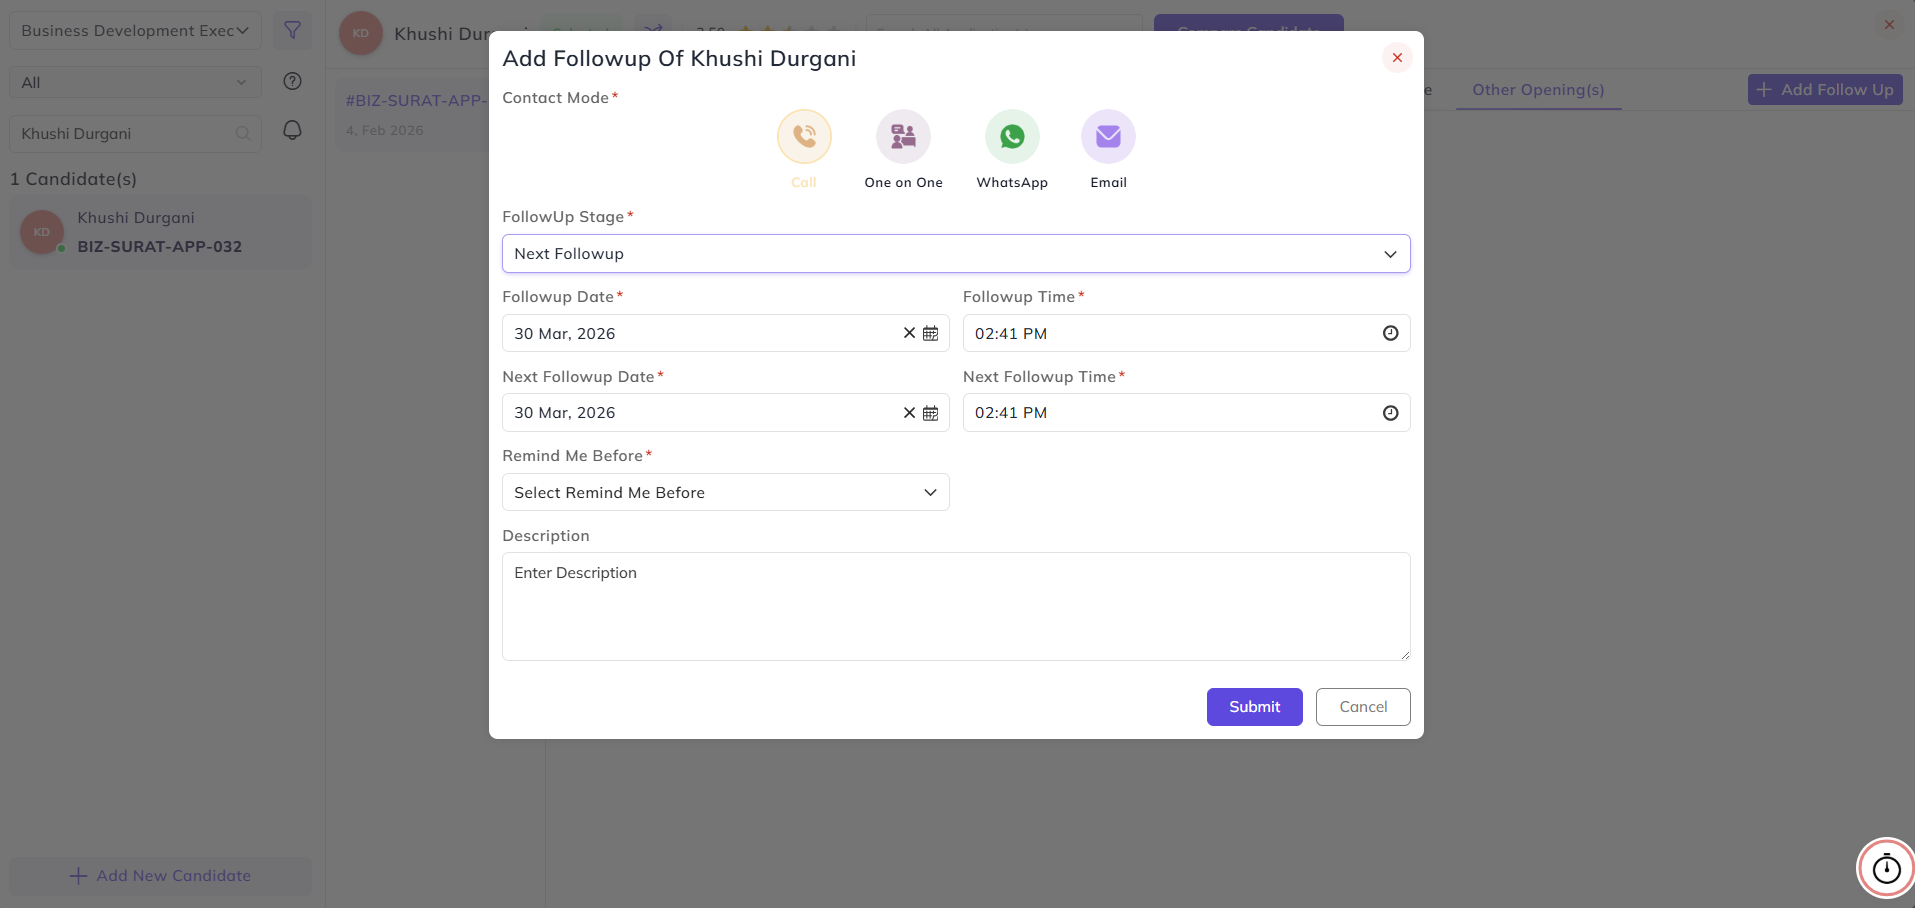
Add Follow Up
Up:
If “Approach Candidate” already exists, then we can add other follow-ups; otherwise, only that option will be visiblevisible.
After the candidate is approached, we can add follow-ups:
-
Schedule/Reschedule Interview
-
Next Follow-up
-
Rejected
-
On Hold
If the interview process is completed:
-
Make Offer
-
In Progress
-
Trial Period
- Interview Conducted - Only visible at the last stage of the interview process if all the stages are completed then option to complete
interviewinterview.
After interview is conducted, other statuses will be added to the listlist.
-
Selected
Note:
While adding a follow-up, we must select the Contact Mode and required options based on the follow-up/status type.
-
For Make Offer, salary details must be added
-
For Reject, we must select the reject reason (Company or Candidate)
-
For Trial Period, duration and trainee must be selected
-
For Next Follow-up, a reminder must be set