Candidate Entry Pages
After completing all configurations such as creating a position, setting up the Interview Procedure Flow, and Joining Procedure Flow, candidates or applications can be added. Candidate Entries can be done through many ways.
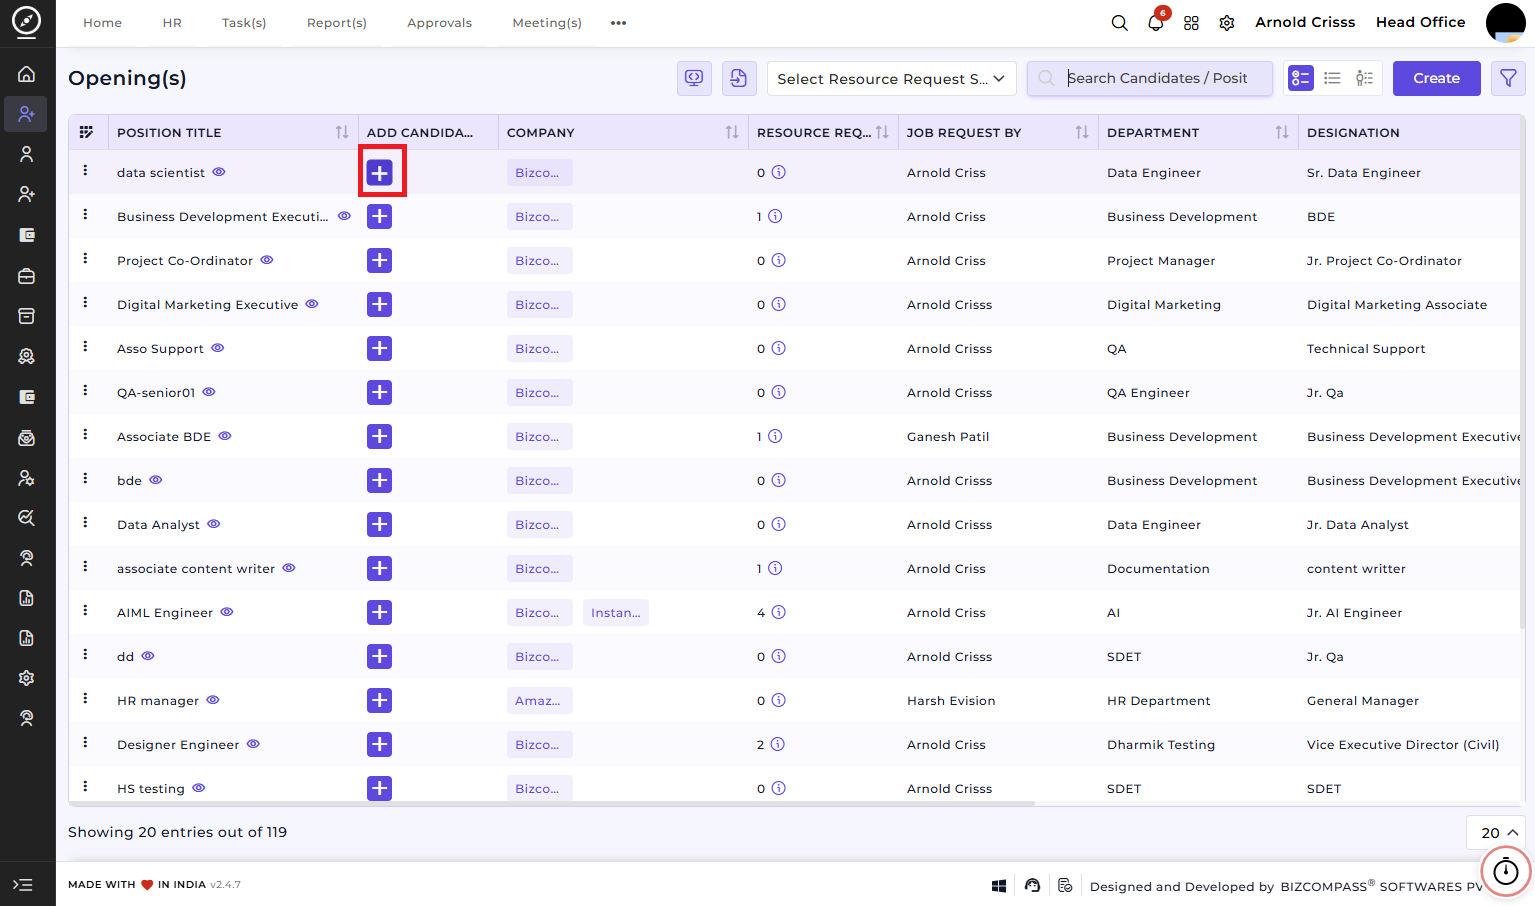
1) Opening Page:
After clicking on this '+' button in the Add Candidate column, you can add a candidate. We can also open the detail/view modal of the opening or position.
This is the main page used to add applications.
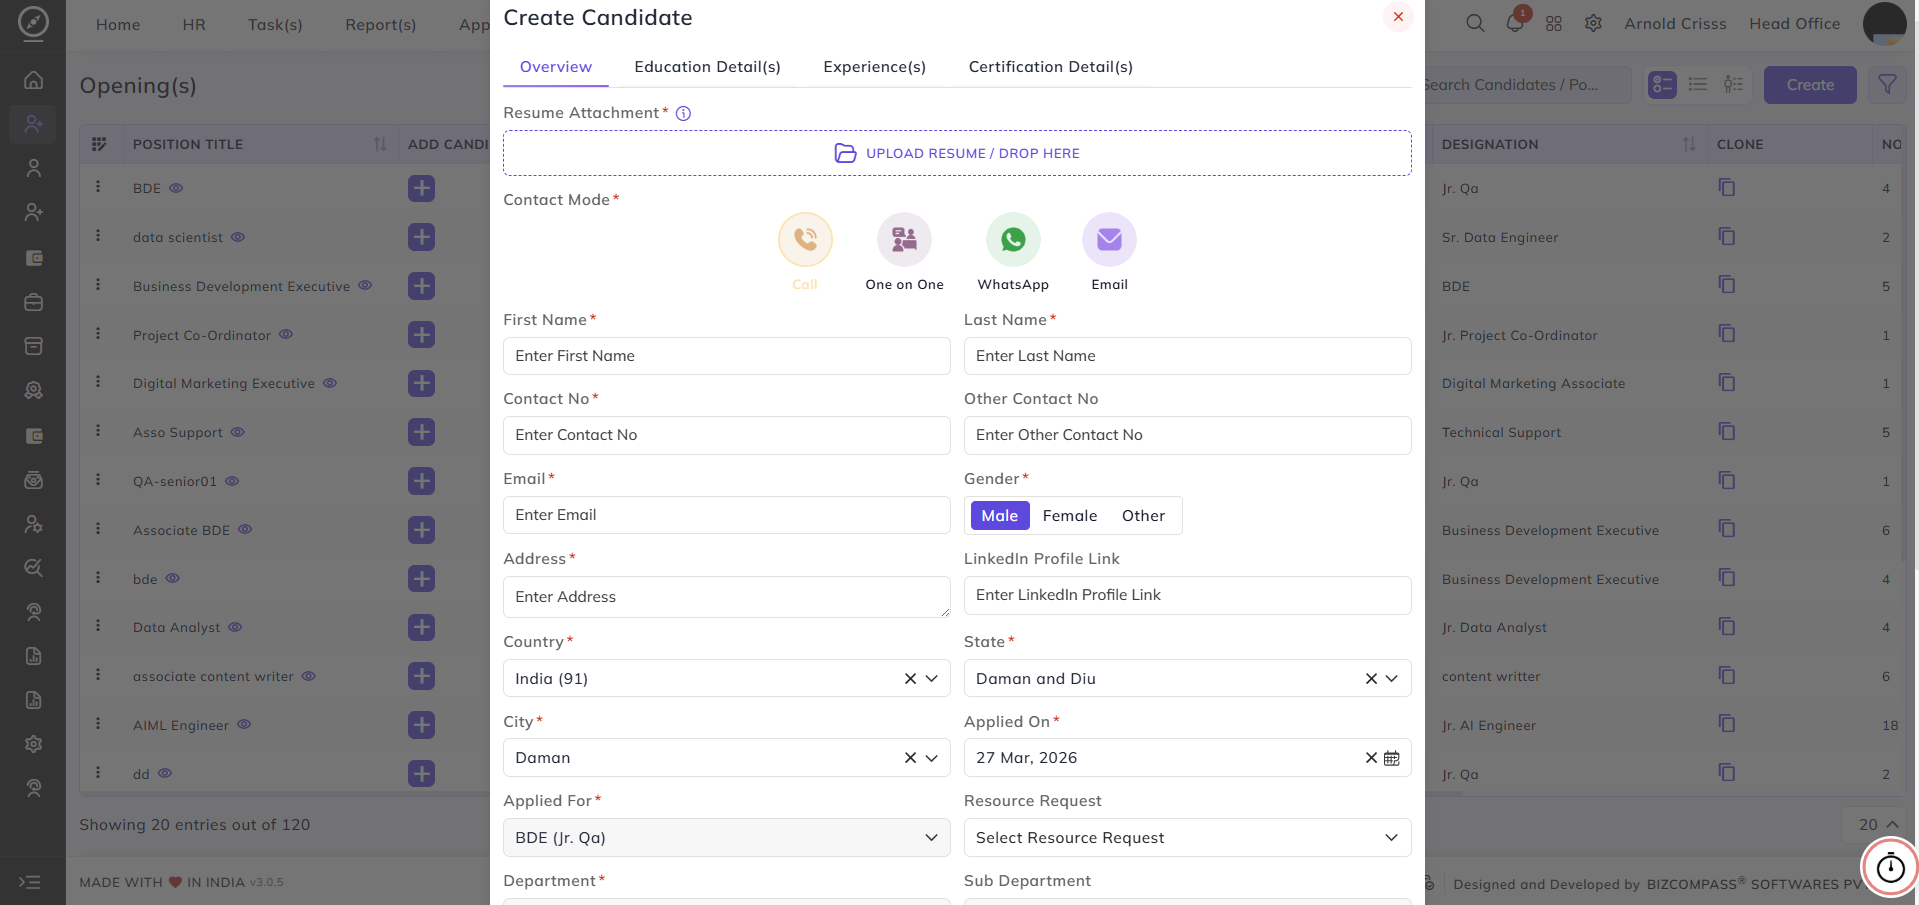
There are two ways to add a candidate: manual entry or resume attachment entry.
Resume Attachment Entry:
Upload the Resume (optional or mandatory based on settings). If you upload the resume, all the details of the candidate mentioned in the resume like basic details, education details, experiences and certification details will be fetched automatically.
Manual Entry:
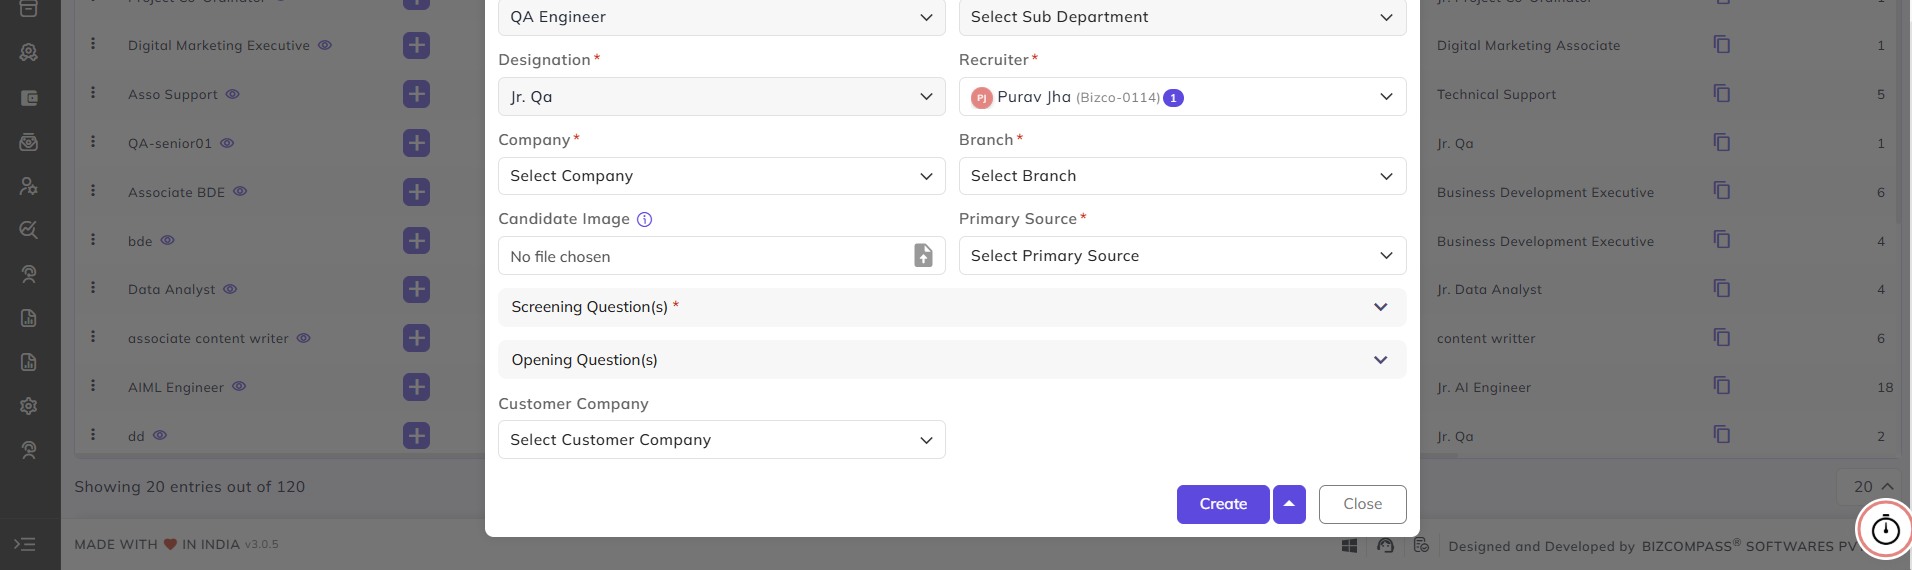
Overview
This section is used to capture the candidate’s basic and application-related information.
Once you click on Add Candidate button of any opening, the position details for that opening will be automatically fetched like Applied For, Designation, Department, Recruiter, etc.
- Select the Contact Mode for taking follow ups with the candidate.
- Enter the candidate’s First Name and Last Name.
- Provide the Contact Number, Email ID, and Address.
- Select the Gender, Country, State, and City.
- Select the Company and Branch.
- Upload a Candidate Image if required.
- Select the Primary Source (Job Portal, Referral, Walk-in, etc.).
- Fill the Screening and Opening Questions answered by the candidate.
- Add the Customer Company if required.
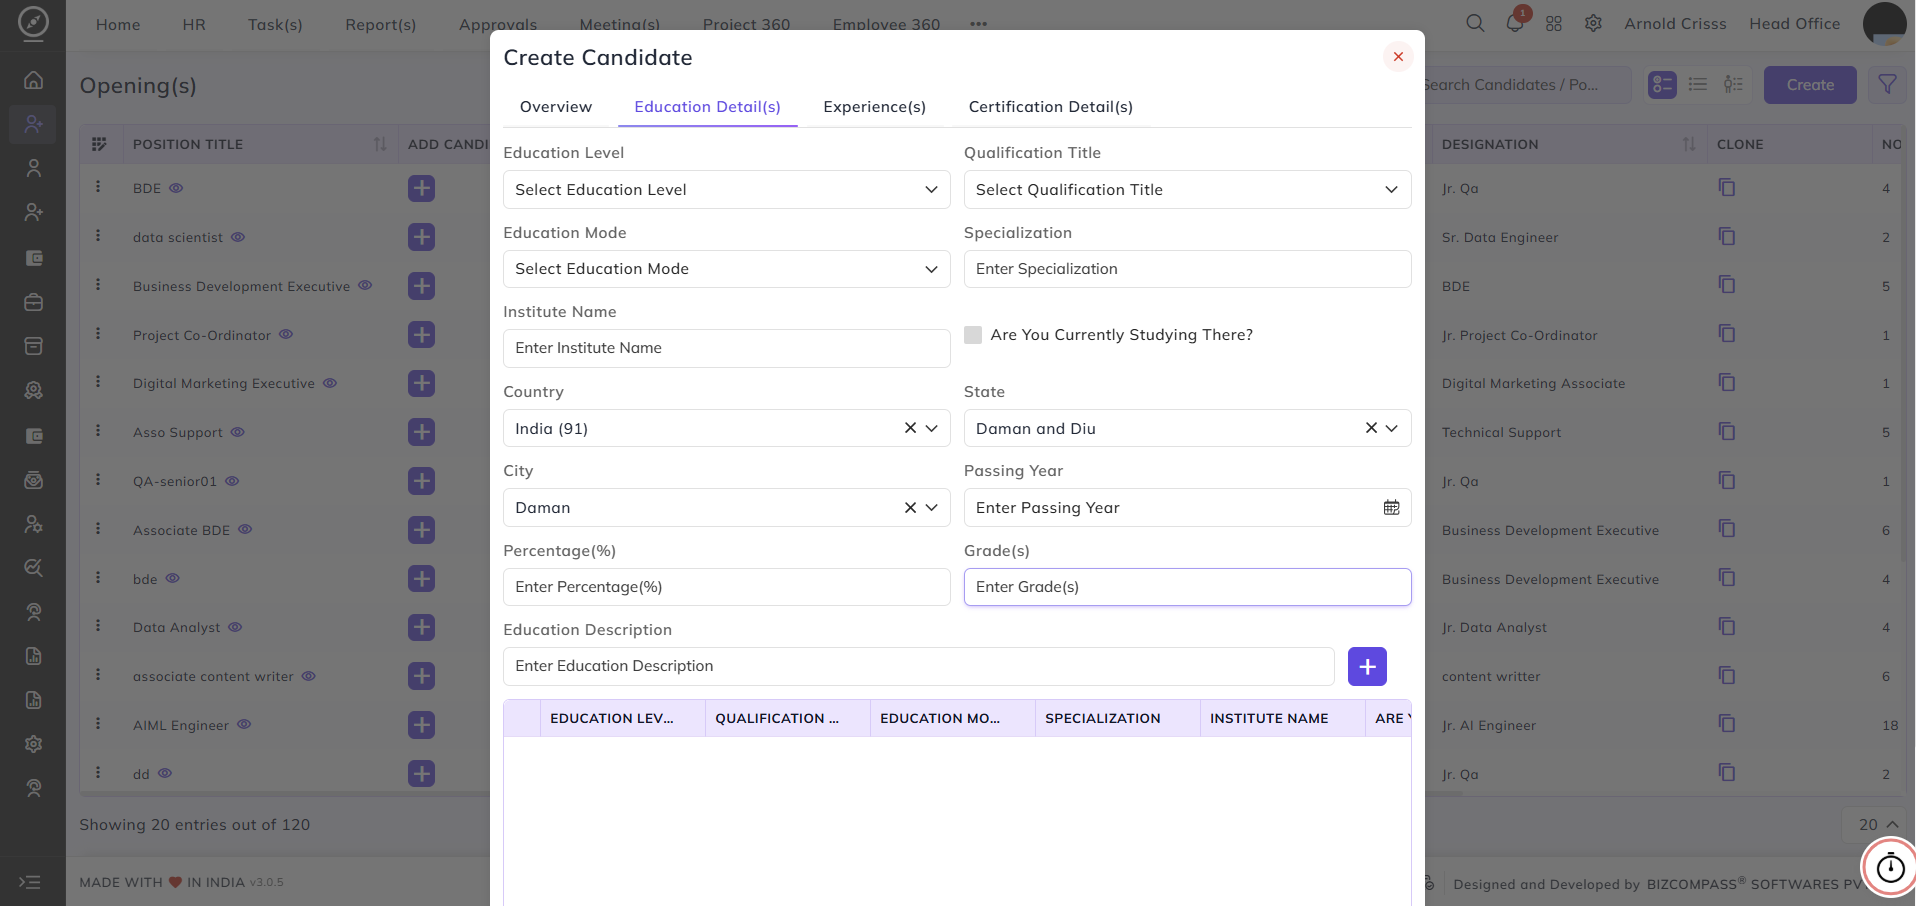
Education Detail(s)
This section is used to record the candidate’s academic background.
- Select the Education Level (e.g., Graduate, Post Graduate).
- Choose the Qualification Title.
- Select the Education Mode (Full-time, Part-time, Distance).
- Enter the Specialization.
- Provide the Institute Name, Country, State, and City.
- Enter the Passing Year, Percentage (%), and Grade(s).
- Add an Education Description if required.
- Click the Add (+) button to save the education record.
Multiple education records can be added to maintain a complete academic history.
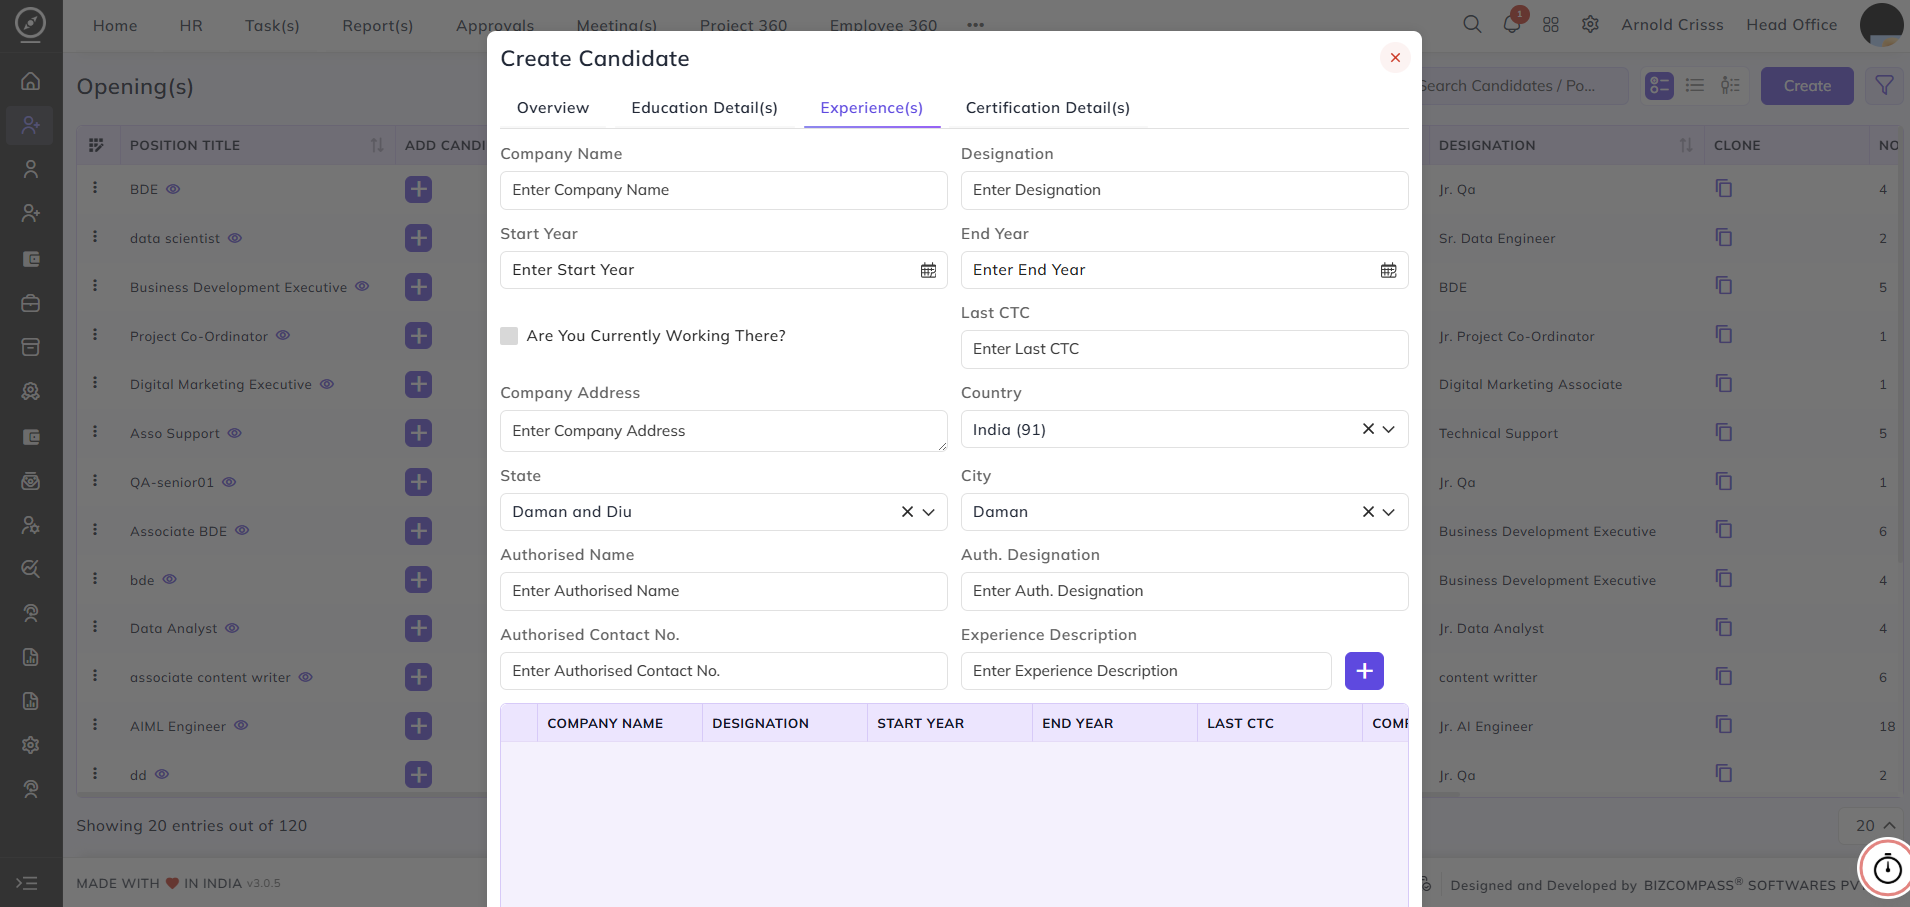
Experience(s)
This section is used to capture the candidate’s work experience details.
- Enter the Company Name and Designation.
- Select the Start Year and End Year.
- Enable Currently Working There if applicable.
- Enter the Last CTC.
- Provide the Company Address, Country, State, and City.
- Add Authorized Person Name, Designation, and Contact Number if verification is required.
- Enter the Experience Description explaining roles and responsibilities.
- Click the Add (+) button to save the experience record.
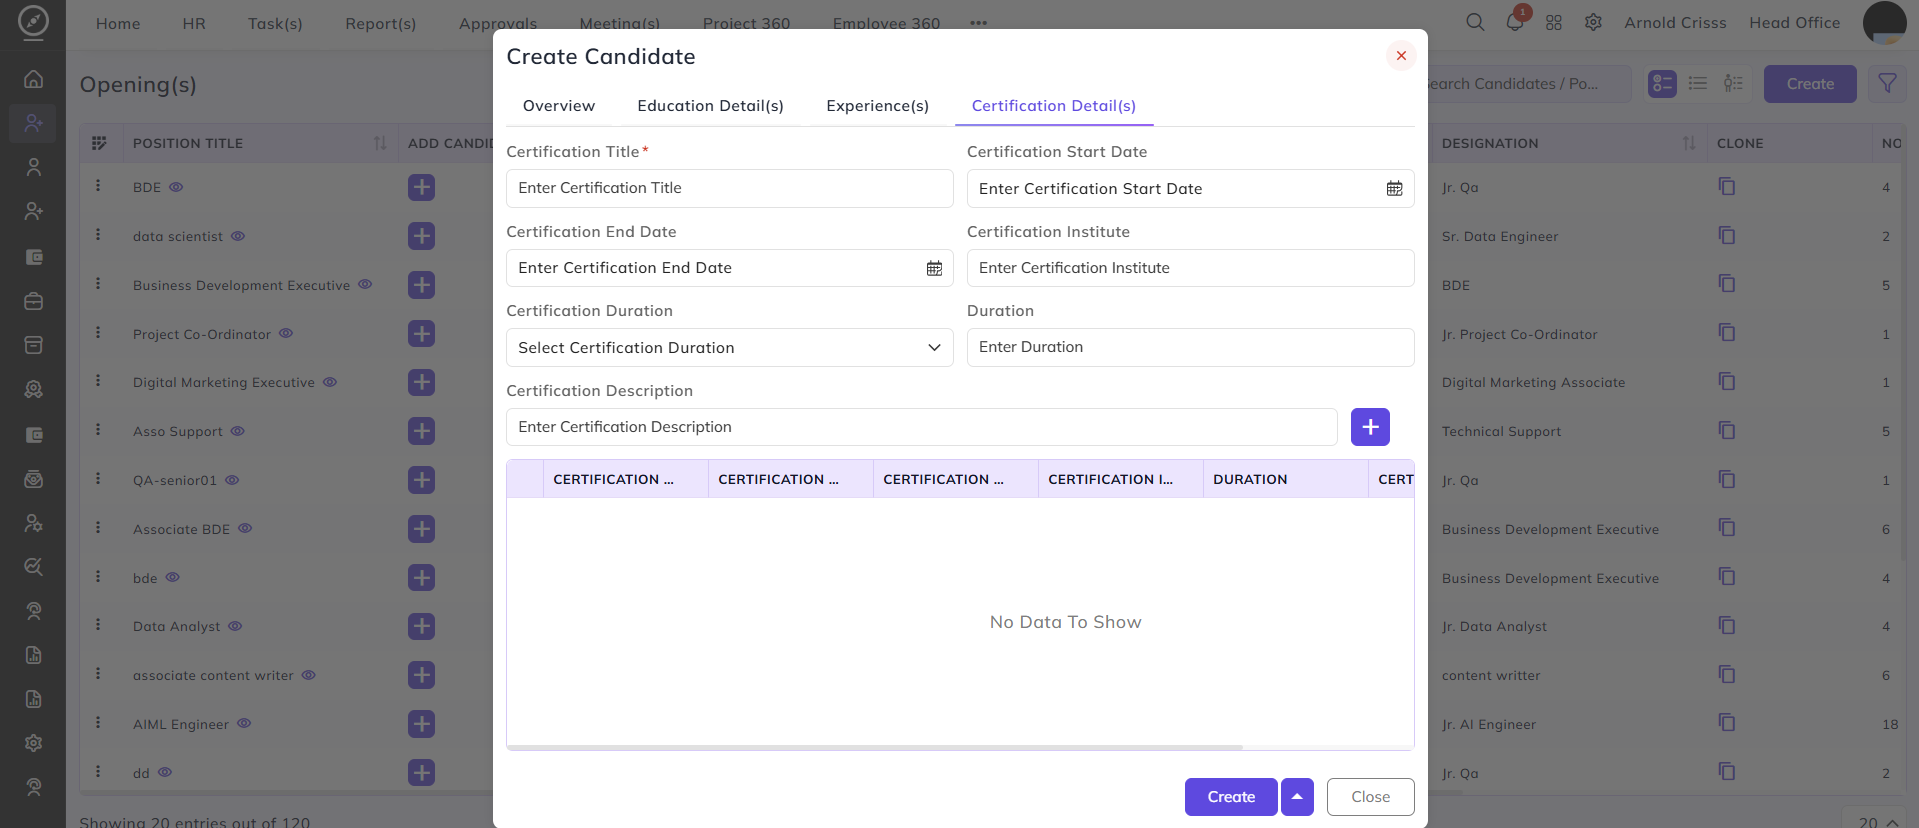
Certification Detail(s)
This section is used to add professional certifications completed by the candidate.
- Enter the Certification Title.
- Select the Certification Start Date and End Date.
- Enter the Certification Institute.
- Select the Certification Duration and enter the Duration Value.
- Add a Certification Description if needed.
- Click the Add (+) button to save the certification record.
Multiple certifications can be added to highlight the candidate’s skills and qualifications.
If a resource request is created, candidates can be added for that request.
If using the ➕ button next to the position name, select the resource request and then add the candidate
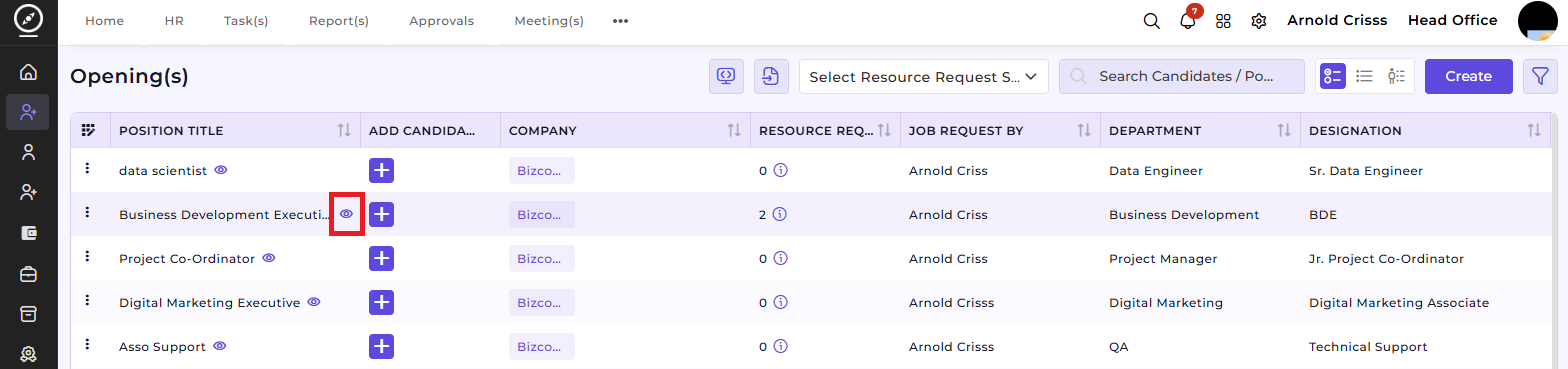
You can also add a new candidate by clicking on the eye icon in the Resource Request column as shown below.
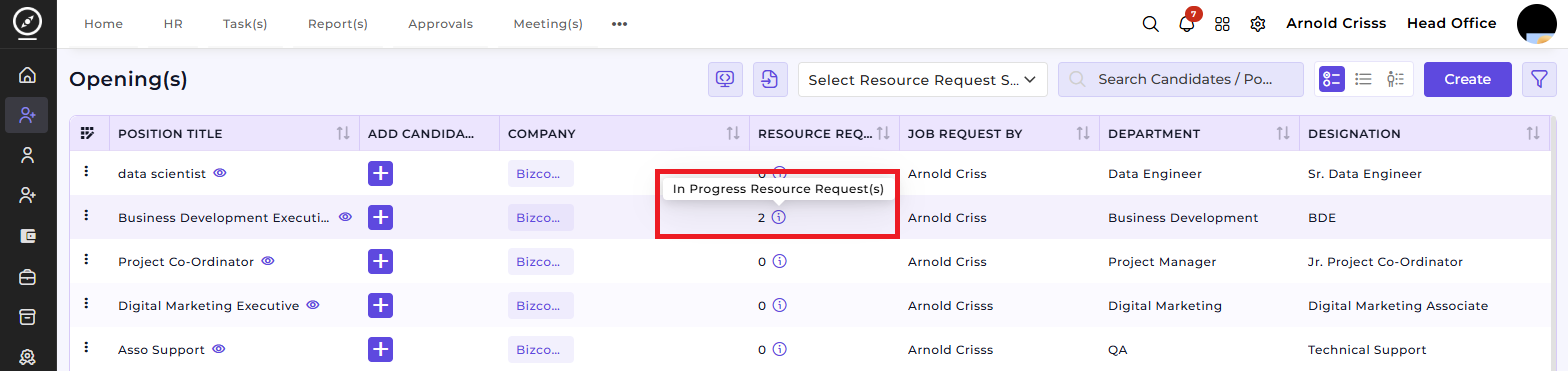

Moreover, you can add a new candidate by viewing an Opening by clicking on the info button in the Position Title column as shown below.
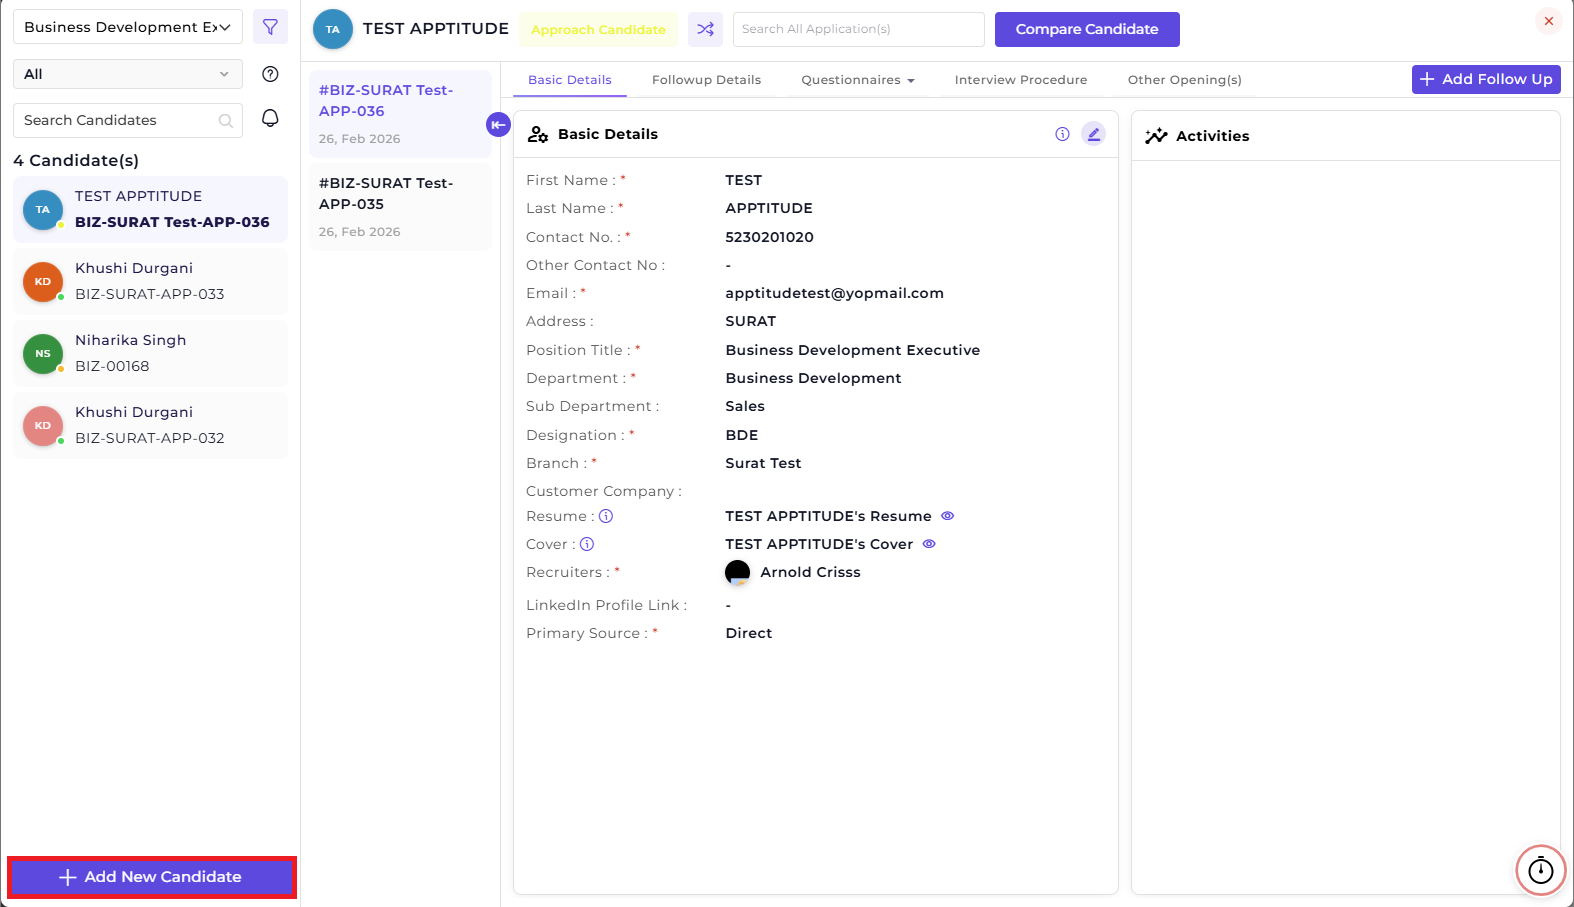
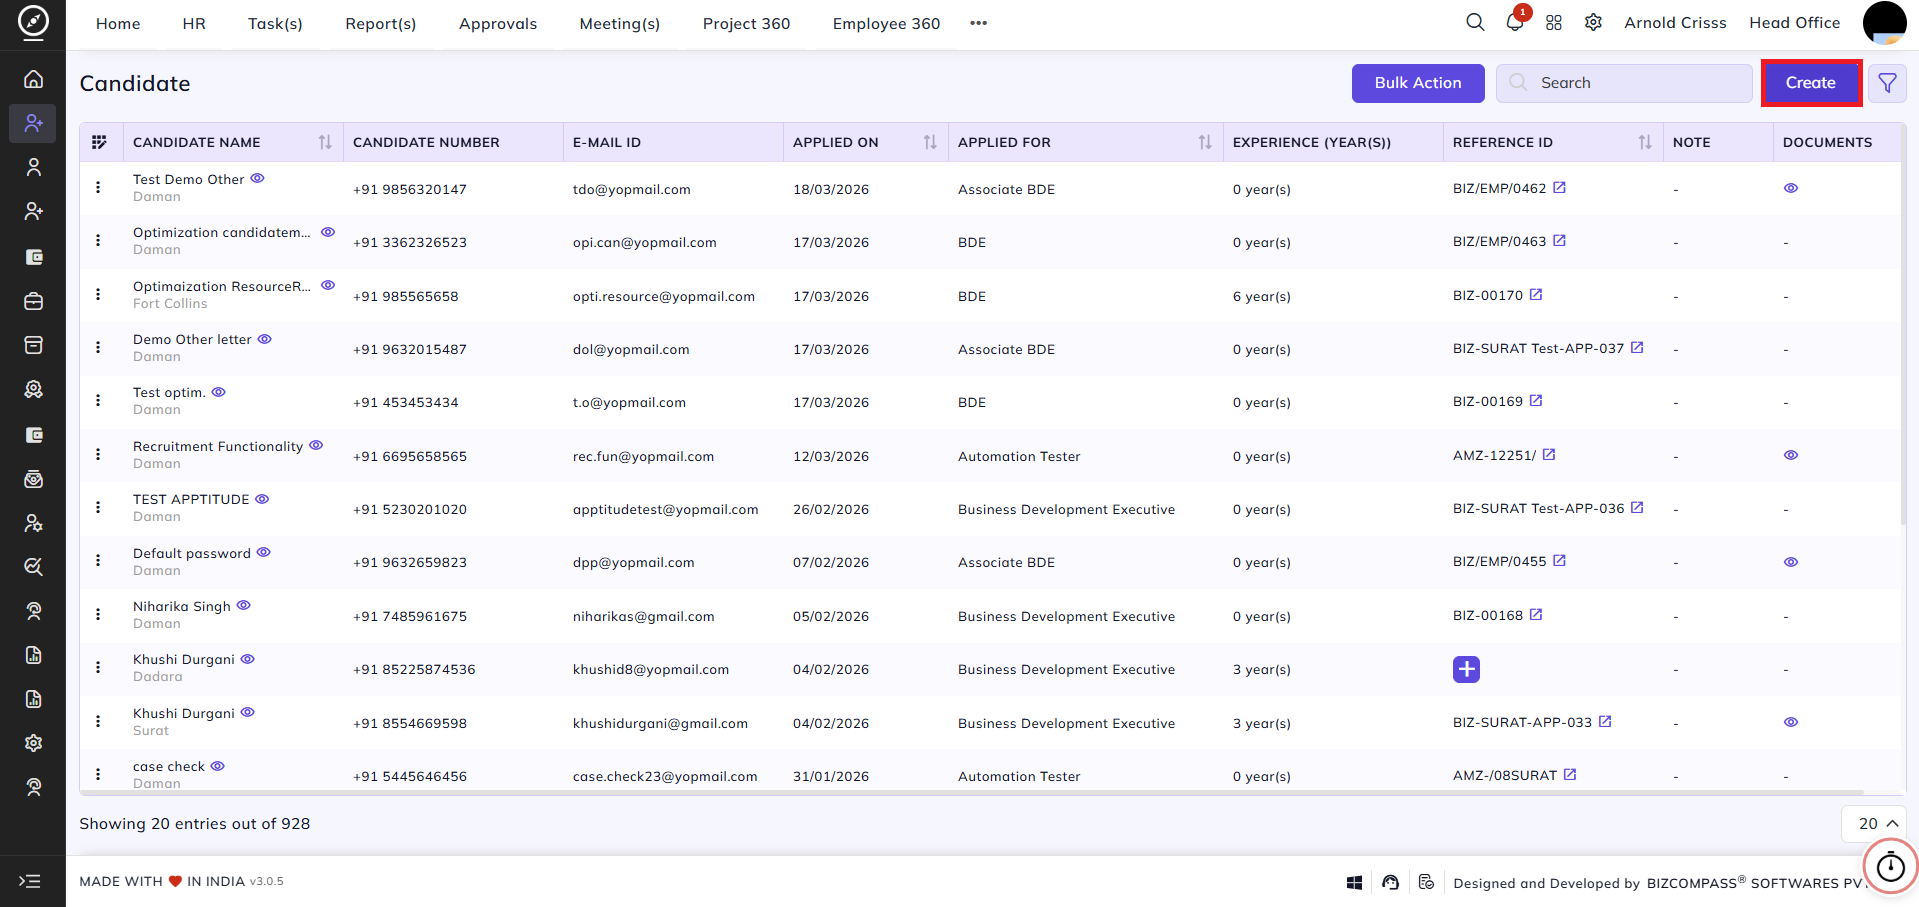
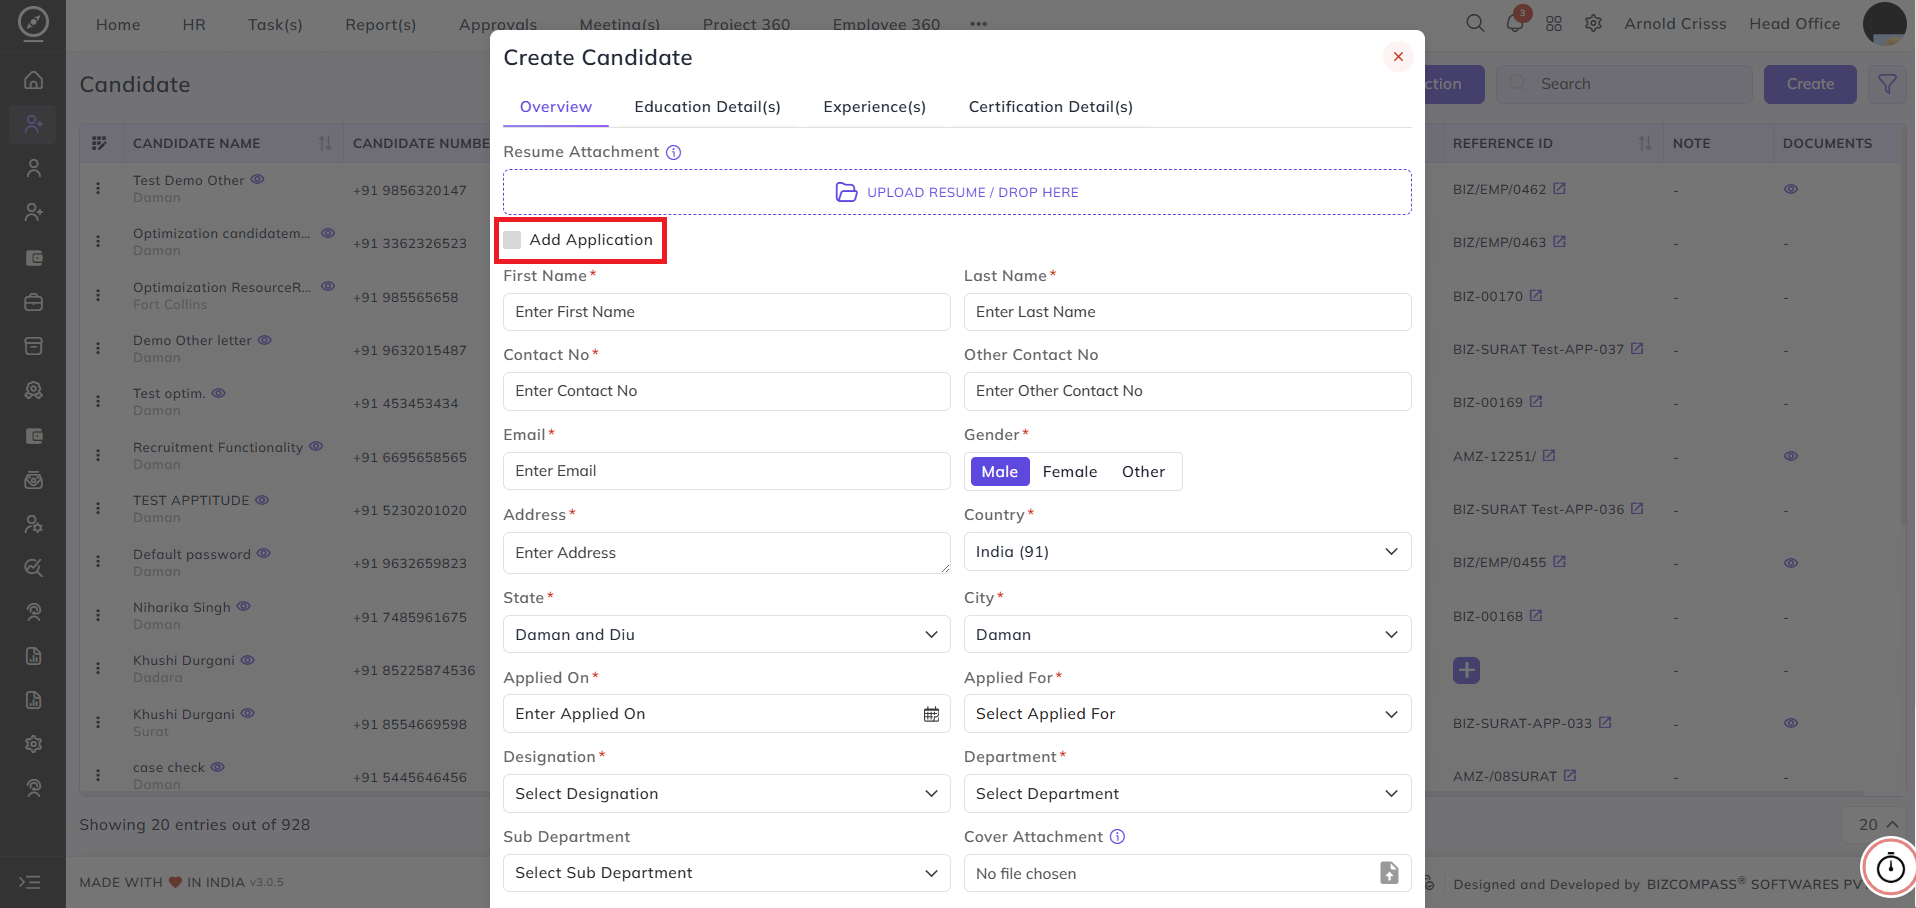
2) Candidate Page:
This page shows all candidates/applications.
It displays the candidate name with Application ID, and if the candidate is selected and an account is created, the Employee Code will also be shown.
There are two options available:
-
Add candidate with application (same as adding from the Opening page)
-
Add only candidate and create application later
For creating only the candidate, do not select the “Add Application” checkbox while creating the candidate.
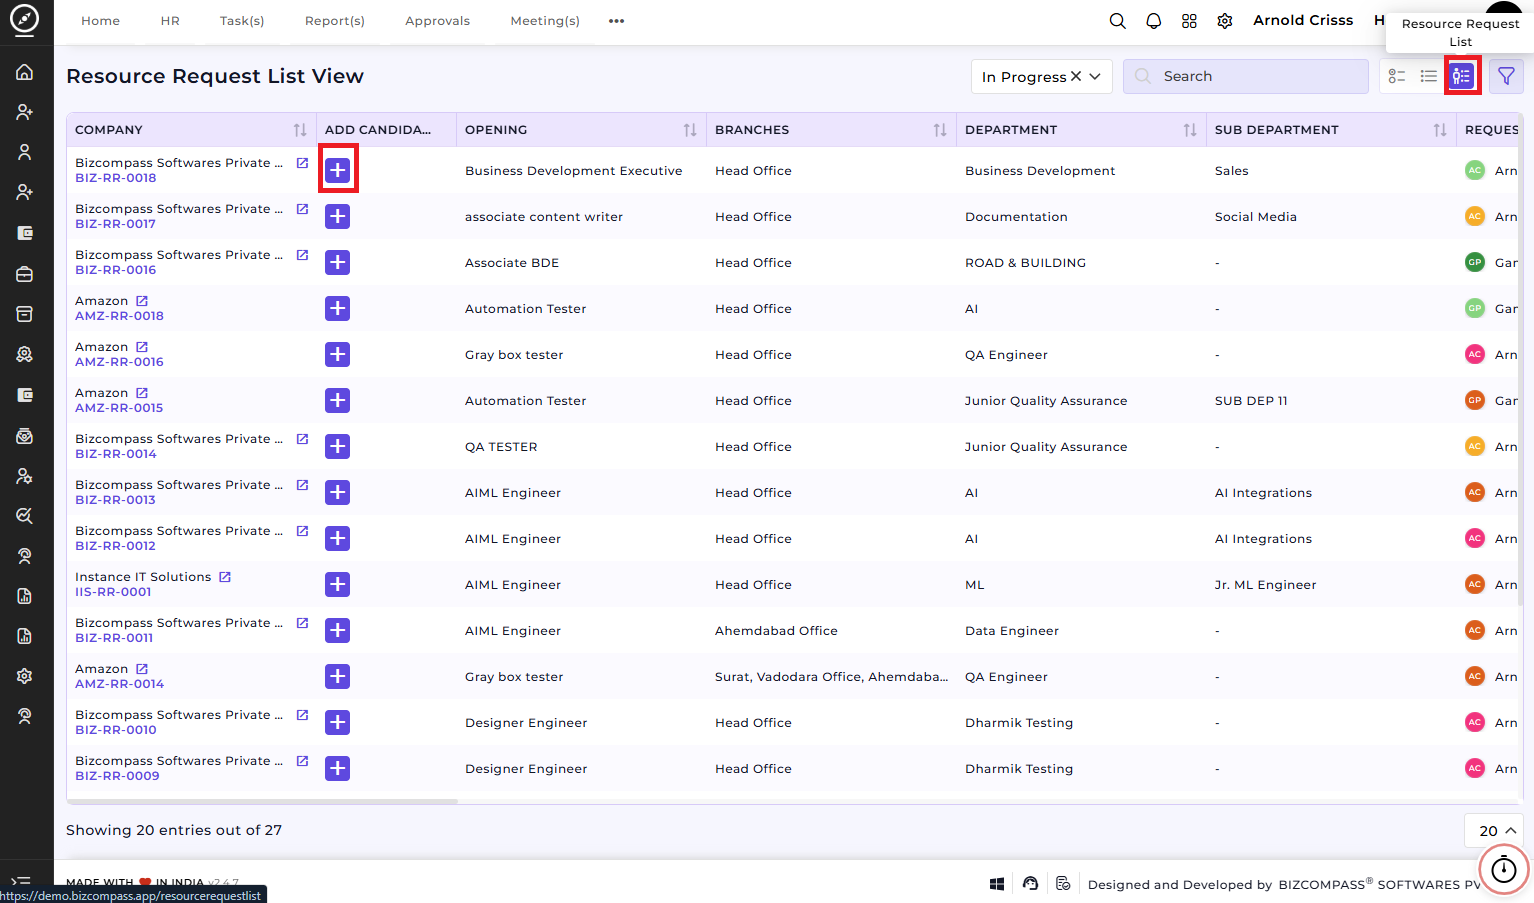
3) Resource Request List View section in the Opening Page:
After clicking on this '+' button, the rest of the candidate creating process is same as above.
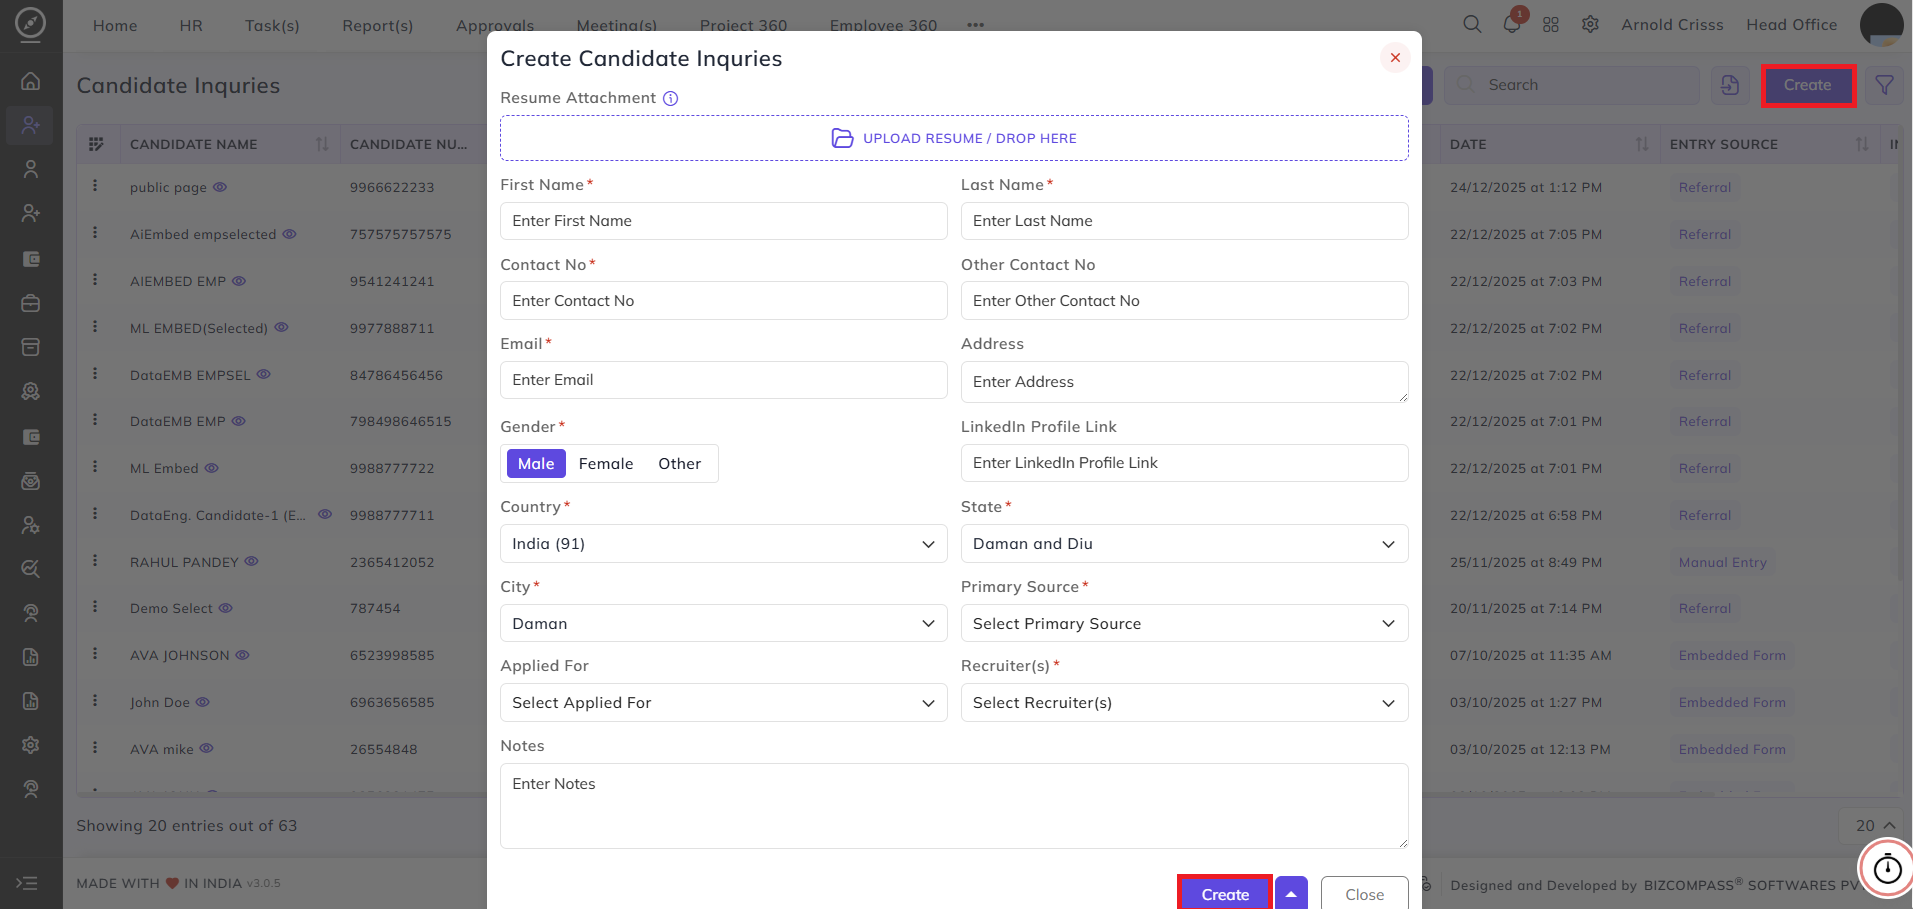
4) Candidate Inquiry:
This page is used to create an inquiry first.
If the inquiry is successful, we can add an application from there by either:
-
Updating the inquiry, or
-
Using the ➕ button
4) Opening (Career/Embed Page):
The Career/Embed Page link for an opening or resource request can be copied and shared.
This is a public page where candidates can apply directly.
Applications from this page will first be added to Candidate Inquiry, and from there the recruiter or organization can create the application.
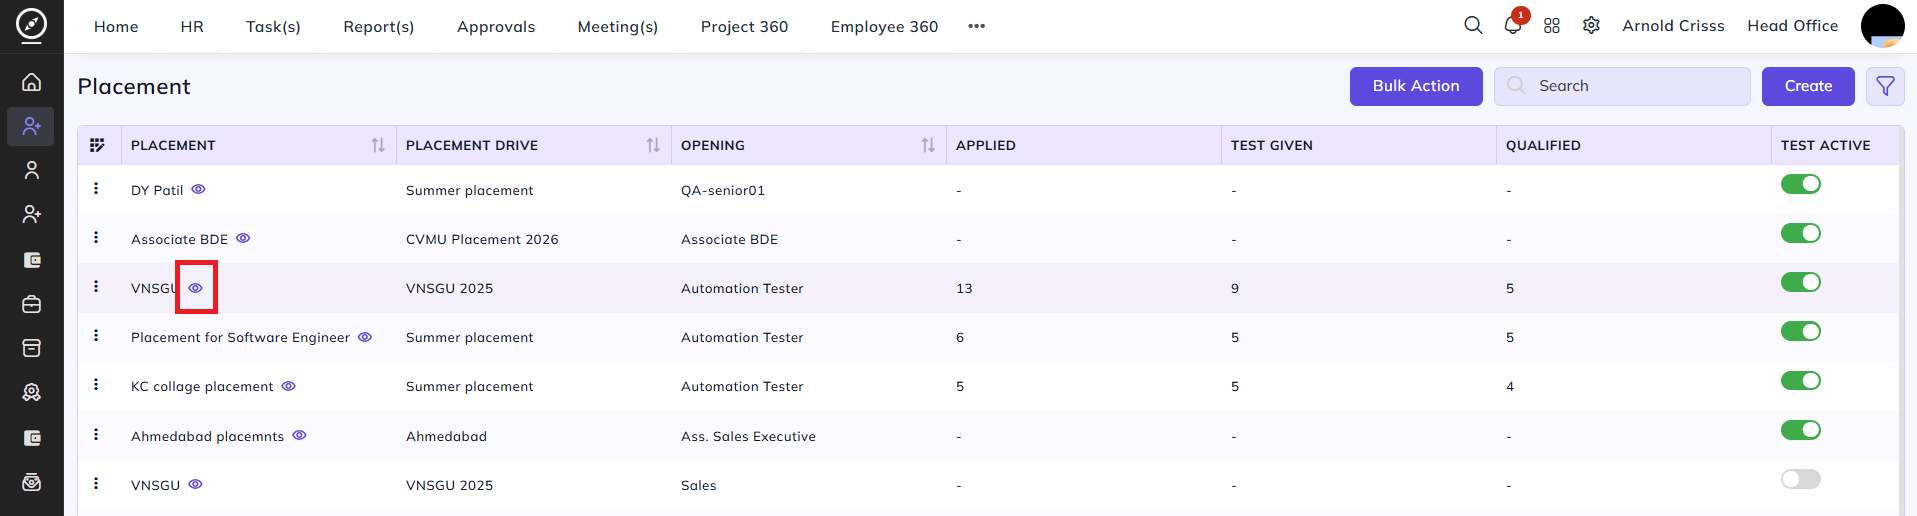
5) Placement:
If the candidate meets the cutoff, the application will be created automatically.
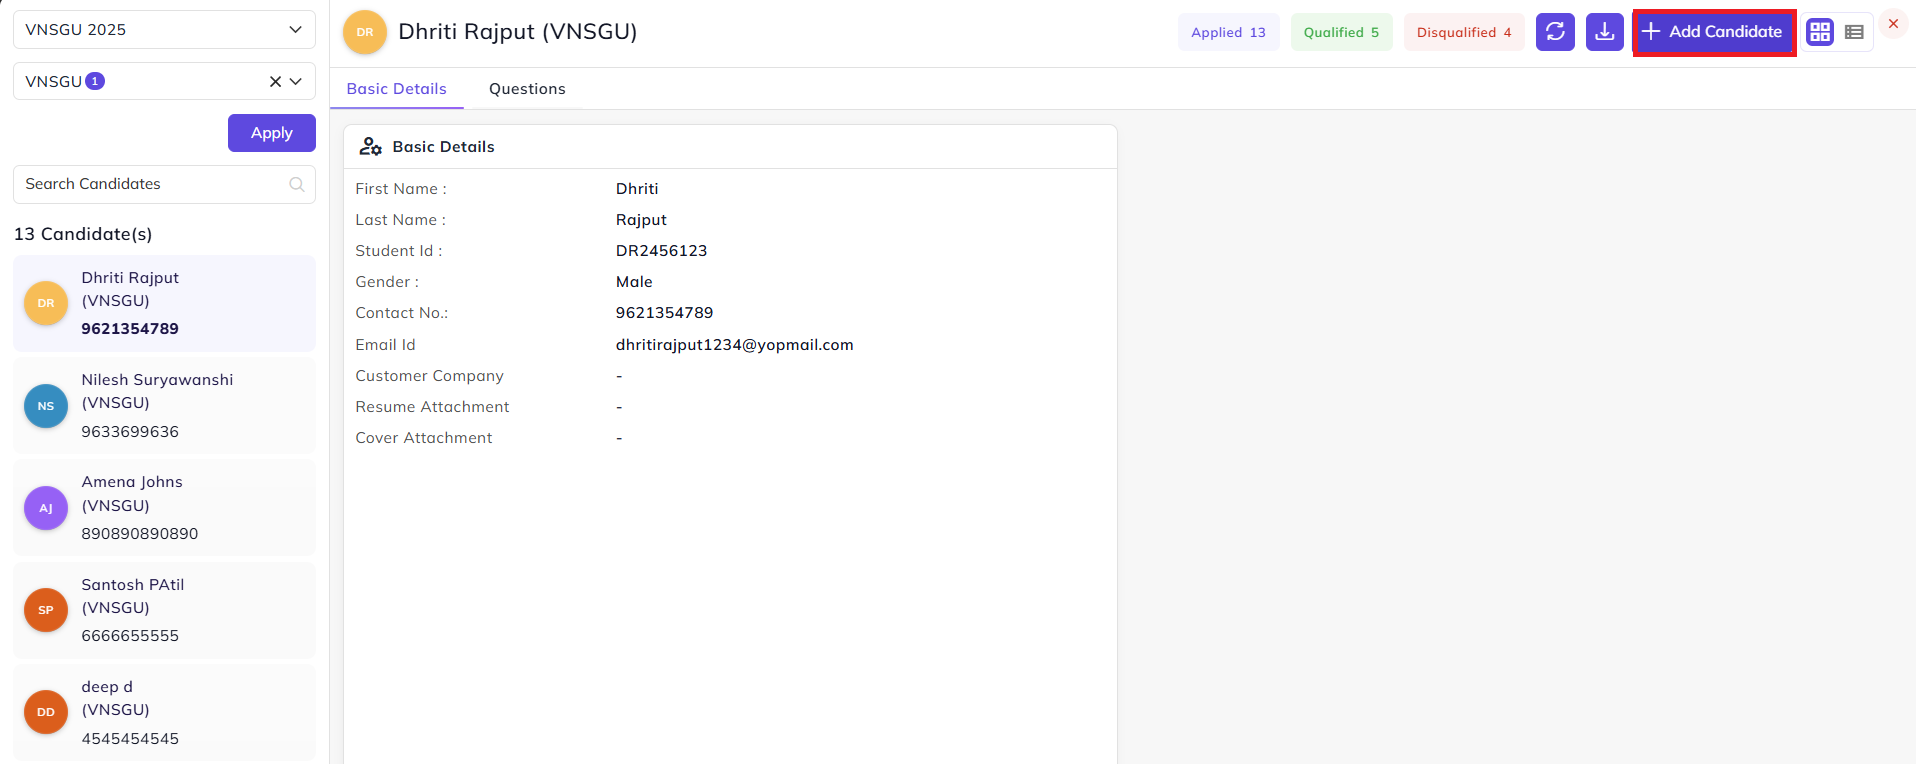
If a candidate has taken a test but did not pass or did not meet the cutoff, the application must be added manually. For it, click on the eye button next to a placement. Then, the details of all the candidates will be visible whose application was created in the placement. From there, you can add a new candidate.