Support Acceleration Flow
From this page, you can define the acceleration flow for support tickets — specifying who gets assigned, how they are alerted, and how much time they have to accept and resolve a ticket.
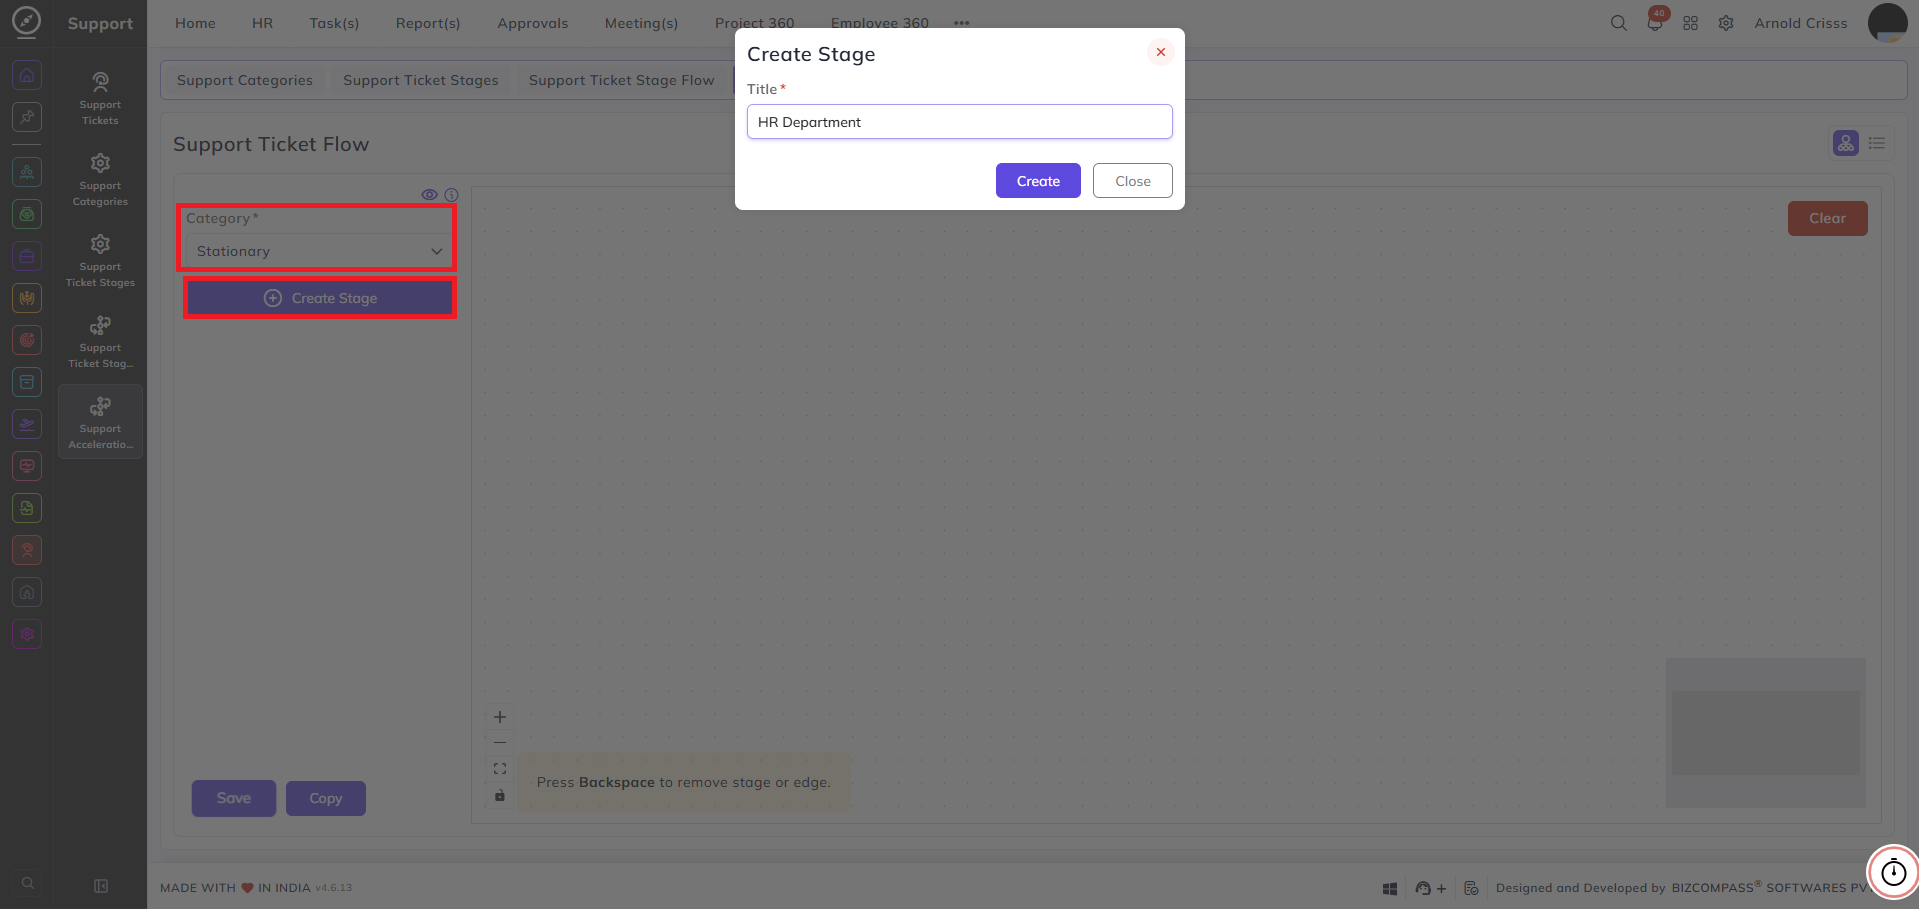
Building the Flow:
Select a Category from the left panel to define the acceleration flow for that support category. Click Create Stage to add a new escalation stage to the canvas.
To remove a stage or connection line, select it on the canvas and press Backspace.
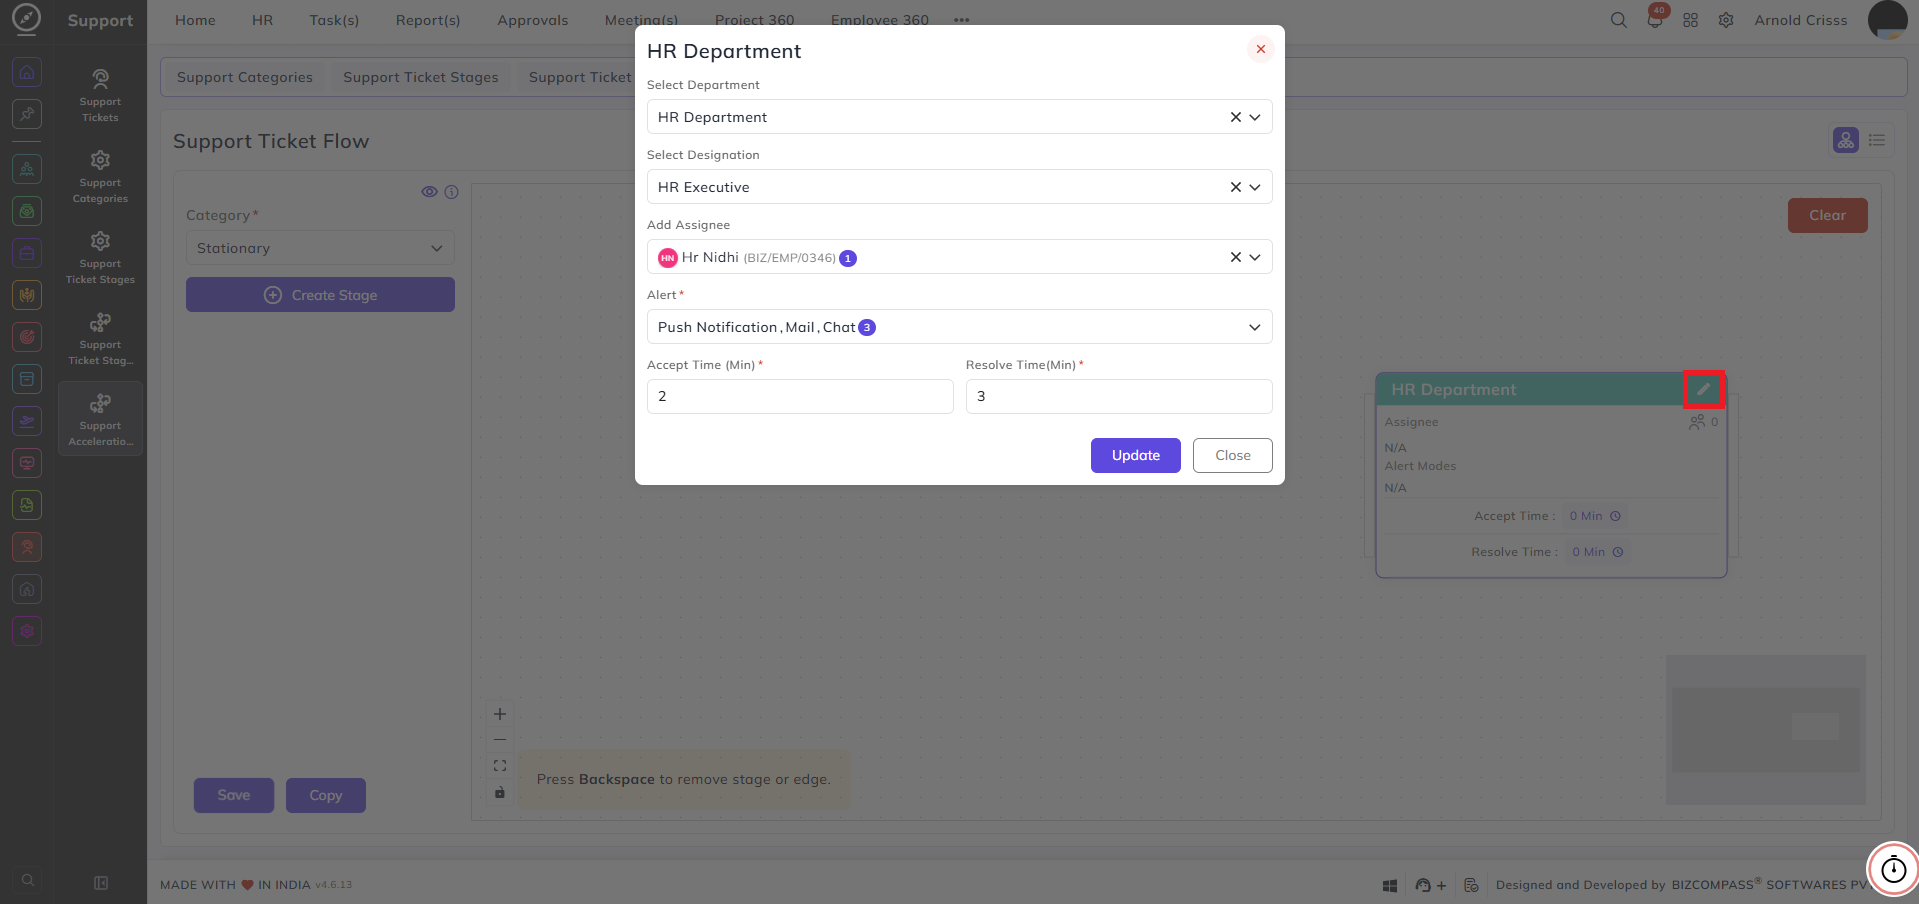
Stage Configuration:
When you create or edit a stage, the following fields appear:
Select Department: Select the department responsible for handling tickets at this escalation stage.
Select Designation: Select the designation within the chosen department that will handle the ticket.
Add Assignee: Select the specific employee(s) who will be assigned tickets at this stage.
Alert: Select how the assignee will be notified when a ticket reaches this stage. Multiple options can be selected:
- Push Notification
- Chat
Accept Time (Min): Enter the number of minutes within which the assignee must accept the ticket at this stage.
Resolve Time (Min): Enter the number of minutes within which the assignee must resolve the ticket at this stage.
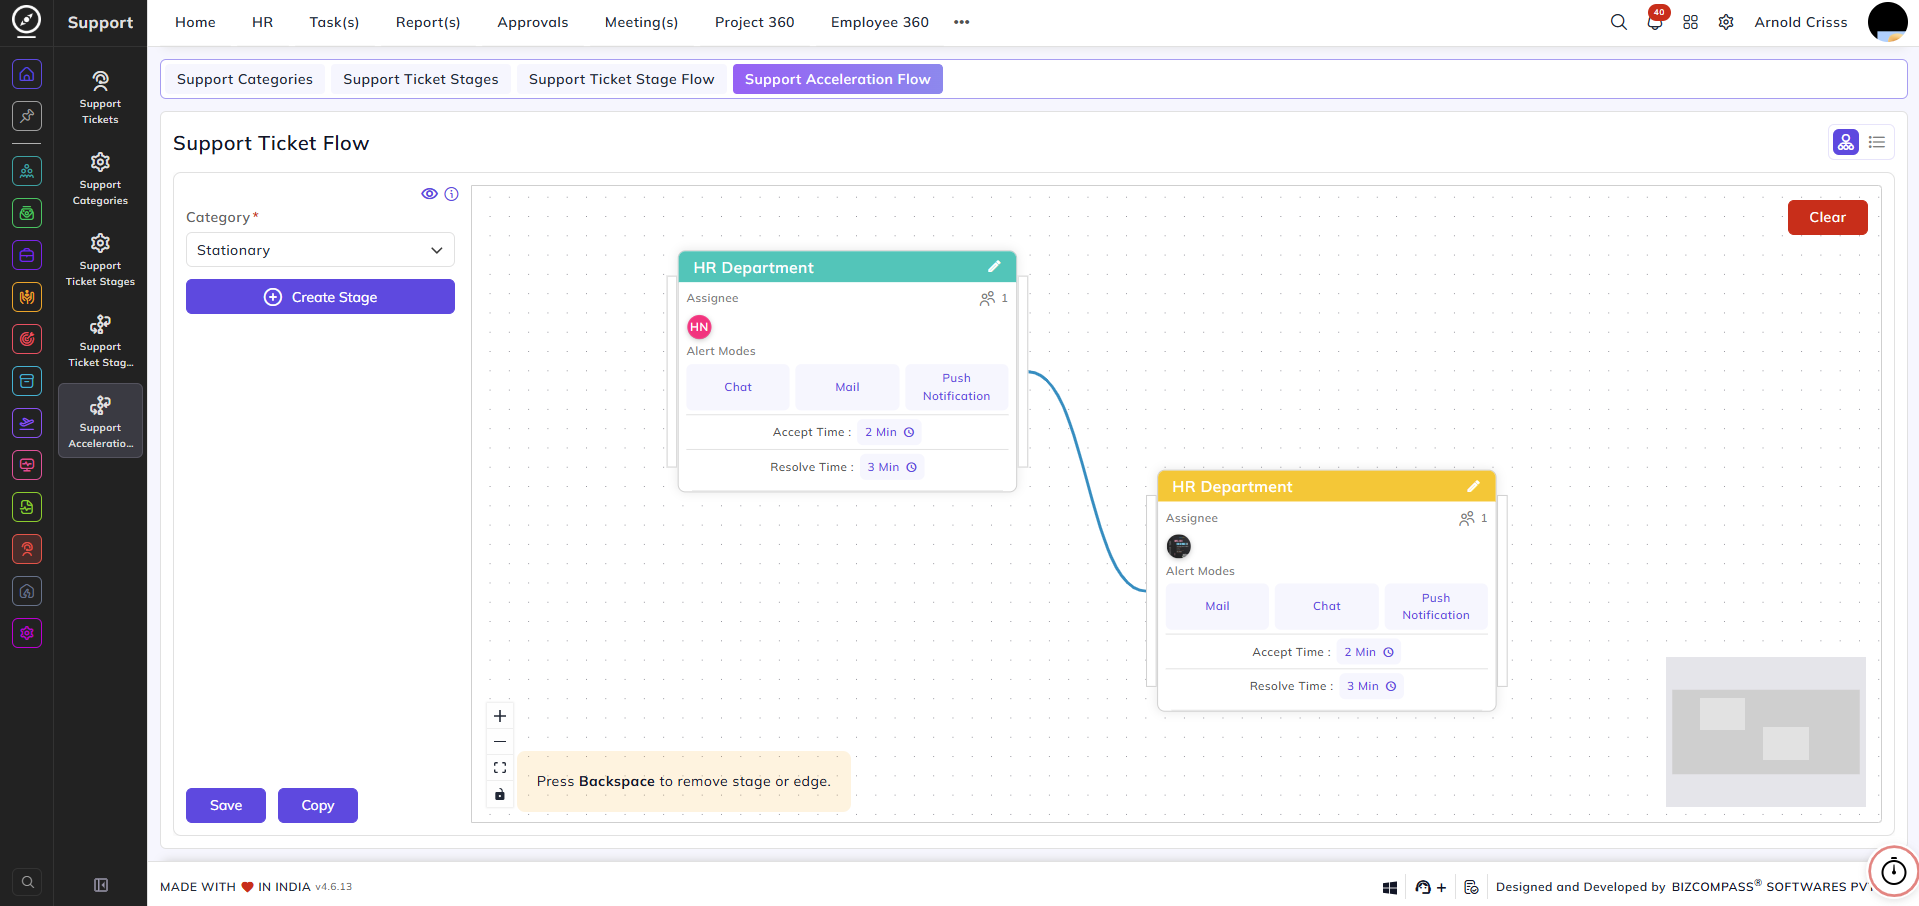
This way, create as many stages as you want for the Support Acceleration Flow and join them by edges.
Click Save to save the stage configuration.
Stage Cards:
Each stage on the canvas displays a summary card showing:
- Assignee — the assigned employee(s) for this stage
- Alert Modes — the notification methods configured — Mail, Chat, Push Notification
- Accept Time — the time limit to accept the ticket
- Resolve Time — the time limit to resolve the ticket
Additional Options:
Copy: Click this to copy the current flow configuration and apply it to another category.
Clear: Click this to remove all stages and connections from the canvas and start fresh.