Todo Configurations
Todo Priority:
From this page, you can create Todo Priority by defining the name and background color. You can choose to make this priority Active in your company or not.
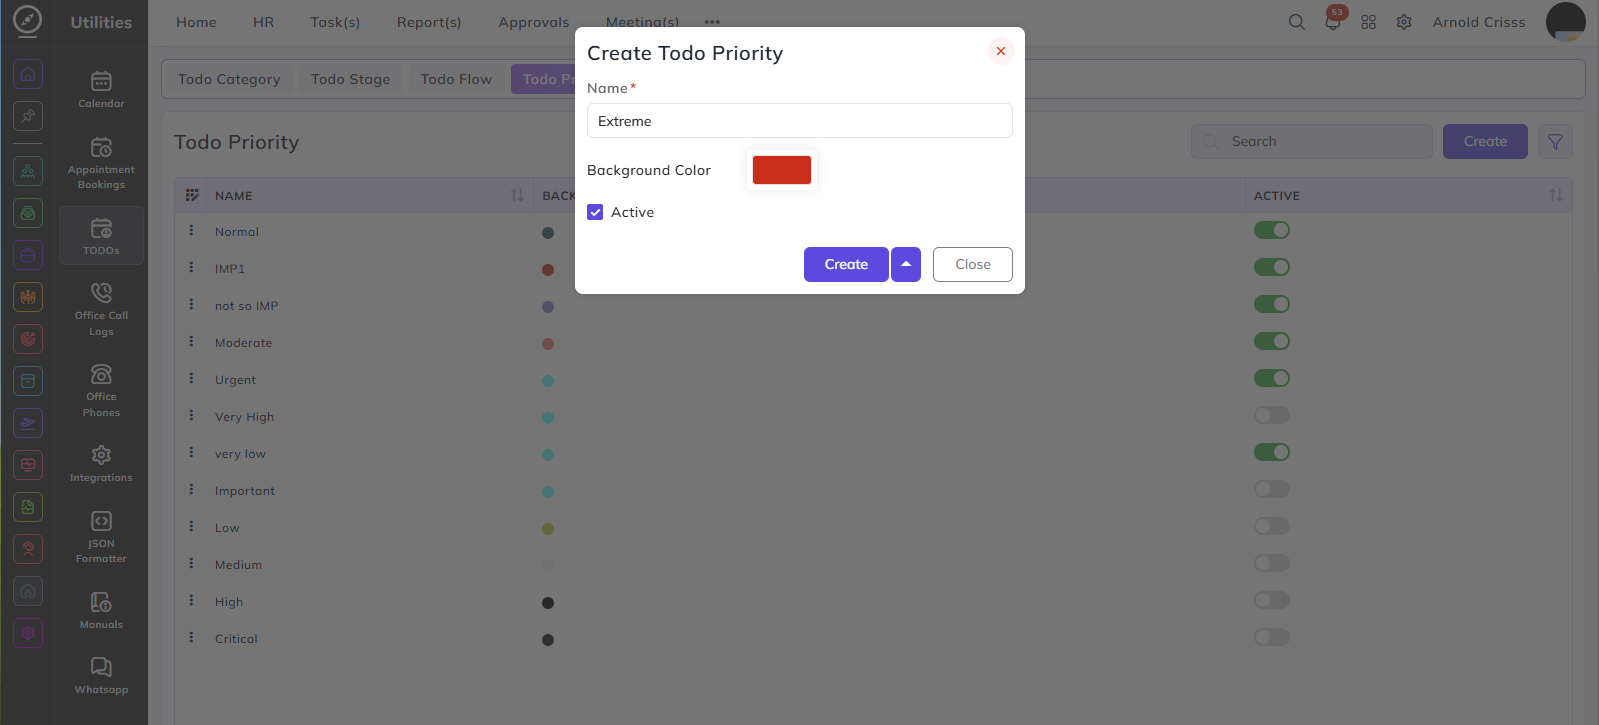
The Active flag can be edited after creating the Todo Priority as well.
Based on the priorities, we can create Todo Categories.
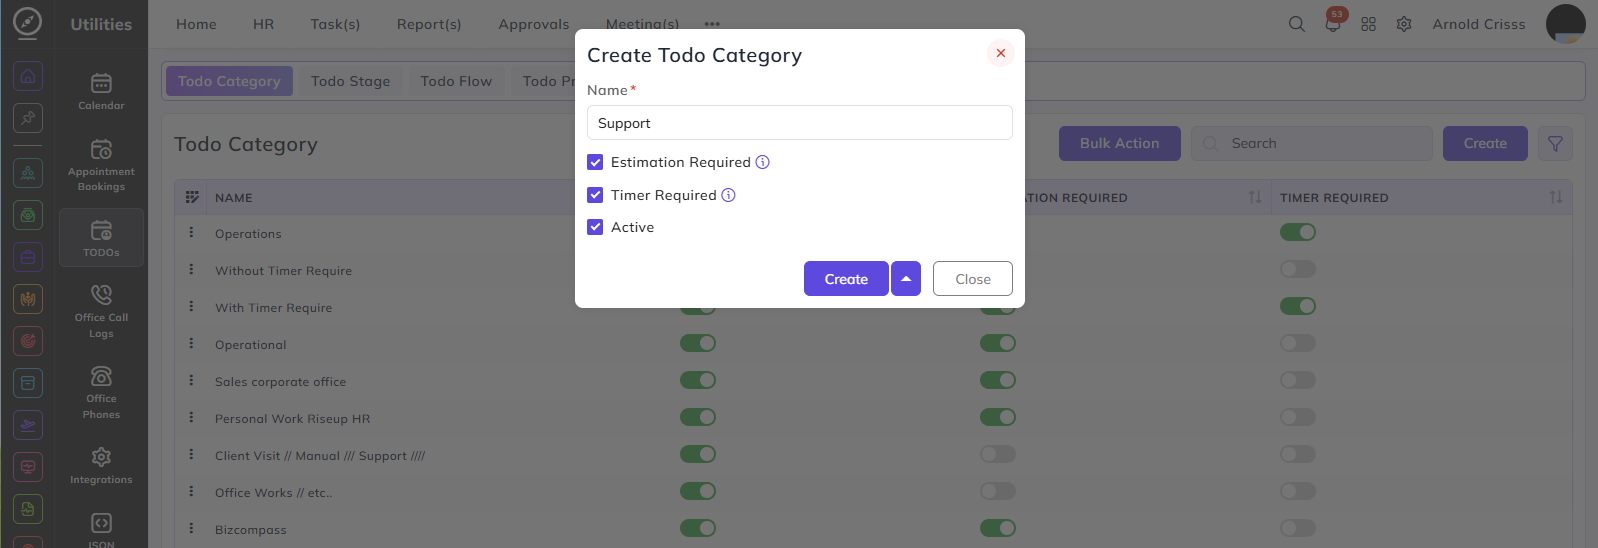
Todo Category:
Name:
- Enter a name to identify this todo category — for example, Operations or Support.
Estimation Required:
- When enabled, a time estimate must be provided when creating a todo under this category. When disabled, the todo can be completed without any time tracking or estimation.
Timer Required:
- When enabled, a timer must be run while working on a todo under this category. When disabled, the todo can be completed without tracking time via a timer.
Active:
- Enable this to make the category available for selection when creating todos.
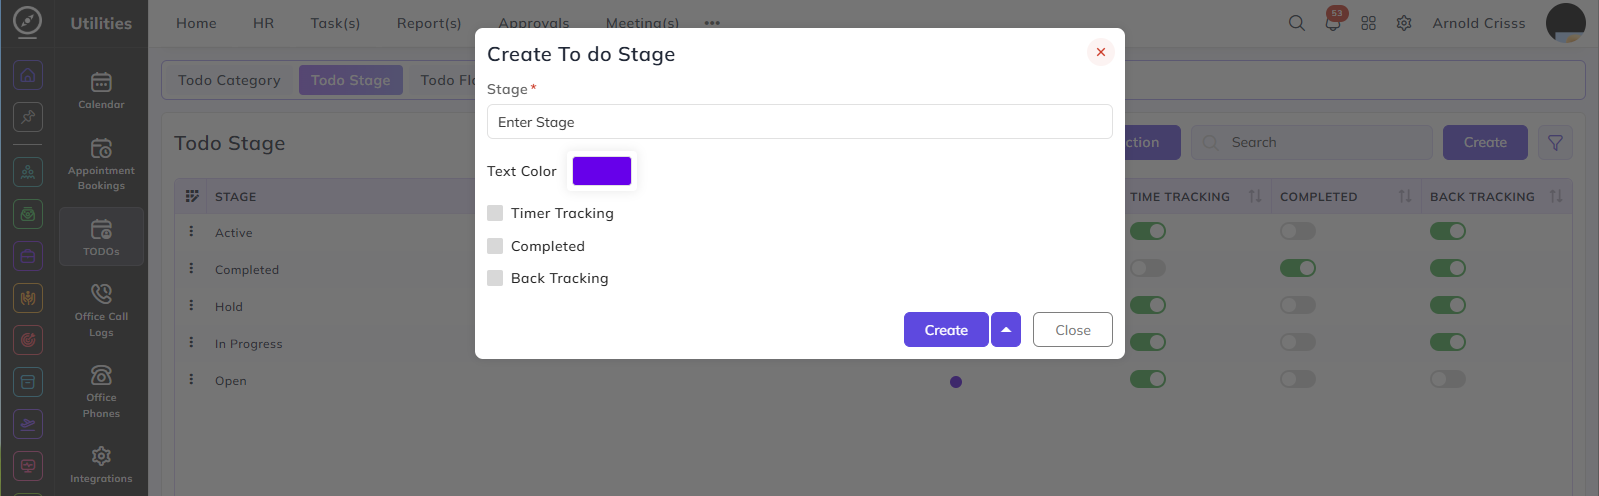
Todo Stage:
Stage:
- Enter a name to identify this stage — for example, Open, In Progress, or Completed.
Text Color:
- Select a color to visually distinguish this stage in the todo list.
Timer Tracking:
- When enabled, time is tracked via a timer while a todo is in this stage.
Completed:
- When enabled, any todo moved to this stage will be marked as completed.
Back Tracking:
- When enabled, all stages that come after this stage in the todo flow can be moved back to this stage. This allows tasks at any later stage to be returned to this point in the flow if needed.
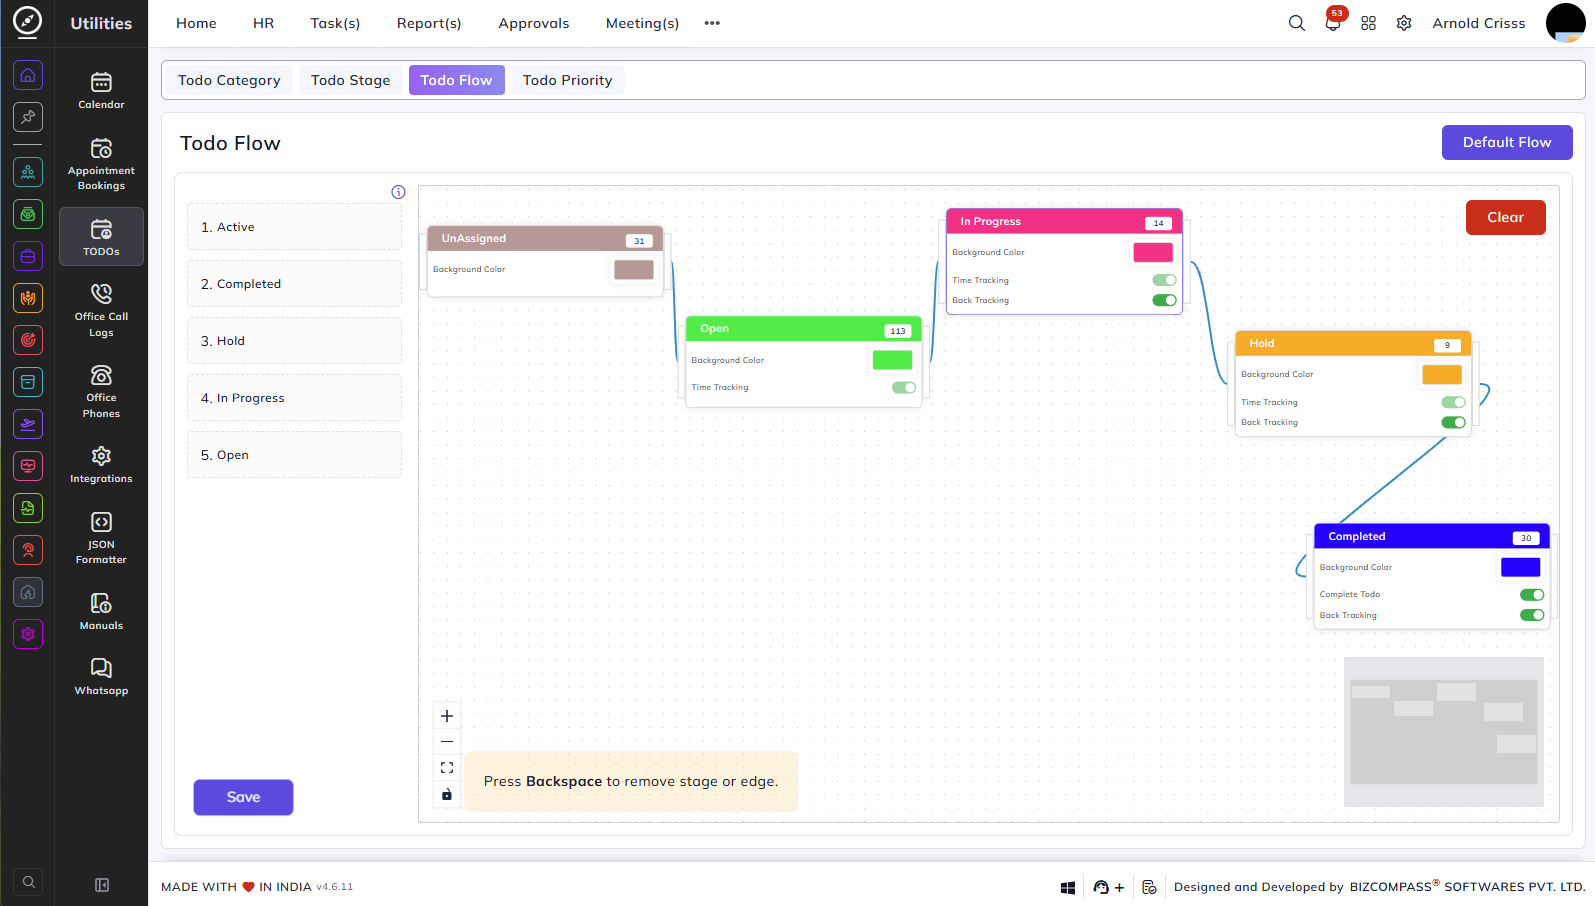
Todo Flow:
Building the Flow:
All stages created on the Todo Stage page are listed on the left panel. Drag a stage from the left panel and drop it onto the canvas to add it to the flow. Connect stages by drawing lines between them to define the order in which tasks progress.
To remove a stage or a connection line, select it on the canvas and press Backspace.
Stage Cards:
Each stage on the canvas displays a card with the following options:
Background Color: Select a color to visually identify this stage on the canvas and in the todo list.
Time Tracking: Indicates whether time tracking is active for this stage. This is inherited from the Todo Stage configuration and cannot be edited from the flow canvas.
Back Tracking: When enabled, all stages that come after this stage in the flow can be moved back to this stage. This can be toggled directly on the canvas.
Complete Todo (appears only on stages where Completed is enabled): When enabled, any todo moved to this stage will be marked as completed. This can be toggled directly on the canvas.
Unassigned Stage:
The Unassigned stage appears on the canvas by default and cannot be removed. It represents todos that have not yet been assigned to any stage in the flow. Only the Background Color can be edited for this stage.
Default Flow: Click this button to reset the canvas to the default pre-configured flow.
Clear: Click this to remove all stages and connections from the canvas and start fresh.
Save: Click this to save the current flow configuration.