Placement Drives
The Placement Drives page is used to create and manage recruitment drives conducted for specific institutes, campuses, or locations from one page.
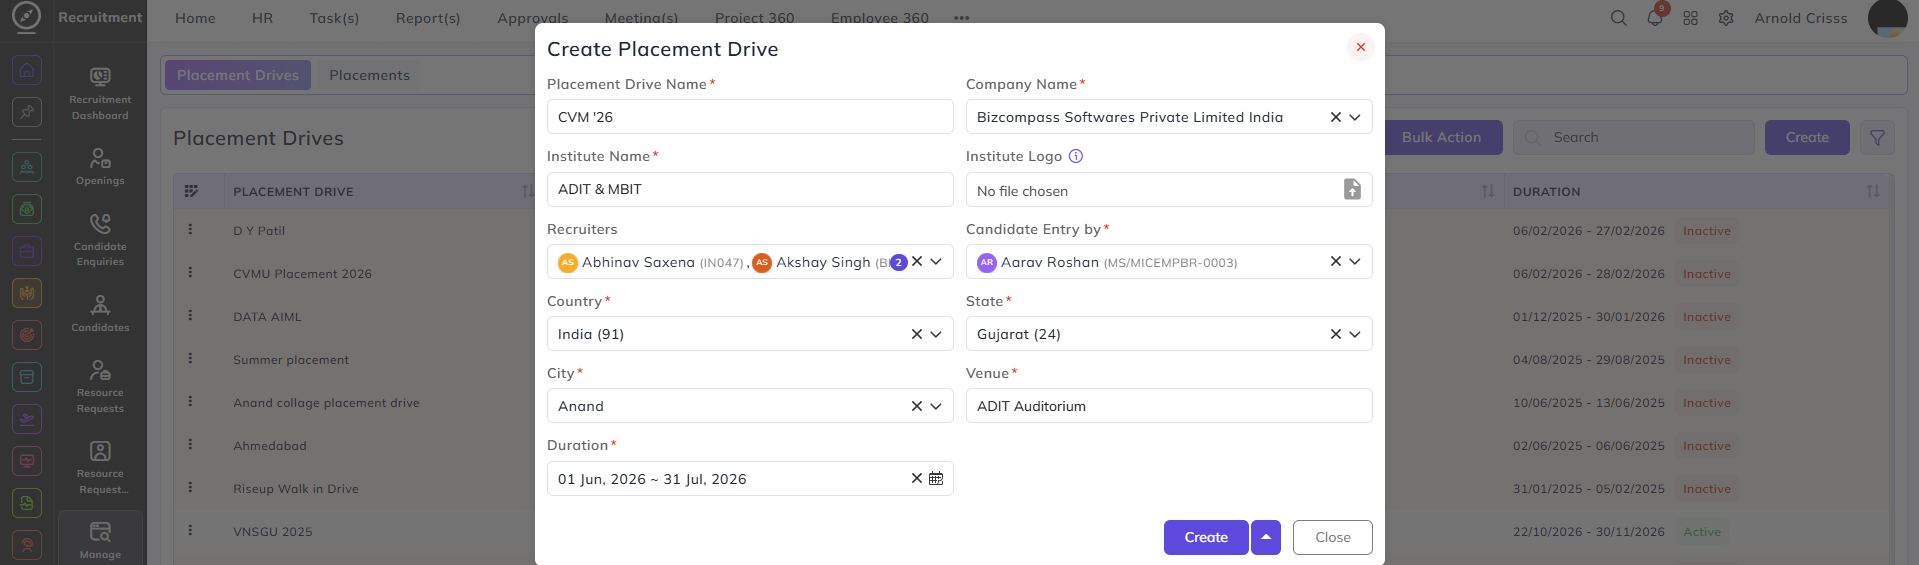
Create Placement Drive:
- Enter the Placement Drive Name.
- Select the Company Name conducting the drive.
- Enter the Institute Name where the drive is conducted.
- Upload the Institute Logo (optional).
- Select the assigned Recruiter(s) responsible for the drive.
- Choose the Candidate Entry By method (Manual Entry, Embedded Form, Bulk Upload, etc.).
- Select the Country, State, and City of the drive location.
- Enter the Venue details.
- Define the Duration of the placement drive (start and end date).
With the Bulk Action feature, you can delete multiple placement drives at once, streamlining the process of managing and maintaining the active placement drives.
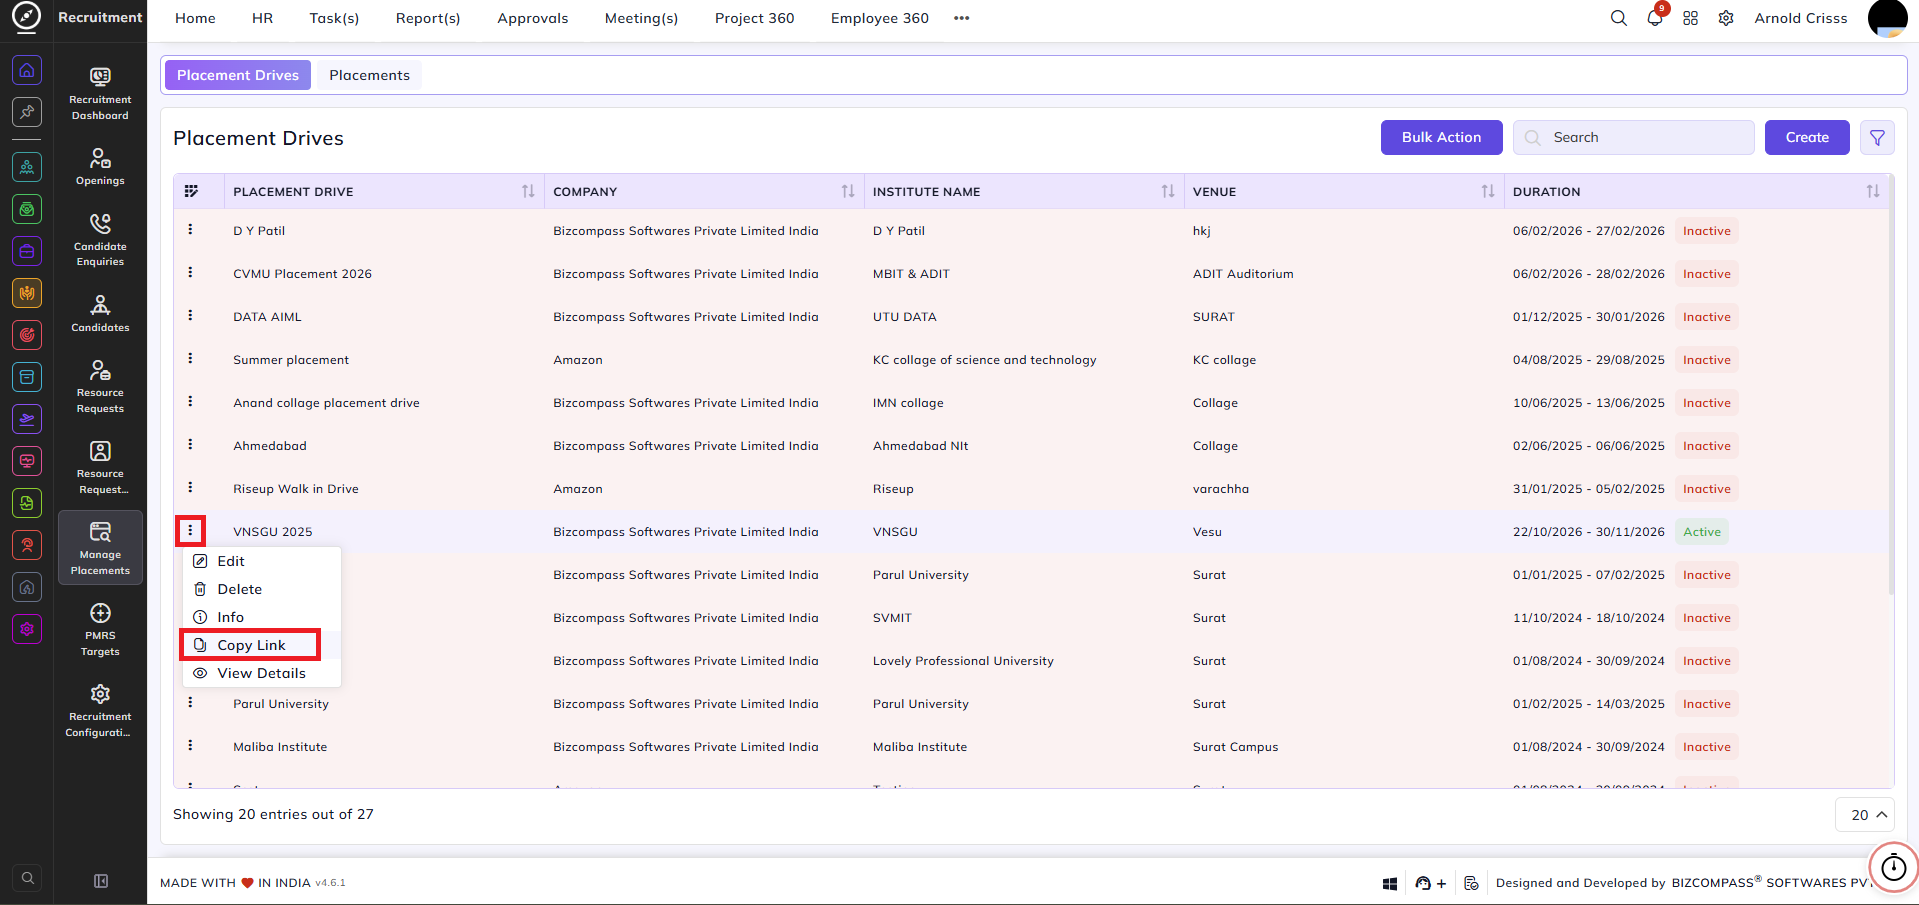
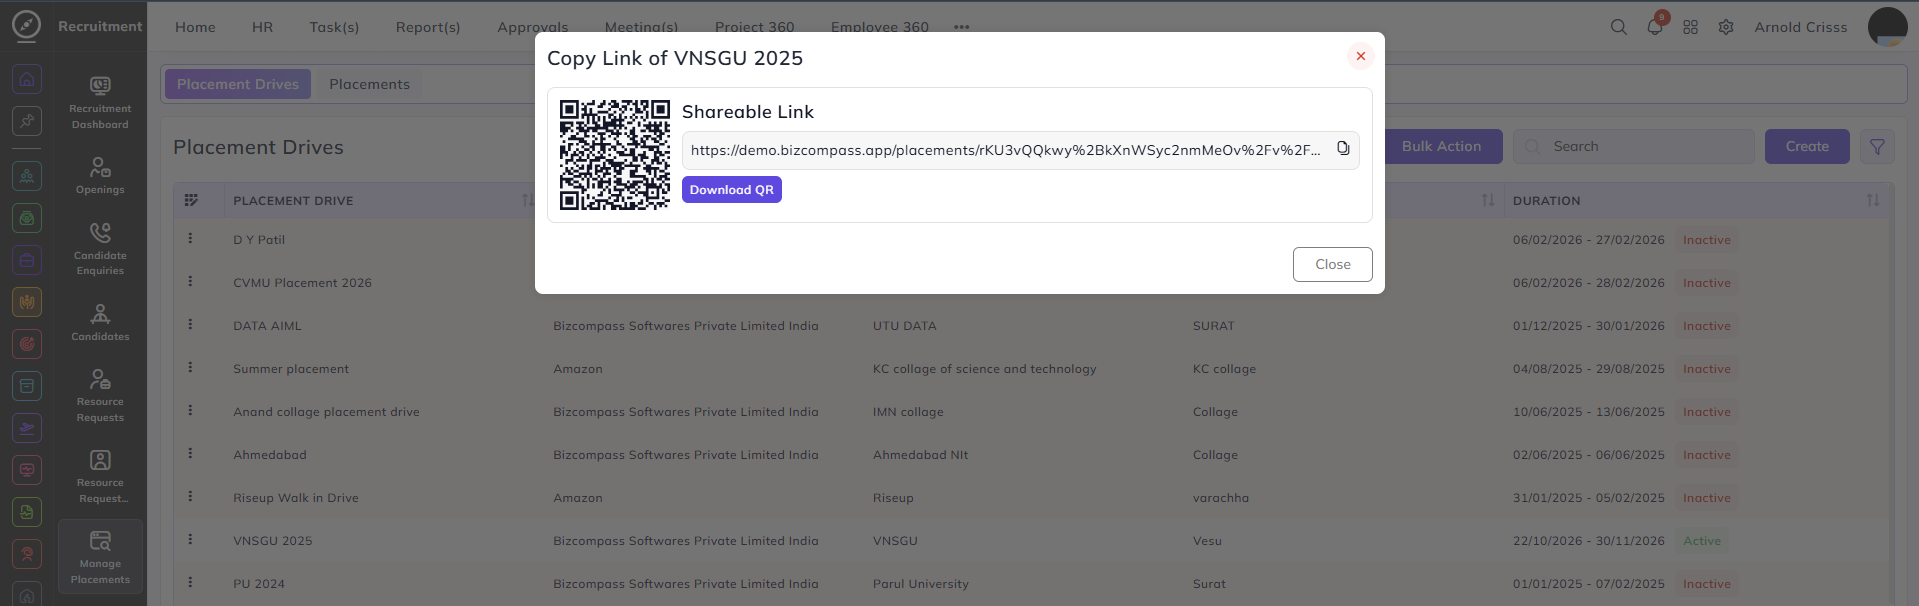
Sharing the Placement Drive Link:
After creating a placement drive, HRs and Admins can share the Placement Drive Link with the relevant institutions by clicking on the three dot button beside the Placement Drive Name.
Here's what will be displayed after opening the link:
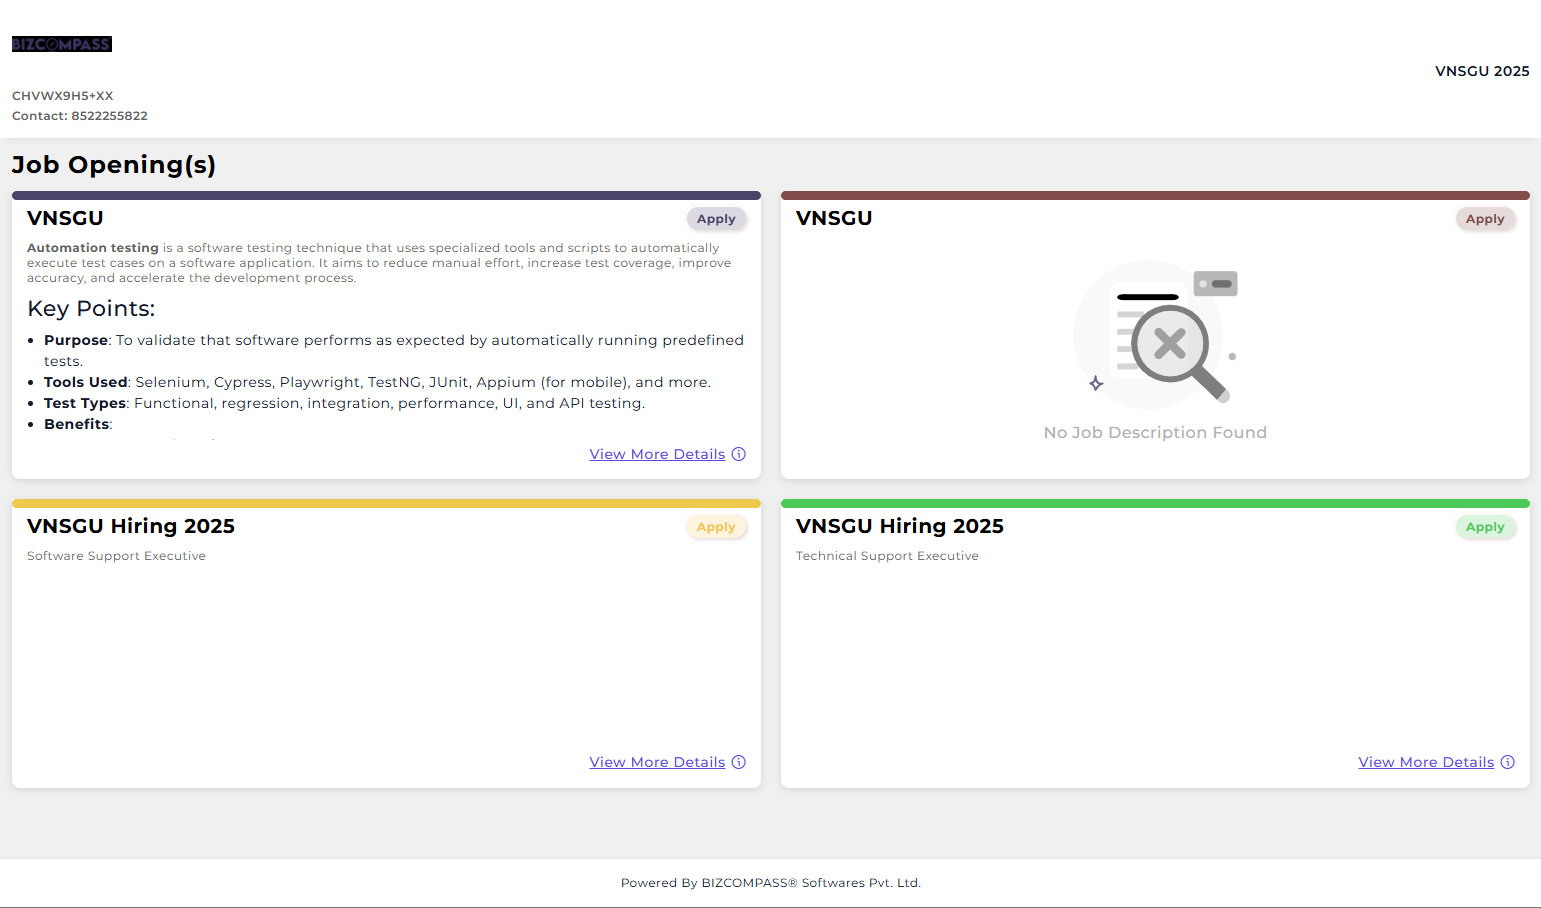
Once a Placement Drive is created, it can be used for:
-
Capturing candidate inquiries specific to the drive
-
Converting inquiries into full Candidate profiles.
No comments to display
No comments to display